


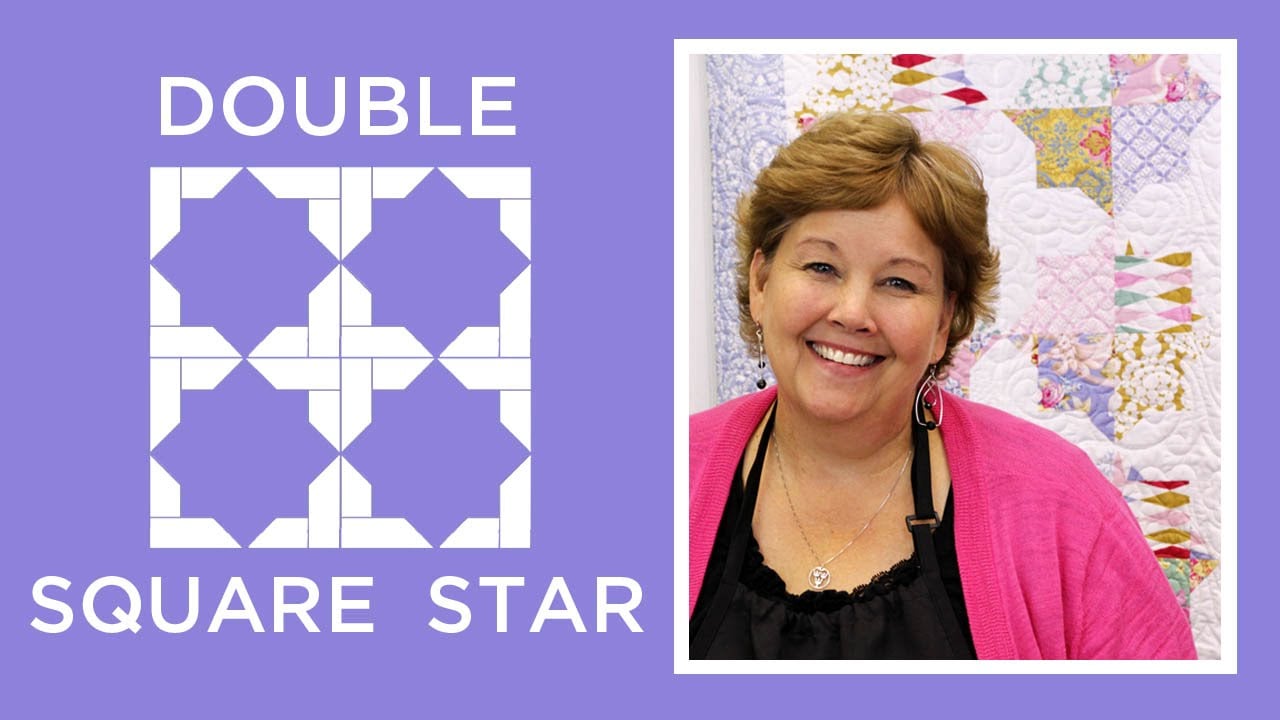
Double Square Star Quilt Snips Tutorial
Missouri Star Quilt Company
Double Square Star Quilt Snips Tutorial
- 3 Packs x 5" Squares (Charm Packs)
- 1 3/4 Yards x Background Fabric
- 1 1/4 Yards x Border Fabric
- 3/4 Yard x Binding
Featured products Get the Supplies Featured in this Tutorial
Finish your masterpiece and let us give it the finishing touch it deserves.
Related Tutorials
Subscribe to MSQC on YouTube
Hundreds of FREE tutorials and a new one from Jenny launches every Friday.
video transcript
Jenny teaches us how to make an easy star pattern quilt with using 5 inch squares of precut fabric (charm packs). Learn a simple way to snowball corners.
Hi everybody, it’s Jenny from the MSQC. And I’ve got a great project for you today. We’re calling this the Double Square Star. And look how this goes together. Isn’t that pretty? So this is a really quick and easy quilt. A lot of fun to make. And you’re going to really enjoy it.
So to make this quilt, what you’re going to need is three packs of five inch squares. We’ve used this awesome fabric. It’s called Nostalgia by Jennifer Pagenelly for Free Spirit. Really, really a fun fabric. You’re also going to need a yard and three quarter of your background fabric. And you’re going to cut that into strips and you’re going to need about 24 of those strips. And then you get to just get to put it together. So let me show you how to make this. This is the block we’re going for right here. It kind of looks like a, a flying square right there. You’re going to set one square aside for your, for your block. And then the block we’re going to cut into fourths. So let’s do that real quick. These little 2 ½ inch squares are going to make the, the little snowballs on our white strips. So two of them will go for each block. So we’re going to go ahead and cut this up into fourths like this. Two of them we’re going to set with this square. These two will go with the other square that looks like that in the other pack. And so, so then we have to put this together.
Now because this is a five inch square, what we’re going to do is strip the outside. So we know we need a five inch block on one side. And then our other strip is going to be seven. So then what you’re going to do is you’re going to take your strip like this. And you’re going to cut it into, you’re going to need a five inch strip and a seven inch strip for each block. So here’s our five. One, two, three, four, five. And then here’s our seven. Make sure it stays lined up. There we go, we don’t want it going anywhere. One, two, three, four, five, six, seven. And we’re going to go ahead and cut that. Alright. Now these blocks, these strips right here are going to go around this block. So one’s going to go this way like this. And one’s going to go this way. But it’s important that we snowball these corners. But we have to snowball them before we put the strip on because we want them to go the right direction. So I’m putting a, creasing a line in here just like this so now I have a sew line. And then I want to make sure that it’s going to go the right way so I put it on my block like this. And I fold it back to see and it’s not right so I’m going to turn it this way, there we go. So this is, this is the shape we want our blocks to look so we’re going to put this on this block just like that. And we’re going to do the same thing over here. And I do this because I’m angley challenged. You know I just can’t seem to get it going the right direction the first time. Let’s see. So that should be right. These should kind of go straight across like this when you get them sewn on. So now we’ll go over to the sewing machine and we’ll sew those down. And I’m going to go ahead and make sure they stay on there just right. I had, I had to second guess myself for a second there all of a sudden I was like, Oh is my line, is my crease going the right way.
Now remember you can draw the line if you want to or you can just crease them which I did, finger press them. And sew corner to corner. Here we go. We’ll do both of these at the same time. There we are. Now we need to trim these off. So I’m just going to take my rotary cutter right here and I’m going to lay my ruler so it comes off that seam line in about a quarter of an inch and make a cut there. And I’m going to do the same thing on this side. Make sure you cut the right side. You don’t want to cut into your strip. Then we’re going to iron these back. And here’s one more. There we go.
Now we get to put these on our block. So remember, this one’s going to go. Let’s see if I can get this on here right now. This one’s going to go on this side. This one’s going to go on this side. They’re still going to go straight across. So we’re going to put the five inch one on first. And sew a quarter of an inch down the side. And they should line up. You know five inches should be five inches so they should line up. And I’m going to press this back. And then we’re going to attach this one on this side. So it makes that, it kind of looks like a little flying square. So I’m going to go ahead and line this up on this side. Straighten it out and zip down that side. Alright .
Now we’re going to press this open. I’m just going to set that seam and roll it back. Nice flat block. So there it is. That’s the block we’re looking for. You are then going to sew four of these together to make your square. So let’s see how they look. We’re going to put it up here like this. And then this just goes together like a giant four patch. See how that all works together. So let’s go ahead and sew that together.
And we’re just going to lay two of them right together. And we’ll grab those next two, fold them over and just sew that right hand seam, quarter of an inch all the way down. We’re doing a little bit of chain piecing here which I like to do whenever I can. Now we’re going to sew the other seam across. And I’m going to open these up and make sure that they’re going to right direction. You can go ahead and press that seam if you want. I’m just going to go ahead and sew them together. Pressing them, sometimes you know people will say to me, Aren’t you supposed to press every time? And I’m like, Sometimes I just get excited. I’ve got to see what it’s going to look like. So this is one of those times. I’m just going to sew the whole thing and then I’ll press it open. Alright here we go. And keep these lined up. Keep your little, your little corners lined up. There we are. Let’s go press this open.
Alright this is, this just goes together so quick and easy and it’s really a stunning quilt. So this is the block we’re going for. It looks great. We’ve got them all together. Now when you’re ready to put this together in a quilt, this is how it fits. It’s going to fit in here just like this. You’re going to sew four of these across and you’re going to make five rows. So four by five. And they’re just, there’s no sashing or anything. They just go right together just like this. And you’ll sew your row and just lay them all out. And you just get this great looking quilt. So we hope you enjoyed this tutorial on the Double Square Star from the MSQC.
& Progress on Social