


Roadblock Quilt Tutorial
Jenny Doan
Roadblock Quilt Tutorial
- 1 roll x 2.5" Strips (Jelly Rolls)
- 1 yard x Background Fabric - incl. Inner Border
- 1/4 yard x Contrasting Fabric
- 1-1/4 yards x Outer Border Fabric
- 3/4 yard x Binding Fabric
- 5-1/2 yards x Backing Fabric
Featured products Get the Supplies Featured in this Tutorial


Finish your masterpiece and let us give it the finishing touch it deserves.
Subscribe to MSQC on YouTube
Hundreds of FREE tutorials and a new one from Jenny launches every Friday.
video transcript
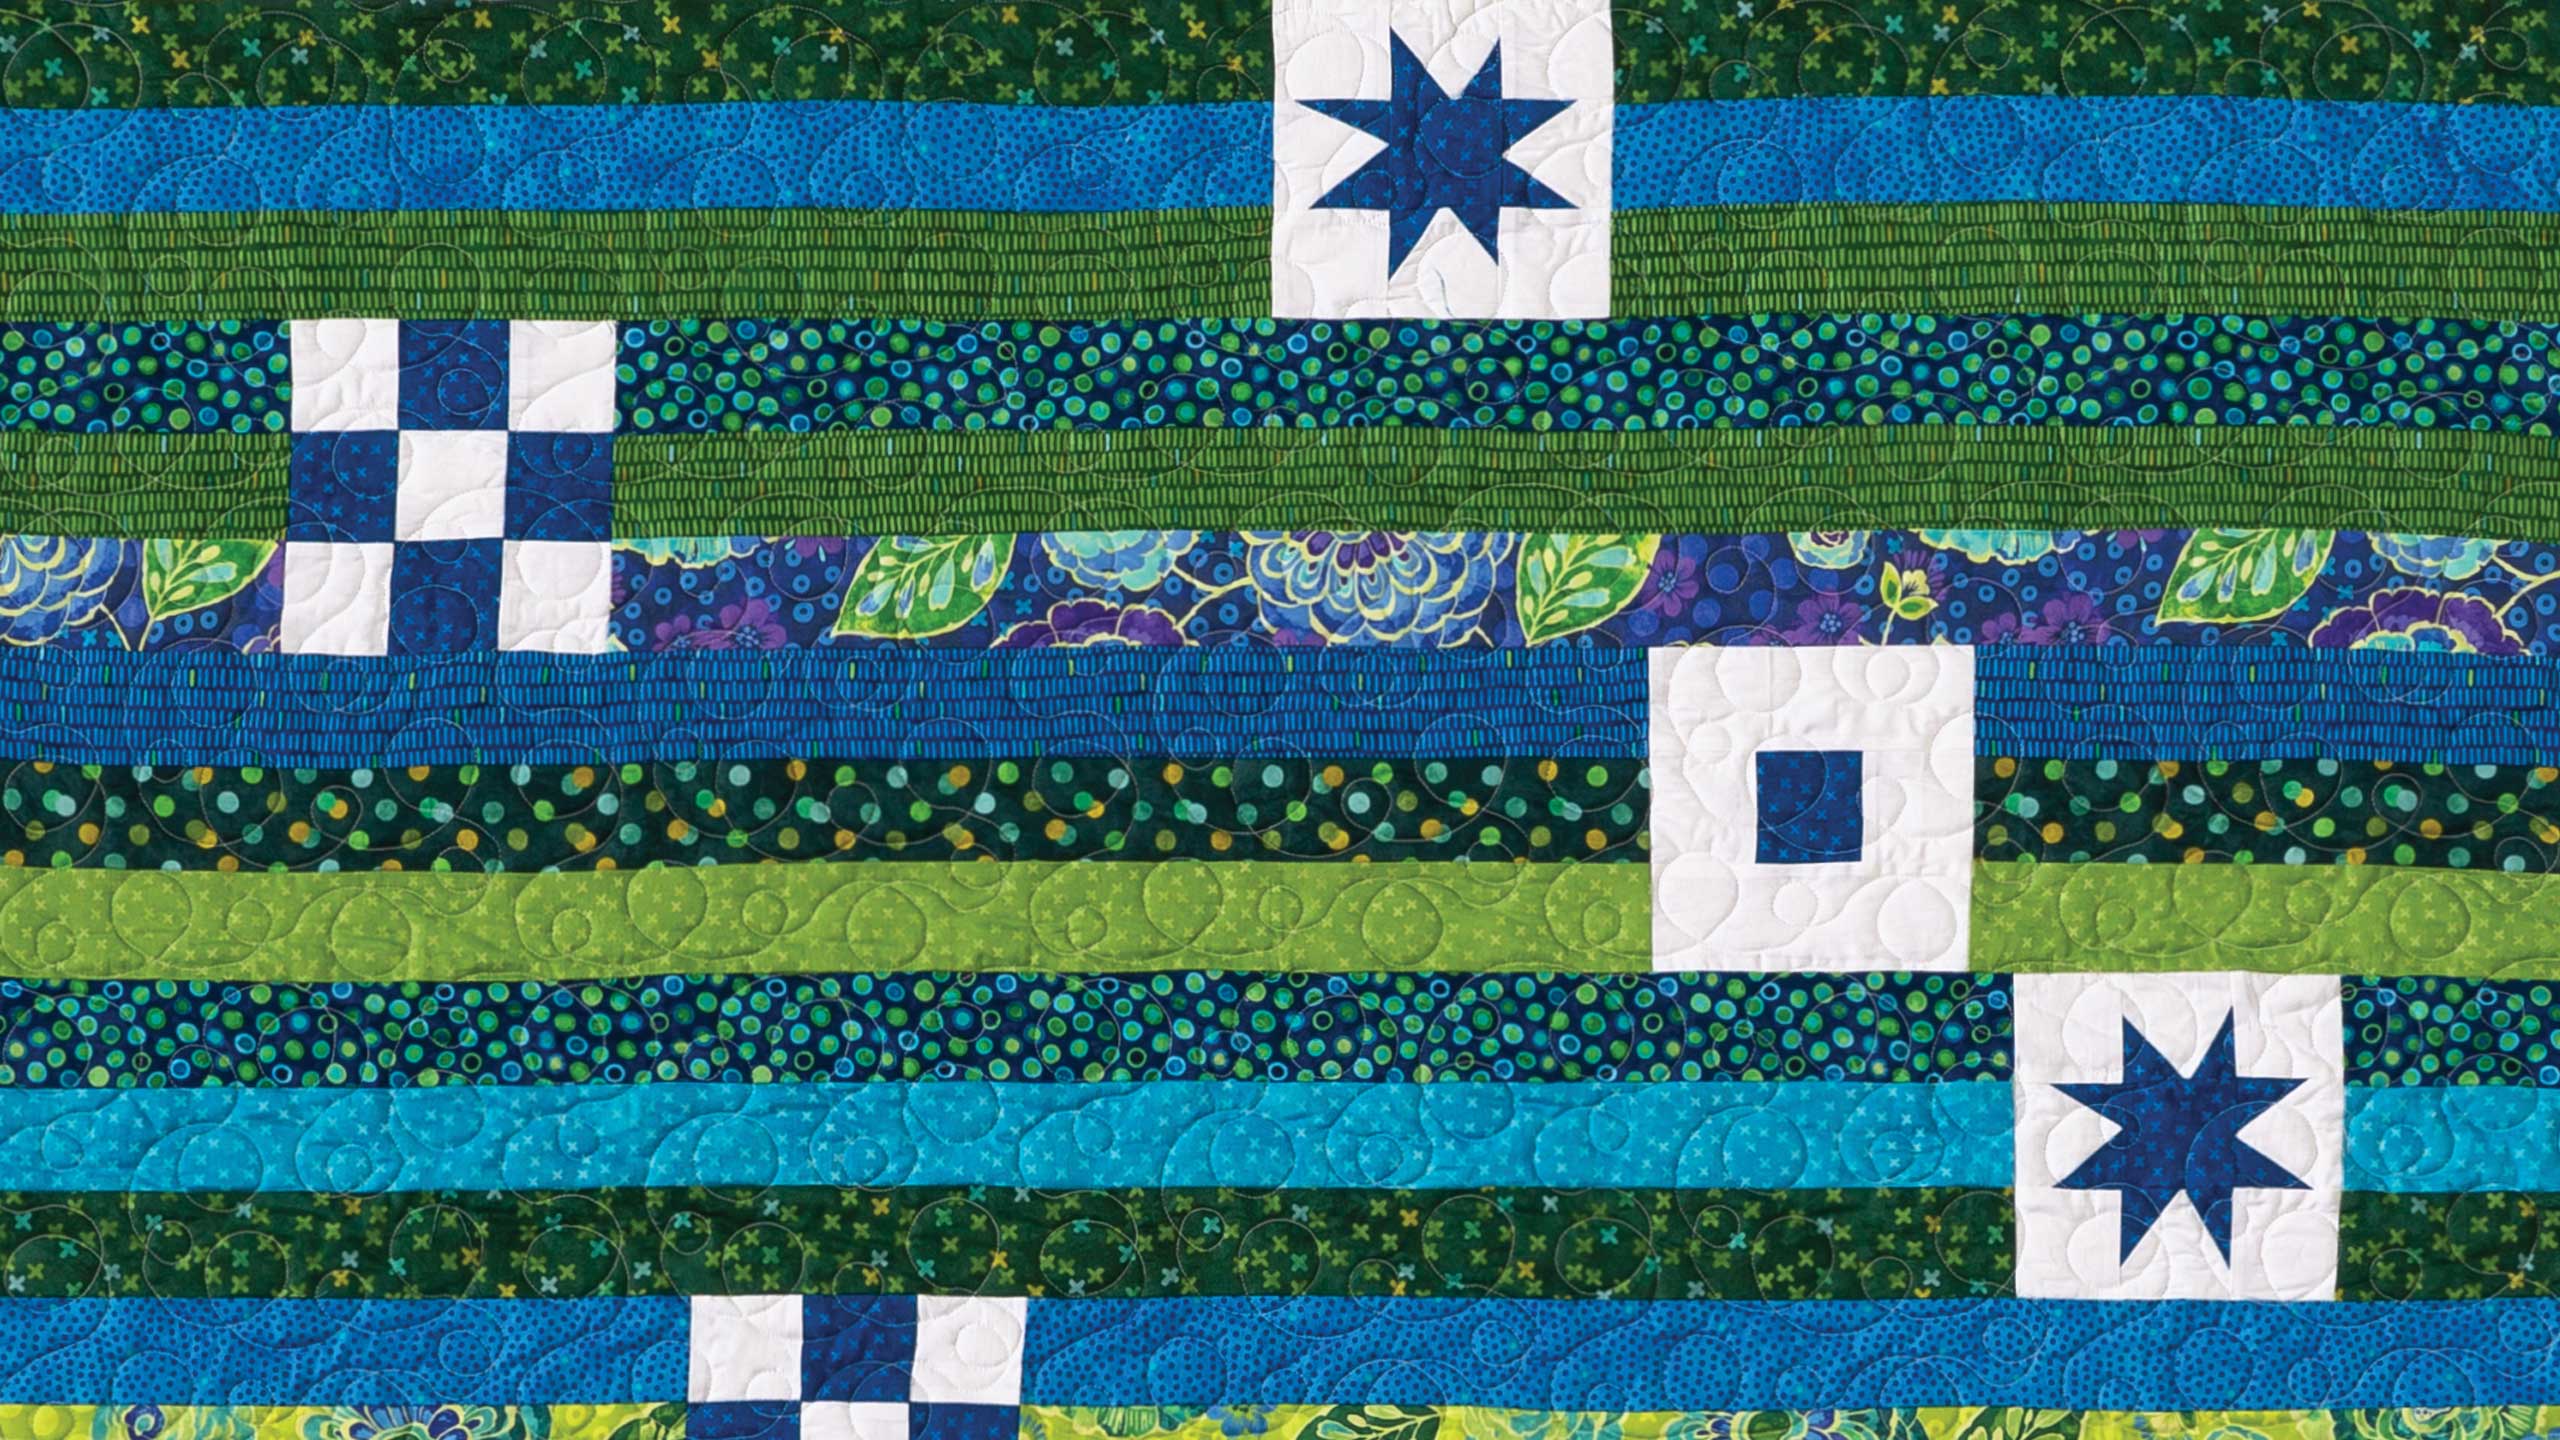
Hi everybody, it’s Jenny from the MSQC. And I’ve got a fun project for you today. Take a look at this quilt behind me. Isn’t this great? So this is such an easy quilt. It’s just strips and every so often we pop a block in there. Now one of the things that I like about this idea is that when I sew I often have one block leftover, one, one block that we don’t know what to do with. And this is a great project for those orphan blocks you have. Of course we’re going to show you how to make it just like this. So to make this quilt what you’re going to need is one roll of 2 ½ inch strips. Aren’t these pretty? This is, this is called X’s and O’s Rainforest strips. It’s by Deborah Edwards for Northcott. You’re going to need a yard of white and that includes this first inner border and then all the white that we used in our little blocks. You’re also going to need a quarter of a yard of an accent fabric. Now you can see in our little blocks, we used the same accent fabric so a quarter of a yard for that. Our border out here, this is a nice big six inch border. And you’re going to need 1 ¼ yards for that border. And we actually have the exact same fabric here on the back and you’re going to need 5 ½ yards for your back. And that will be one vertical seam. So let me show you how to do this because this is really fun.
So what we’re going to do is we’re going to take three single strips just like this. And we’re going to sew them together in groups of threes. And you’re going to do this to your whole roll. So I have these two. And I”m going to put this one in here because this one looks like fun. And what I’m going to do right here is I’m just going to flip these over and sew a quarter of an inch down and do the same thing on the other side. So that we have a grouping of three, three strips sewn together. So I have a group here that’s already done. Now a couple of things I want to talk about with this strip set is first you’re going to want to cut your selvedges off. And you can do that before or after. And then when you get this strip set together with the block we’re going to cut it in random places. And that will all be explained to you in a bit but it will move things around and you’re still going to need to trim up the sides of your quilt. But for now we’re just going to take our three strips. We’re going to put them all together and we’re going to sew as many sets as we can. And then we’re going to make these little blocks to put inside them.
We’re going to start with the nine patch. That’s an easy place to start. And so what we’re going to do with this is we’re going to take our squares and we’re going to lay them out in three rows of three. So we’re going to have white, color, white on the top row. And then color, white, color on the next row. So I’m going to put my two squares here and I’ll fill in with a white one. And then on this bottom row we’re again going to do white, color, white. And that gives us this little nine patch. And you can see it right in here. Here’s one and here’s one, and there’s one. So we have what, one, of there’s four, four of each block on this quilt. And so you’re just going to sew this together like, you know, a quarter of an inch and once you get your little row together you’re going to sew those rows together and it just makes this cute little nine patch and it’s super, super simple.
So now we’re going to make the square in a square block which looks like this. And we are going to have two whites with a blue in the center. And then the next two sides of it are just going to be like this. They’re going to be the same width as your center piece. And we’re going to put one on this side and one on the other. And I just leave that strip whole and just cut them as I go along. And that gives you the square in a square block. Alright for the third block we’re going to do this fun little wonky star.
And so to make this one, this is how I do it. It makes sense to me. What I do is I lay out my block so I’m going to need, I’m actually going to need nine blocks for this one and eight of them are going to be the white. So I’m going to put my blocks down here like this. And this, I know this looks a little weird but it makes sense to me. So I’m putting them like this. And then I’m putting this here. And then I put my blue square in the middle. The blue square is going to be the center of my stars. So these four blocks have to come out because these are the legs of the stars. And that helps me keep everything together. So I actually have three legs made right here, I’m going to stick them back in because they’re all based on the same white block. And then I’m going to show you how to make the legs with my last one because we need one more leg to finish this block. Alright so what we’re going to do is we’re going to take our white square and we’re going to take our little blue square and we’re going to lay it, let me see, let me make sure you can see this. We’re going to lay it like this so it crosses the middle of this block. And you can if you want to, you can like crease this and make a little, a little dent in there so you can see where that goes. So then what I’m going to do is I’m just going to put this so it crosses that middle line. And it can be anywhere on this side. So I can make it longer or shorter, whatever I want. And that’s going to be one side of our legs. So we’re going to sew that down. We’re going to sew a quarter of an inch right along that fabric right there. And so there’s that side. Now what we want to do is we want to press this. And we’re just going to open up the blue and press it back. And see how that gives us that kind of slanty look. And what I like to do then is take my ruler and I’m just going to cut it straight along the side like this. So now I have this piece right here. I’m going to trim off this top piece. The square becomes your pattern. And so as you’re making this, it just becomes the pattern. Now for this other leg over here, what I want to do is I want to take this piece that I cut off and I’m just going to lay it over here. I’m going to make sure the middle crosses and then I’m going to sew a quarter of an inch right along here. And so with one little blue square you can make both legs. And then we’re going to press this like this. And then we’re going to trim this off. And you’re just going to need to make four of these, four of these leg sets for each little star. Alright so there’s our star. Let me press it again. He isn’t wanting to lay. We’re even going to give him some steam and make him behave. There we go. So see how that becomes a little star like that. And then basically what you’re going to do is you’re going to sew these to these and then you’re going to sew these to the middle and these to the bottom. And then you’ll sew those three rows together. And it’s going to give you this block.
So once you get your little blocks done, and you’re going to make four of each of these, is then we’re going to attach them to our strip. So I’m going to take this little block right here and I’m going to put it along my strip right here. And I’m going to make my seams line up and I’m going to sew a quarter of an inch on this side. Then what I’m going to do is I’m going to bring around this other side and sew it to the other side of the block, ok? So I’m going to bring my strip set over to the other side and sew it, sew it to the opposite side of the block. So let’s go ahead and sew this down. So here we go. Alright so now I’m just watching, watching my seams, sewing this down, just like that. And then I’m going to bring my strip set around again and sew it to the other side of the block as well. I’m going to make this fit.
So now that you’ve got your strip all sewn together, we’re ready to look at the placement. Now what we did for our placement on here is they’re all placed a little different. And you want to use your eye to look and see what looks good to you. But basically since this is in a strip, that star can move anywhere on that whole strip. So right up here, this one right here, if we want, if we know that we want a star on this side, you know we’re going to have to cut about right here. And that’s going to make our, our star cut. So what I’m going to do is I’m just going to open this up and I’m going to measure over a bit. I don’t know how far, just a bit. And it doesn’t matter because once we get that first strip and we go to sew the second one, then you’ll move it over and you’ll move this one over. And you’ll just, you’ll just be able to have fun with this and play with this. So I’m just going to cut this. And then this makes my long strip. You see how that works. Now the cool thing about this is if want to make this a bigger quilt, like say you want to make a queen size quilt with lots of of star blocks in one strip even, you can just add strips on here and make this really long. That could be really fun. But what we did was we got all of our strips. We put them up on the design wall like this and then the next strip set we looked to see what would go where. You know, where we wanted to put it, how we wanted to move them back and forth.
Now earlier I mentioned that this would be a really fun thing to do with, with orphan blocks because a lot of times we make a project and you have that one block leftover. And so say you have a block leftover but it’s 12 inches. The cool thing about that is you just sew that many strips together to make it how tall you need it for your block. Also on an orphan block, I know this is a lot of information but things keep popping in my head. But on an orphan block I bought a whole bunch of antique blocks once from an antique store. And they were the same block but they were all different sizes. What you can do when that happens is that you put a little sashing all the way around it. And that becomes your floating sashing. So once you get like a 2 ½ inch strip around here then you cut it down to the size that you need. And it doesn’t matter if the blocks are a little bigger or smaller because you’ll cut them all to the same size. And so that should help you with, with using up your orphan blocks. But even if you choose to just do it this way. This is a really fun quilt, quick, easy idea. We’re calling it Roadblock because its strips look like a road and obviously we’ve stuck blocks in there. So we hope you enjoyed this tutorial from the MSQC.
& Progress on Social