


Summer School Quilt Tutorial
Jenny Doan
Summer School Quilt Tutorial
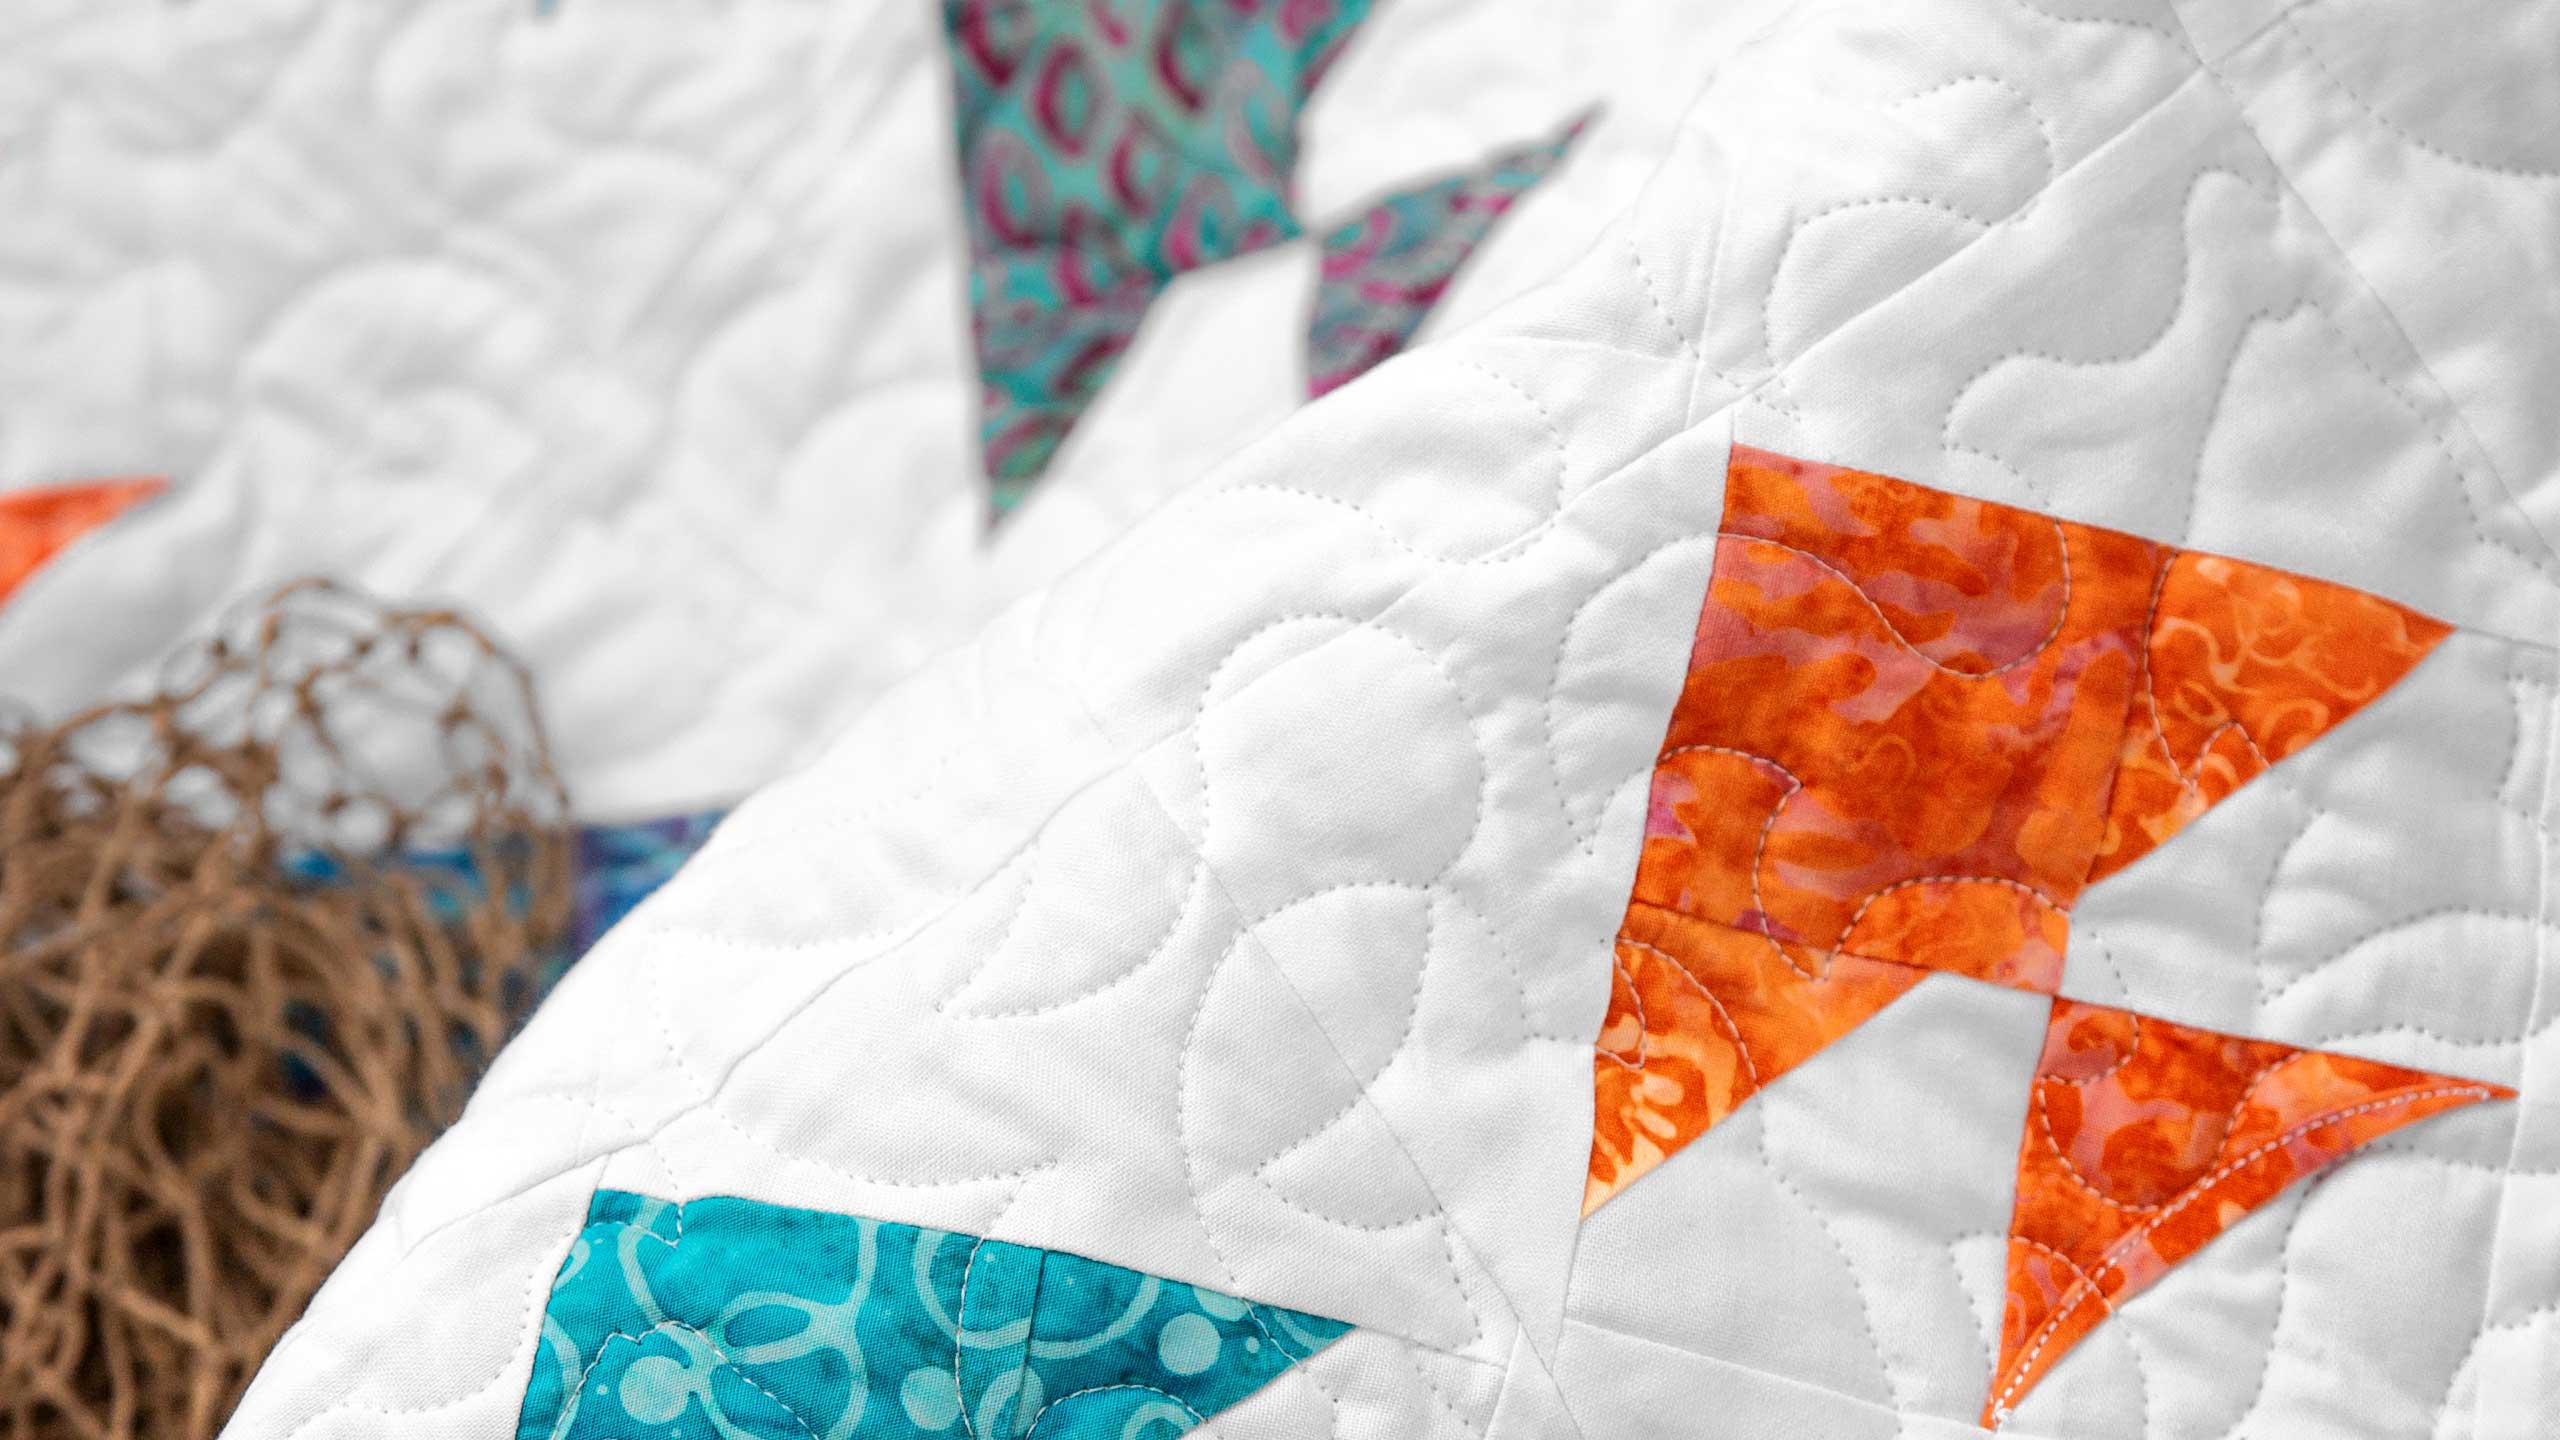
Jenny demonstrates how to make a quick and easy fish block using 5 inch squares of precut fabric (charm packs). We used "Ocean Odyssey" by Lunch Box Quilts for Island Batiks.
(OOPS! Jenny meant to say 1 3/4 yard for the background fabric)
- 1 pack x 5" Precut Fabric Squares (Charm Pack)
- 1¾ yards x Background Fabric
- ¾ yards x Border Fabric
- ½ yard x Quilt Fabric for Binding
- 2¾ yards x Quilt Backing Fabric
Featured products Get the Supplies Featured in this Tutorial


Finish your masterpiece and let us give it the finishing touch it deserves.
Subscribe to MSQC on YouTube
Hundreds of FREE tutorials and a new one from Jenny launches every Friday.
video transcript
Hi everybody, it’s Jenny from the MSQC. And I’ve got a fun project planned for you today. Now you may not know this about me but my maiden name is Fish and so I love all things fish. Isn’t this adorable? This is so cute. Really fun and easy to make. Can’t wait to show it to you how to do it. So to make this quilt what you’re going to need is one packet of five inch squares. And we have used Ocean Odyssey by Island Batik Fabrics. And there are a lot of little fish on this fabric and so it makes it even cuter. You’re also going to need 2 ¾ yards of a background fabric. We’re going to be cutting those into 2 ½ inch squares and 4 ½ inch squares to make our block here. You’re going to need ¾ of a yard only for this little outer border. It’s a little four inch border. And for our back you’re going to need 2 ¾ yards. You’re going to have a lot left over but because of the size of it we have to get that little extra yardage in. And it’s going to end up being a 43 by 80, sorry not 80. 43 by 49 so it’s a pretty good size baby quilt. Just a little bit bigger. And really a lot of fun. So remember if you want to make this bigger, one makes a baby, two makes a crib, three makes a lap, four makes a twin. So it’s going to get bigger a lot quicker when you add packs to that. Alright so let me show you how to do this.
So we’re going to take one of our squares here. And I am just going to grab one. These are beautiful squares. You know what I’m just going to take one right out of here. Oop, this is the hardest part, the opening. There we go. Alright, let’s look at some of these. These are just gorgeous colors. Ooh let’s do this one. Alright so with our five inch square what we’re going to is we are going to cut it in two pieces. And I am going to, yes I just tossed that over the side there. I’m going to in two times to make four 2 ½ inch squares, just like that. I’m setting one aside. One I’m going to iron in half right now. And I’m just going to press this in half so it’s ready. Because we’re making the cathedral tail on this fish. And then these other two I’m going to stack. And I’m going to cut these into an inch and ¾ squares. So we’re going to line up our little ruler here on our ¾ line just like that on the side. And I”m just going to cut around this like this. There we go. Now these two little squares I’m also going to iron in half and make a sew line because this is going to make our little fins. Because this is going to make our little fins right here. There we go. With the little squares it’s a little harder because you’re, you know you don’t want to burn your fingers. Alright.
Now we’re going to need some white and so we’re going to have our little white strip here. And we’re going to cut some 2 ½ inch squares. And we need three of those for each block. And so I”m going to cut some off the end of my strip right here. And I’m going to cut 2 ½ . Let me straighten up my edge. The nice thing about this little ruler is that it is 2 ½ so I can just line it up on the edge. And I’m going to do one and then one more set. I’ll have one extra but that’s ok. Use it on the next group. Alright I’m going to turn these over and I’m going to stack them up just like that. And just cut those off. That’s extra. And we’re going to need three of these for each block. Two make the fins and one makes the tail. Alright so let’s do our fins first. What we’re going to do is we’re going to take our 2 ¾ or sorry our 1 ¾ inch squares line them up on the top corner like this and just sew right across the line and we’re going to do that to both of these. Let me get this one open, there we go. And when you iron a line or you know you can draw the line if you want to. But when you iron a line make sure that you, you iron it so that you’re sewing in the valley. It’s way easier to sew in the valley than on top of the mountain.
So we’re coming over here to the sewing machine. Make sure everything is going. And we’re just going to sew right on that line. Whoop my thread just broke. Sometimes that happens when you start off in the morning. Alrighty let’s try this again. Alright now let’s sew right on the line right across. And honestly this distance is so small that by the time you’ve done a few of these you may not even need to press the line. It just gets automatic where you can just sail across there. A good way to check if your line is straight is to fold your corner back and make sure it lines up on the corner. Now mine is a little bit off right there but I’ll be able to hide that in my quarter of an inch seams so it won’t be a big deal. Let’s see how this one is. Ooh this one is perfect. Look at that. Alright so let’s trim off this edge right here. And trim off this edge. There we go. And let’s press these. Move this over here. There we go. Now those are nice and flat. We get to start assembling our fish now.
This is the head of the fish and these are the fins. And the fins are going to come like this. And then we get to put our tail in. Now the tail is going to be a cathedral, a quarter of a cathedral window. If you haven’t seen the easy way I do the cathedral window you’ll want to check that out because this is exactly how it works. But this is so easy. It’s just going to be the corner. So what we’re going to do now is we’re going to sew this fish together. And what I’ve done is I’ve just folded this piece in half like this and set it right up here in the corner. So we’re going to sew this together like a four patch. So I’m going to put this over here just like this. And I’m going to put this over here. And then I’m going to sew these two together just like this. And now I”m going to sew these two. And then we’re going to sew these two together. So these two should open up. You want to check them. They should open up and be shaped like your fish. You’re going to lay these on top of each other. And then we’re going to sew it again. So I’m starting on this edge and I’m going to come down here and make sure now that my, my seams are going different directions. That my half square triangle that is just floating in there, not half square triangle, my folded over square is just floating in there kind of loose. And make sure it’s lined up on the edge. You want to catch that whole thing. And it should look like this. And we’re going to press it now. Make sure our seams are going the right way. Give it a nice shot of steam.
Alright now because this little square right here is loose what we get to do is we get to fold it back and give it a real fish tail look. So it’s just, we’re going to fold it back and we’re going to topstitch right along this edge and just give it that cool fishtail look. So I’m just going to start right here at the very edge of that, this little curve and topstitch along there. There we go. And so now you have this cute little fish that has this curve. Now as I was looking at all these, I”m just going to press it again. As I was looking at my fish blocks and putting them together I realized that I wanted these to be set on point. I wanted them to look like a school of fish all going in the same direction. So then we’re going to set our block on point by adding some corners to it which means you’re going to take your yardage and you’re going to cut some four inch squares. And you’re going to need two for each fish. So we’re going to go side to side right here. And just cut them diagonally one and two. And then we’re going to add these to two sides at a time. So we’re do these two sides first. And honestly an easy way to do this is to fold your little triangle in half and make a little crease. And match that crease up. It’s real easy to do when you have a four patch. So match that crease up with that center seam and then you’ll know you have it right in the center. So we’re going to put them on two sides and then we’ll put them on the top and bottom. Alright so make sure my crease is lined up with my edge. And then flip it around and put the other one on. The little crease is really helpful because these don’t line up right along the edge. They’re going to make our, make our block a little bit bigger. So now we want to press these out. We’re going to set the seam and then roll it back. Alrighty. Now we’re going to put them on the other sides. So again I’m going to put a little crease right here in the middle just with my thumb nail. And then we’re going to line it up on this side and this one as well. And we’ll go sew those down. And then over here. Alrighty. Now you might want to clip off these extra little dog ears that hang out right here for less bulk. And then we’re going to press this open. And now we want to square our block.
You want to make sure that your blocks are the same size. So we square our block to 6 ¼. So we’re going to lay it on here and I”m going to count one, two, three, four, five, six, and you’ll see that there’s not a ton of squaring room. There’s not a ton of stuff you can come off or that you cut off. But for some reason these sides get a little wonky when you’re doing it. And so now I’m going to lay this right on that line. And then I’m going to come over here to 6 ¼ and just trim that. See this is really all we’re trimming. So be careful when you’re doing it because you don’t want to cut off too much on one fell go. So right here. And then over here again. Place it right on the line. And then we’re coming over 6 ¼ . I almost forgot the quarter. Don’t do that. Alrighty, there we go. So now our little fish are 6 ¼ and we get to just set them together.Now we have a fish on point which means your block is sitting on the point of the block but we can sew them together straight.
So you can see in ours we just sewed them together one after the other after the other like this. Oop you don’t want that fish going the wrong way. . Well you might. You can pretty much do anything you want. But it just makes such a cute quilt. So these are going one, two, three, four, five, six, of them seven rows. That’s 42 squares. Just makes a darling little quilt and it comes together so quick. You know I have a son who went to college in Hawaii and I made him a quilt like this for his bed in Hawaii. These are great baby quilts, great, you know anybody who loves the ocean, the sea life, this is a great fun thing for. And we hope you enjoyed this tutorial on the Summer School quilt from the MSQC.
& Progress on Social