


Bow Tie Party Quilt Tutorial
Jenny Doan
Bow Tie Party Quilt Tutorial
- 2 rolls x 2.5" Strips (Jelly Rolls) - Print
- 1 roll x 2.5" Strips (Jelly Rolls) - Background
- ¾ yard x Quilt Fabric for Inner Border
- 1¾ yards x Quilt Fabric for Outer Border
- ¾ yard x Quilt Fabric for Binding
- 5¾ yards x Quilt Backing Fabric
Featured products Get the Supplies Featured in this Tutorial


Finish your masterpiece and let us give it the finishing touch it deserves.
Subscribe to MSQC on YouTube
Hundreds of FREE tutorials and a new one from Jenny launches every Friday.
video transcript
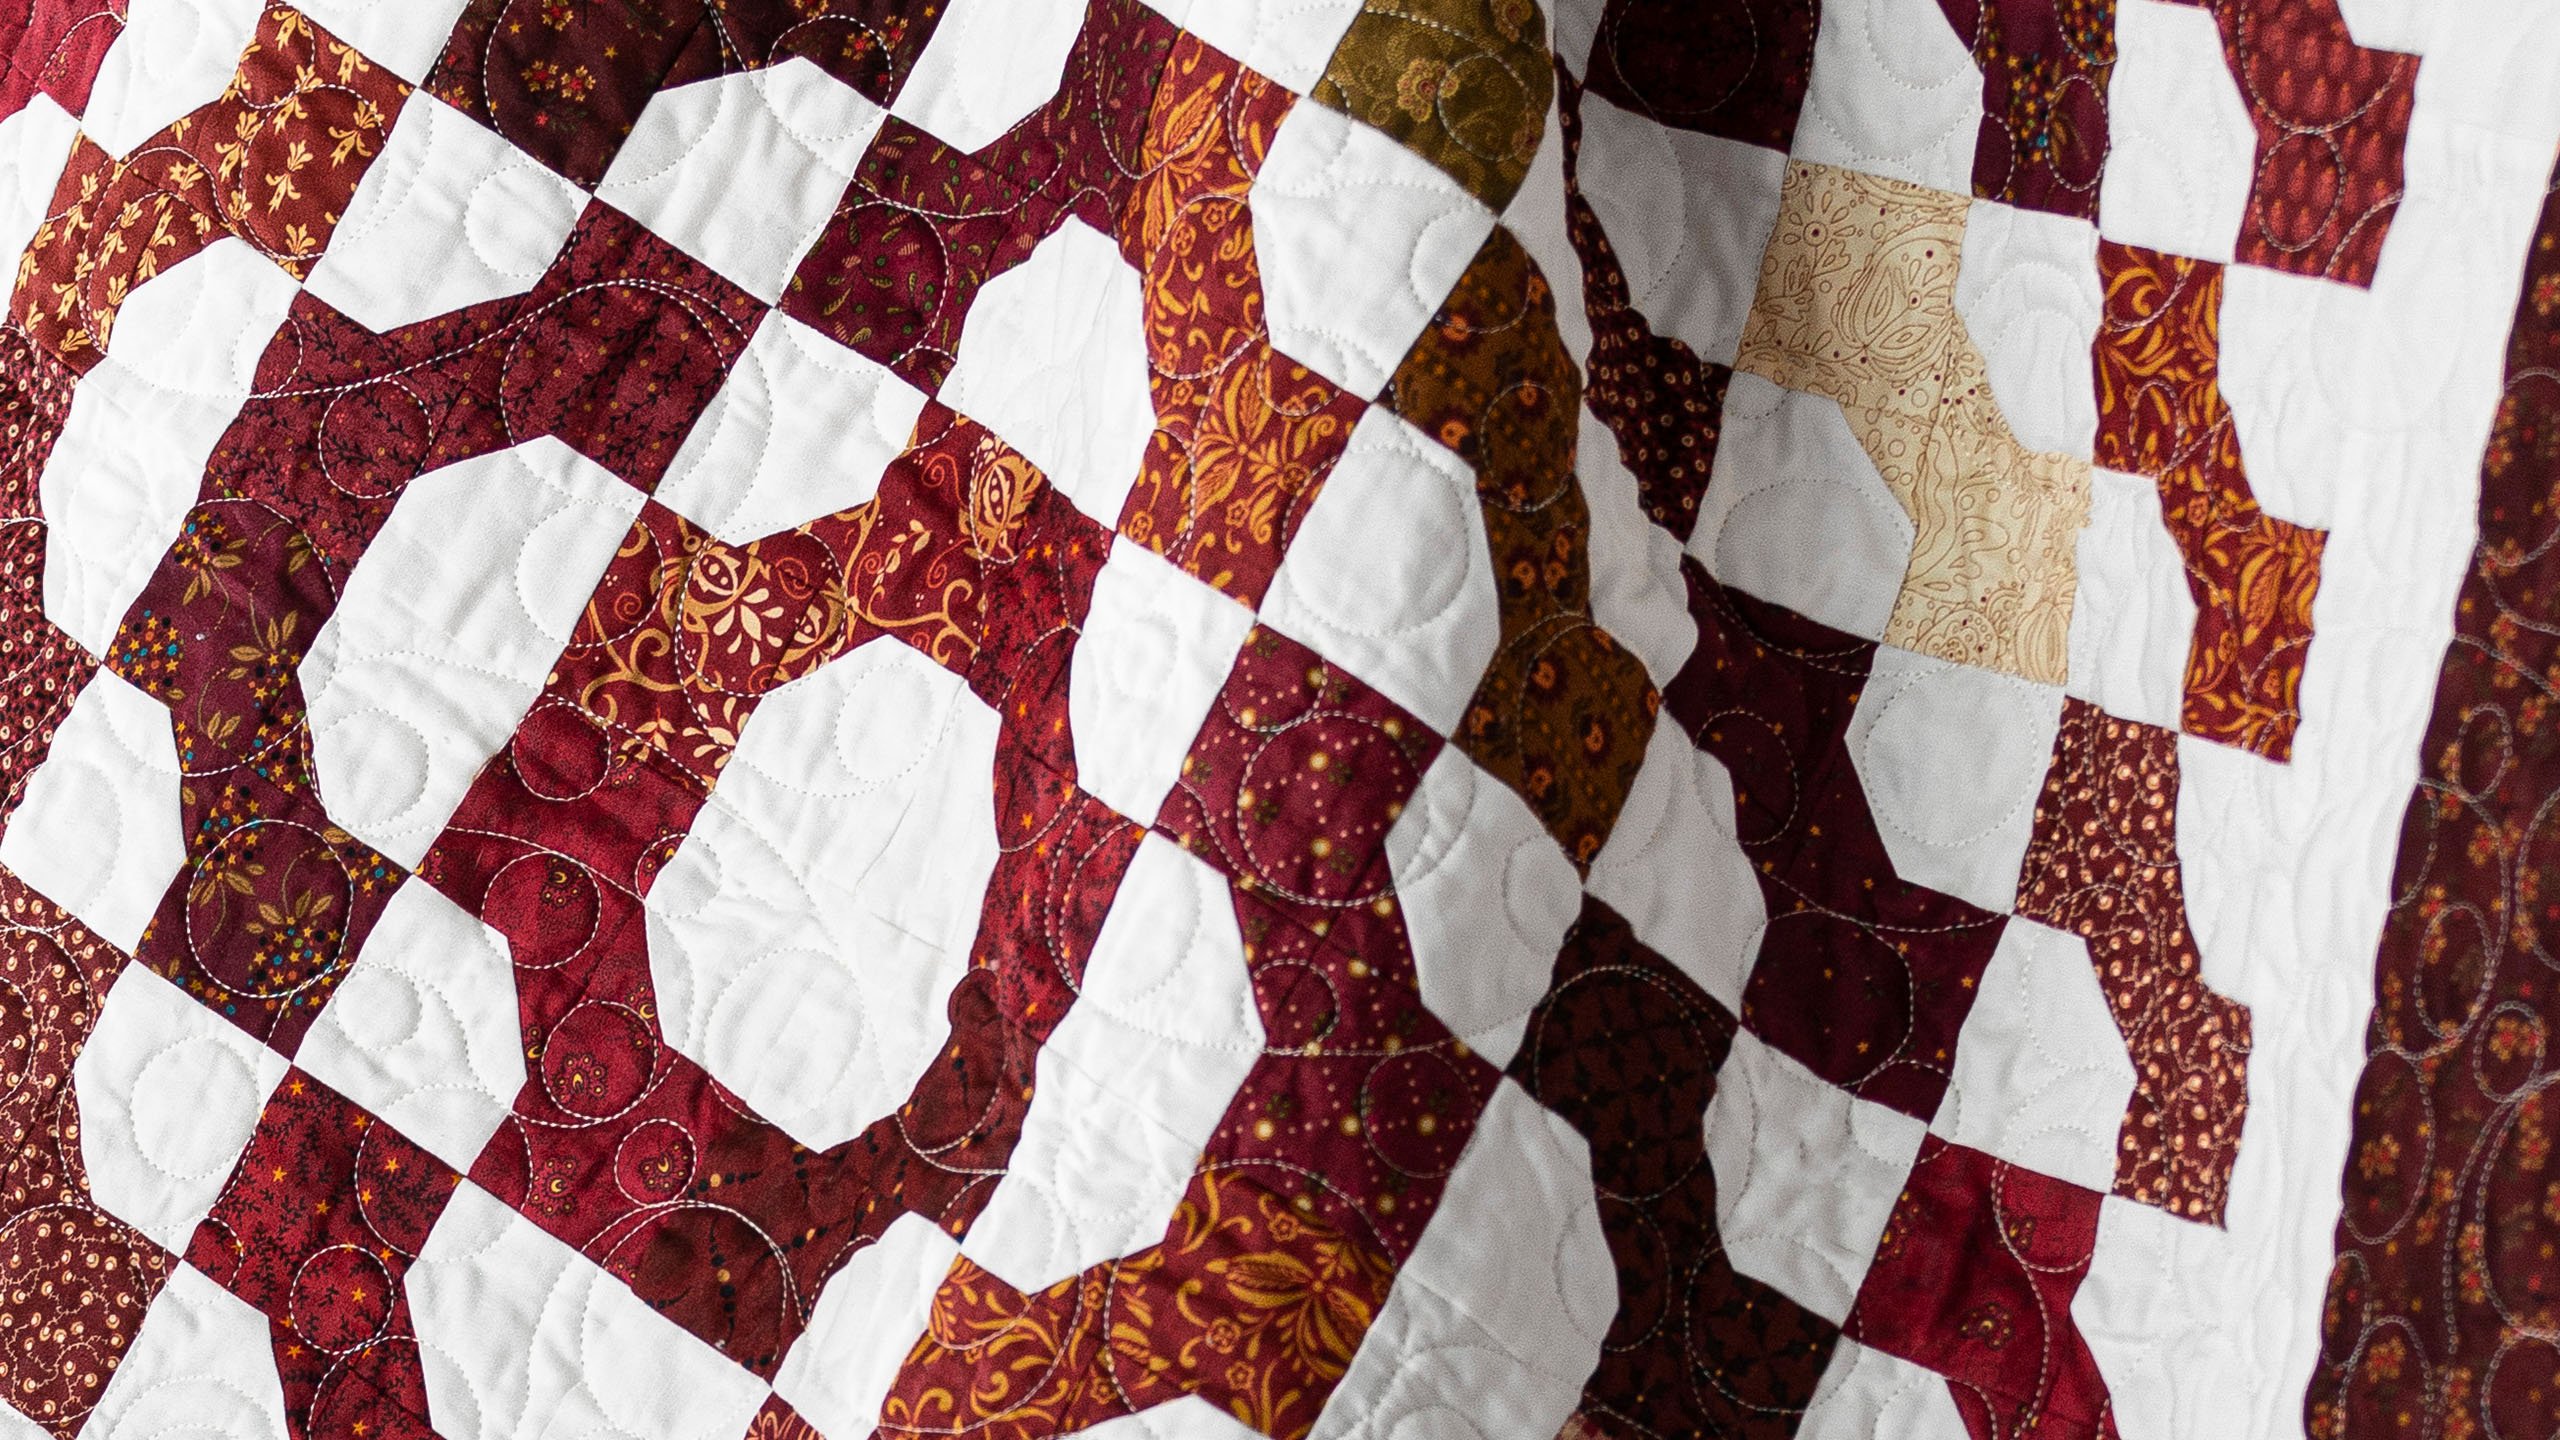
Hi everybody, it’s Jenny from the Missouri Star Quilt Company. Way back in 2014 we put this awesome Bowtie quilt in Block Magazine but I realized that we’d never actually done a video on it. Plus we wanted to make some corrections for the pattern and all that. So we thought we would bring it back today and show you the new and improved Bowtie Party. So take a look at this quilt behind me. Isn’t this fun? So I love tiny, quick blocks. And I love how just by turning a block you get a whole new design and I’ll show you how to do that. So to make this quilt you’re going to need two rolls of 2 ½ inch strips. Actually you just need 64 strips. We actually had to stop because it was getting too big for our filming area right here. But we used Idaho Prairie Star by Kim Diehl for Henry Glass. You’re going to need one roll of 2 ½ inch strips for your background. And that’s all going to be cut into 2 ½ inch squares. And if you don’t want to use the roll you can get these little precuts that are already 2 ½ inch squares as well, which I love those. You’re going to need about ¾ of a yard for this inner border right here. It’s a little 2 ½ inch border. Our outer border out here is a nice big six inch border out here. And it is 1 ¾ yards. Our backing, isn’t that a pretty backing, love seeing the quilting patterns too, that’s loops and swirls. Our backing is 5 ¾ yards. And so it’s just a really nice quilt. It comes out 79 by 95, the way we’ve laid it out. So this is one of those where you can have fun with the layout. You can have fun with the number of blocks that you make. You know that you’re going to get a pretty good quilt for the fabric you’re using.
Alright so what we’re going to do is we are going to take one of our strips. And you’re going to do this to all your strips. And I have this one right here and I’m just going to leave it folded. And out of each strip you’ll get ten 2 ½ inch squares and ten 1 ½ inch squares. You need two of each to make a block. So I’m going to cut two 2 ½ right here like this. And you can see I’ve already cut some on this strip and so obviously I’m not going to get ten of them out of this strip. But when you’re looking at your big 40 inch strip just leave it folded in half and cut ten two’s and ten 1 ½. Now when you’re ready to cut your 1 ½ you can actually do a little 1 ½ inch strip like this and flip that around and make sure it’s just a 1 ½ inch square like this. Or you can go ahead and trim the whole rest of your strip to 1 ½ and then just chk, chk, chk, you know all the way along it. So you want to keep these together in sets with two of your 2 ½ inch squares and two of your 1 ½ inch squares together.
And when you’re ready to make your block we’re just going to take two of our 2 ½ inch background squares and we’re going to take our two little tiny 1 ½ inch squares and we’re going to put them in one corner of the square like this. So we’re just going to lay those in a corner. It doesn’t matter which corner because you’ll be able to turn them how you want them. And if you want you can draw a line side to side. When you’re dealing with tinier pieces sometimes it’s better to draw that line. So we’ll just draw a line on here. Sometimes when you’re dealing with smaller pieces it’s a little more important to be accurate. This is just one little corner. And honestly if it were me I’d probably just zoom from one side to the other. But we’re going to show you right here. Alright so now I have my little line drawn across. And you can bring your pieces over here. And you can just sew corner to corner on that little line. And we’re just going to sew here and one more. There we go. And then what I’m going to do is I’m going to come over here and I’m going to trim these edges right here. Just trim it off about a quarter of an inch. You can do that with your rotary cutter and your ruler or you can do it with your scissors like I am doing it. Just quick and easy. And then we’re going to press these back. I’m going to move this right here. And then I’m just going to iron these back. Now you can set your seam. Somebody mentioned in a comment that I was forgetting to set my seams. And I do, I get in such a rush to show you guys this new cool thing that I do forget that sometimes. So what we’re going to do is we’re going to set them and iron them back.
So once you get your pieces all ironed nice and flat, this goes together just like a four patch. So here’s how we’re going to do it. We’re going to put our blocks out here and I’m just going to press these so they lay a little better. I think they go cut on the fold. And we’re going to put these two like this and we’re going to put this one so it points in so your little triangles point in like this. And this block is here like this. And so then we’re just going to take this block over to the sewing machine and we’re going to sew down this side and down this side. Now this is one of those things where if you’re cutting your 2 ½ inch squares, if your cutting is accurate then this, because sometimes when we sew, like maybe this gets, this little corner might get a little bit wonky but your 2 ½ inch square can act as your pattern to straighten things back up. So that’s just a little tip that I use to make sure that things kind of stay lined up. Alright so now we’re going to go ahead and sew, wait a minute I’ve got to make sure I’ve got these going the right way. Yes I do. Whew! Check twice. You don’t want to pin, you don’t want to pick out, I mean. Alright so we’re sewing down the side of this one. Alright so we’re going to sew down this side and then we’re going to sew down this side. And then we’re going to put them back together and it’s just as easy as sewing a four patch really. Alright so here’s this side and I finger press that. And I’ve got this one and I finger press that as well. And see how that goes together like that and it just makes the cutest little bowtie. So let me sew these together. You want that center seam to nest up. So we’re going to start, take a few anchoring stitches, then I’m going to come here and I’m going to feel that seam to make sure there’s no room in between and just so those seams nest really nice and tight together. And then we’re going to press it. We’re going to check, oh I did pretty good. Alright here we go. We’re going to press this out. Alright.
So now I’ve got this pressed out. I’ve got a little hanger over here so I’m just going to kind of straighten this edge up a little bit. Your block should measure 4 ½. So let’s check that. We are pretty close. I am actually going to put this on my half mark here. I just have a little tiny corner I’m going to trim. I’m going to turn it, check it again. So here’s our cute little bowtie. Isn’t that darling? And I just love, I love how quickly they go together and how easy they are and how sweet they look.
Now we’re going to put these together in blocks of 16 and you need 20 of those blocks. So I have one started here and I have three rows on here and I have a few made. And what we’re going to do is we’re going to lay them on here so they’re all going the same direction like this and we’re going to put in a whole row. So I have these two already sewn together. So what I’m going to do is I’m going to sew these two together and then I’m going to sew these two to these two to make a whole row and then we’ll attach that row to the square and I’ll show you how this square works. Because it looks a little harder than that on the quilt, doesn’t it? Alright so now I’m just going to make sure my seams are lined up, go ahead and sew this over. I’m going to make sure they’re all going the same direction, all your blocks need to go exactly the same direction. And we are going to make sure this seam is lined up. That center seam is your key. That keeps all your blocks square. You just want to make sure that center seam is lined up really nice. We’re going to press this nice and flat. Alright now we’re ready to add this onto the bottom of my block right here. So four rows of four is 16. And the nice thing about sewing these little patches together is that every 2 ½ inches there’s a seam that intersects so it keeps it nice and straight and you want to make sure those line up. So if you tend to want to be a pinner you would pin at every one of these junctions to make sure that your little seams line up. And that way your blocks will stay nice and square. So sometimes if your seams aren’t exactly perfect, they aren’t exactly a quarter of an inch you might have a little bit of room in there. What you want to do is just go slow and kind of ease that in because you want your block to stay square. So you want those little lines to match up. So I”m going to press this bottom one here so I can show you the lines. And you can see here that, you know, we’re matching up at every little junction and so that makes your block stay really nice.
Now the fun part of putting this quilt together is this is super easy. They’re all going the same direction. We’re making 20 of these blocks. But let me show you what happens up here in the quilt. Because we’re just going to rotate the block to get these different things that happen in here. And so that makes it really run. So here’s our block right here. So you can see how that fits in here. When you put four of these together, this one is turned and then this one is turned like this and then this one is turned. Do you see how easy that is? And so it’s the same. So we have, of our 16’s we have one, two, three, four across the top and one, two, three, four, five, of these blocks down so that makes 20 blocks. And just like that you’ve finished your quilt. We put a little 2 ½ inch border around it, a little six inch border. Again we get a pretty good size quilt. So this is a great classic quilt. It’s super easy to make. It looks much harder than it is. And we hope you enjoyed this tutorial on the Bowtie Party from the Missouri Star Quilt Company.
& Progress on Social