


Hourglass Wreath Quilt Tutorial
Jenny Doan
Hourglass Wreath Quilt Tutorial
- 1 pack x 10" Precut Fabric Squares (Layer Cakes) - Print (incl. cornerstones)
- 1 pack x 10" Precut Fabric Squares (Layer Cakes) - Background
- 1½ yards x Quilt Fabric for Background
- 1½ yards x Quilt Fabric for Border
- ¾ yards x Quilt Fabric for Binding
- 5¾ yards x Quilt Backing Fabric
Featured products Get the Supplies Featured in this Tutorial


Finish your masterpiece and let us give it the finishing touch it deserves.
Subscribe to MSQC on YouTube
Hundreds of FREE tutorials and a new one from Jenny launches every Friday.
video transcript
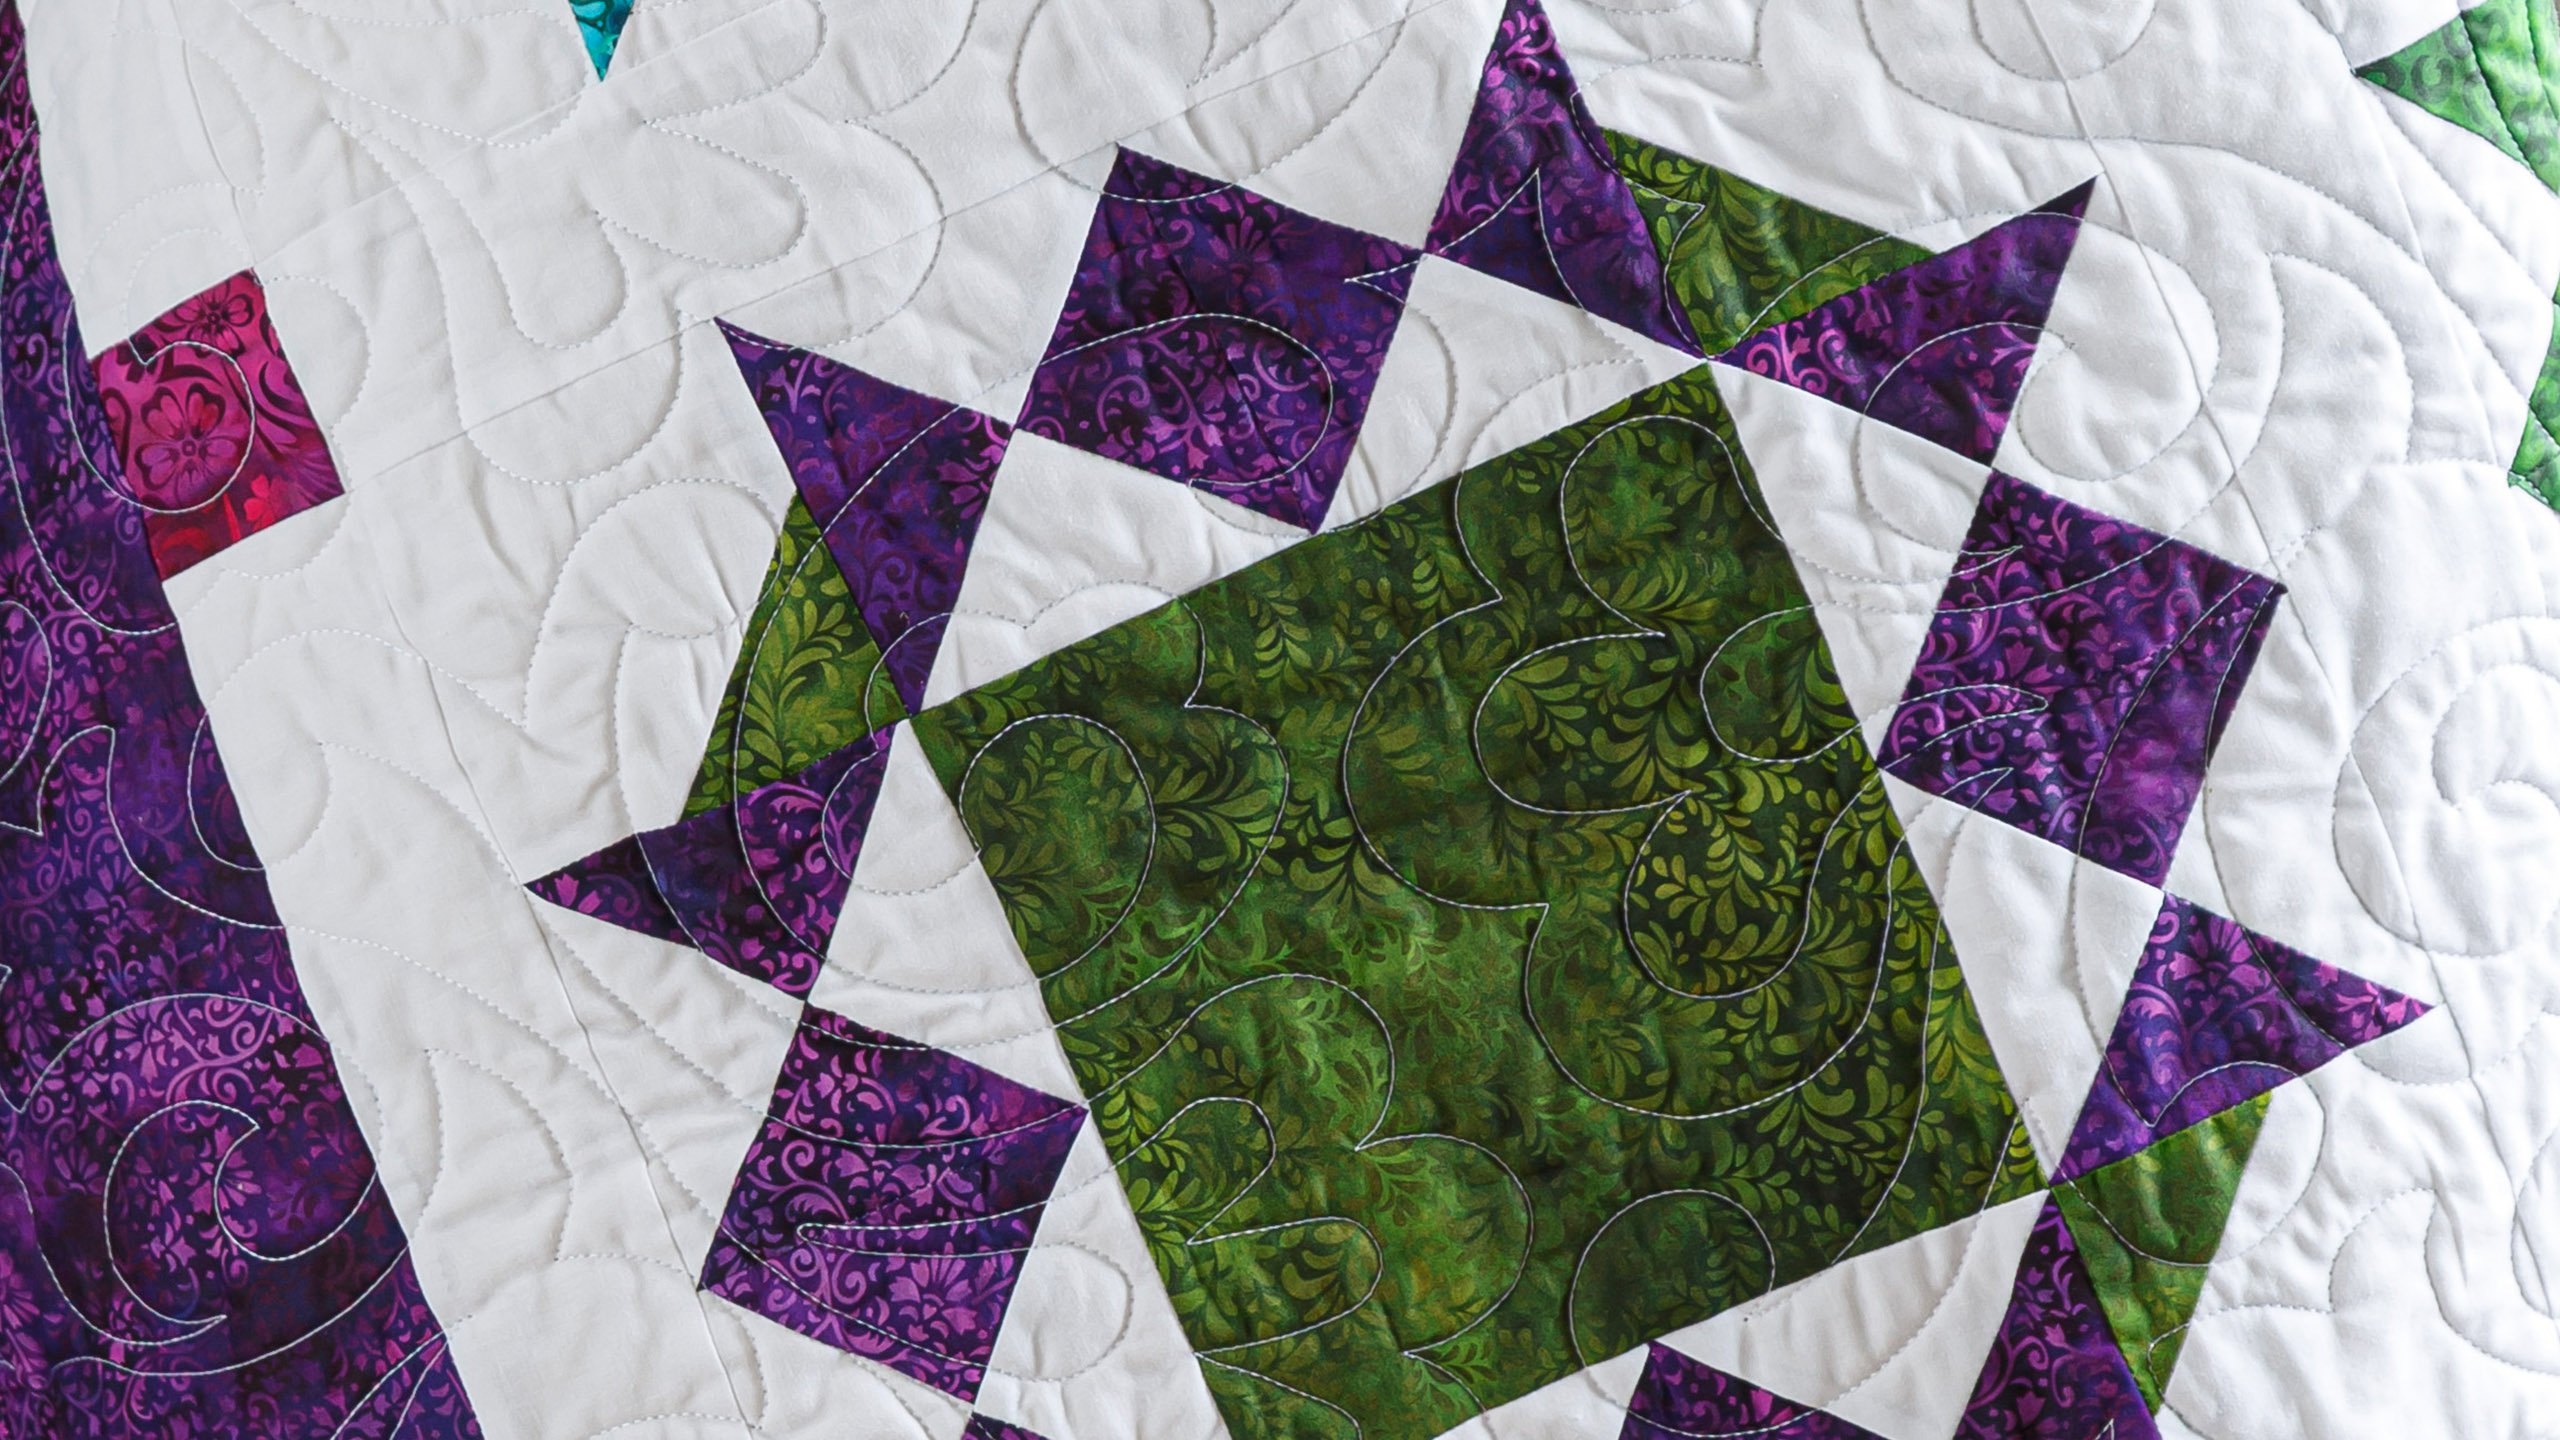
Hi everybody, it’s Jenny from the MSQC. And I’ve got a fun project for you today. I’ve had a lot of fun playing with hourglasses as of late. And this is another one of those quilts that stems from my love of hourglasses. So let’s take a look at this quilt behind me. I know you probably can’t see the hourglasses but they’re going to appear and I’m going to show you how to do it. Isn’t this gorgeous? It’s just like, it’s just so bright and it pops so pretty. I just love it and I love this fabric. So to make this quilt you’re going to need one packet of ten inch squares. And we have used Rainbow of Jewels by Jason Yenter for In the Beginning Fabrics. You’re also going to need a packet of background squares, also ten inches. And then you’re going to need some yardage as well because all of these sashings are yardage. And they’re 2 ½ inch strips but you’re going to need 1 ½ yards of background fabric that matches your ten inch square background fabric as well. Our border out here is 1 ½ yards. It’s a nice big six inch border. And our backing, his fabric is just so vibrant; it’s just so beautiful. Our backing here is 5 ¾ yards. And this quilt pattern right here is called Variety. And it’s a very pretty quilt pattern. Very, you know, really beautiful. The other thing I used to make this quilt was I used the clearly perfect slotted trimmer B. And you need a ruler that will go diagonally all the way across and I have this 2 ½ by 15 inch ruler that I love to use for these kind of things.
Alright so the first thing we’re going to do is we are going to our one solid ten inch square and we’re going to cut 2 ½ inches off both sides. Now this ruler makes it really easy because it’s a 2 ½ inch ruler. And so I’m going to cut this way and then I’m going to move this off and I’m going to turn my block and cut 2 ½ inches off of this way as well. So lay it right on the edge. And then we’ve got that. This now is the center block of our quilt. So you have one block done. Alright so out of your strips that you’ve cut off, we’re going to cut those into 2 ½ inch squares. And I’m going to go ahead and just lay my ruler on here and cut 2 ½ and 2 ½. And these are the squares that are going to go in the little corners of your blocks and also you’re going to use these for your cornerstones. So you need four of these for your blocks and the other ones I just set aside over here so that as I started putting all my cornerstones in I could pick and choose and mix them up and make it really scrappy.
Alright so now we need to make some half square triangles so that we can turn them into hourglasses. The first thing we’re going to do is we’re going to take our white square and lay it on top of our colored square like this. And we are going to do the easy eight here. So we’re going to draw the line diagonally, both directions. And I’m going to lay my ruler on here. You need a ruler that goes from one side of the fabric to the other. And I’m just going to go right along here and the ruler keeps catching the edge of my pen. There we go. I’m going to lay it on this side as well. And then what I’m going to do now is I’m going to sew a quarter of an inch on both sides of this drawn line. So I’m going to come to the sewing machine. I’m going to put my presser foot down right along the edge of the line and just follow that line all the way down and flip it around and come up the other side. Alright then we want to do it to the opposite line as well and come around the other side. Alright.
So now to cut this, what I like to do is I”m going to grab my five inch ruler and I’m going to lay it right along the edge like this. And I’m going to cut it in half both directions this way and this way. And then I’m going to cut on the lines. So we make four cuts on this. And then we’ve got this way too. Alright so now what we’re going to do is we’re going to press these open. I’m going to move this gorgeous block. And I’m going to set my seam and roll these back. And I am just going to be making one set of these so that you can see how I do it. I have a few already made so that I can show you how to assemble the block. But we’re just going to concentrate on making these hourglasses. And I set my seams and roll them back. Setting the seams just relaxes the thread. It’s not 100% necessary but it does help.
Alright so now what I’m going to do is I’m going to take one of these and I’m going to draw my line corner to corner on the back of these. And for this block you’re going to need eight hourglasses and out of each one of these you’re going to get two. So we’re going to draw the line all the way both ways. And this will give you two and then this will give you two. And so you’re going to do this to all of your half square triangles. Alright now because I drew the line on this one I’m going to pair it with one I did not draw the line on and I’m going to put my colors going opposite direction. And I’m going to line it up and I’m just going to kind of push it and feel it so it’s like it’s nested tight up against there. And then I’m going to sew a quarter of an inch on both sides of this line. And this is just one of the ways to make hourglasses. It’s a super easy, quick way. Roll this around, down the other side. Alright. So then I’m going to go ahead and cut this in half. And I need a rotary cutter to do that.
Alright now we come to the squaring of the hourglasses. Here’s your hourglass. This is what it looks like. And we want to square this to four inches. And so what we’re going to do is I’m going to lay this on here like this and I”m going to find my four inch seam line on here. And I can lay my four inch seam line on there and then this vertical line also follows the seam line. And so I’m going to match those two lines up like this and I”m just going to trim this like this and that will give me a perfect four inch hourglass. So let me press that open. And let’s cut one more of those. So I’m going to lay my four inch again on the stitch line. So see their stitch line on my stitch line. And then this vertical line I’m also going to line up right here with my vertical seam and trim that. Alright. So then we’re going to press these open. And then I have a few more already made here. All of these get sewn together in pairs to make a unit that looks like this. So let me sew these together. You’re going to sew color to color. And so I’m going to sew, take my two hourglasses and sew them color to color just like this. And you need four pairs of these or eight individual hourglasses that are four inches to make this block. So I have those right there and I have some more here.
Now for your corner blocks they’re just going to be four inch white squares. And let me count out four. And then we’re going to take the little squares that we cut off our middle circle and we’re going to snowball one corner of these. So it doesn’t matter which corner. But we’re just going to go ahead and lay these on here and sew it down. So I’m not going to be drawing the line or pressing it because I have the diagonal seam tape on here so I can start and I line my point up with the red line on the diagonal seam tape and I just sew straight across. And I’m going to do that to all four of these squares. And put my fabric right sides together and nest it up right in the corner and then just start down the side. And I’m going to need one more square. Make sure it stays right on the edge of your white square. Let me grab one more of these. Alright so now I’m just going to sew, again I’m going to line up my little, I’m sewing right over the corner of the square and then I just keep it lined up with my diagonal seam tape and I can sew straight down. That stuff is so handy. Alright so now what we’re going to do is we’re going to trim these apart and I’m going to trim off this edge right here. You can do it with scissors or a rotary cutter. And I’m going to trim these apart and then I will just lay my little ruler on here and take this and cut these right here. And then I will show you how we are going to lay out this block. And it’s just so pretty how it comes together. Alright let me press these open. There we go.
Alright. So now we’re going to take our block that we cut this center right here. We’re going to put that right there. We’re going to take our hourglasses that we made, our pairs. And we’re going to put them all around the block like this. Here’s one and here’s one. And then our corner blocks we’re just going to slide in like this, put another one over here and then another one over here. And your block is done and it looks just like a wreath. So let’s go ahead and sew these together. I’m going to sew a purple block to the end of both of these. And when I’m sewing these, when I pick them up and go to the sewing machine I’m going to remember that color goes to color. So we’re going to go ahead and do that. And we’ll quickly put this block together for you. I’m going to sew on this side. I’m going to flip it around. I’m going to remember that the color goes to the color and it points to the inside. And then that one is done. Then we will take these two big blocks and sew them to the middle center and this time, we remember that it’s the whites that are touching the middle center. It’s actually the only way you can put this on. And so just lay that on there and sew a quarter of an inch. There’s nothing to match up. That center seam doesn’t match to anything because the center block is just one whole piece which makes my mind think of other things we could do with that center block. All those what if factors are coming into play. Alright so now this one is done and we’re going to do the exact same thing to the bottom row that we did with the top, color to the color. Flip it around.
Alright so now we’re going to press these and I would like the seams on these to go to the outside. So my two side seams are going to go to the outside on the top and bottom rows of this block. So we’re going to go to the outside right here. Make sure that’s pressed nice and flat. Now this middle block, you can see they already want to go to the inside so I’m just going to let them do that. So we’re going to press this and then I’m going to flip this around and press this. Making sure this is nice and flat. Our seams are to the inside. So now when we nest these corners, it’s these little corner pieces we want to match up right here. This is where we want to match. And see how this one is just a little bit bigger. If I put this piece on the bottom the feed dogs will take in more fabric and will ease that in. So let’s do that first. And so what I’m going to do is I’m going to lay this on this edge and it’s this corner right here I want to match up. So I’m going to match that up before I even start. Make sure that this corner is nested. Lay that top down. I’m going to stitch. I’m going to check to make sure that corner is still nested. And that just has to do, like if your seams are off a little bit, you know, your quarter inch seams are off a little bit, it could be a little bigger or smaller. But if you always put the big bottom to the bottom then the feed dogs take in more fabric and they’ll ease that in. So now what I’m doing is I’m taking a hold of this top piece and I’m going to nest these two seams up right here so that they are locked and then just let the feed dogs do their work. And it should just match up so nice and pretty.
Alright, let’s see how that looks. So see how that looks really nice right there. So let’s go ahead and add this block, this one to the top. And this one looks like it’s going to fit pretty good and so I can do it either way. And I’m going to do it on the top of this one. That’s just a little trick for making things come together how you want them. And we’re going to stitch this down and come across to the end. And then we’ll press this block. This is, for the work you do which isn’t much, I just think this is such a stunning block, absolutely stunning. And again it’s one of those things where it’s what happens in the corner makes a difference, you know. What we do when we cut that center seam, what we do with those extra little squares. All of that makes a difference and it just makes this beautiful, beautiful wreath block. And here we go.
Isn’t that a gorgeous block? So let’s look at the quilt behind me. So we’ve got one, two, three, four blocks across the top and one, two, three, four, five rows. That makes 20 blocks. Now in a packet of squares you get 42 . So we’re using 40 of those just to make this quilt. And you’re going to get a couple of blocks leftover but wouldn’t this make a gorgeous pillow? Anyway, this is a fun, quick block. It’s easier than it looks but it has such pizzaz to it. So I hope you enjoyed this tutorial on the Hourglass Wreath from the MSQC.
We hope you enjoyed watching this video. If you’re not already part of the Missouri Star quilt family you can hit the subscribe button below so you won’t miss a thing. And if you click that bell it will notify you every time a new tutorial comes out. See you next Friday.
& Progress on Social