


Fancy Flight Quilt Tutorial
Jenny Doan
Fancy Flight Quilt Tutorial
- 1 Pack x 2.5" Fabric Strips (Jelly Rolls)
- 3/4 Yard x Background Fabric
- 1 Yard x Outer Border Fabric
- 1/2 Yard x Binding
- 3 Yards x Quilt Backing Fabric
Featured products Get the Supplies Featured in this Tutorial


Finish your masterpiece and let us give it the finishing touch it deserves.
Subscribe to MSQC on YouTube
Hundreds of FREE tutorials and a new one from Jenny launches every Friday.
video transcript
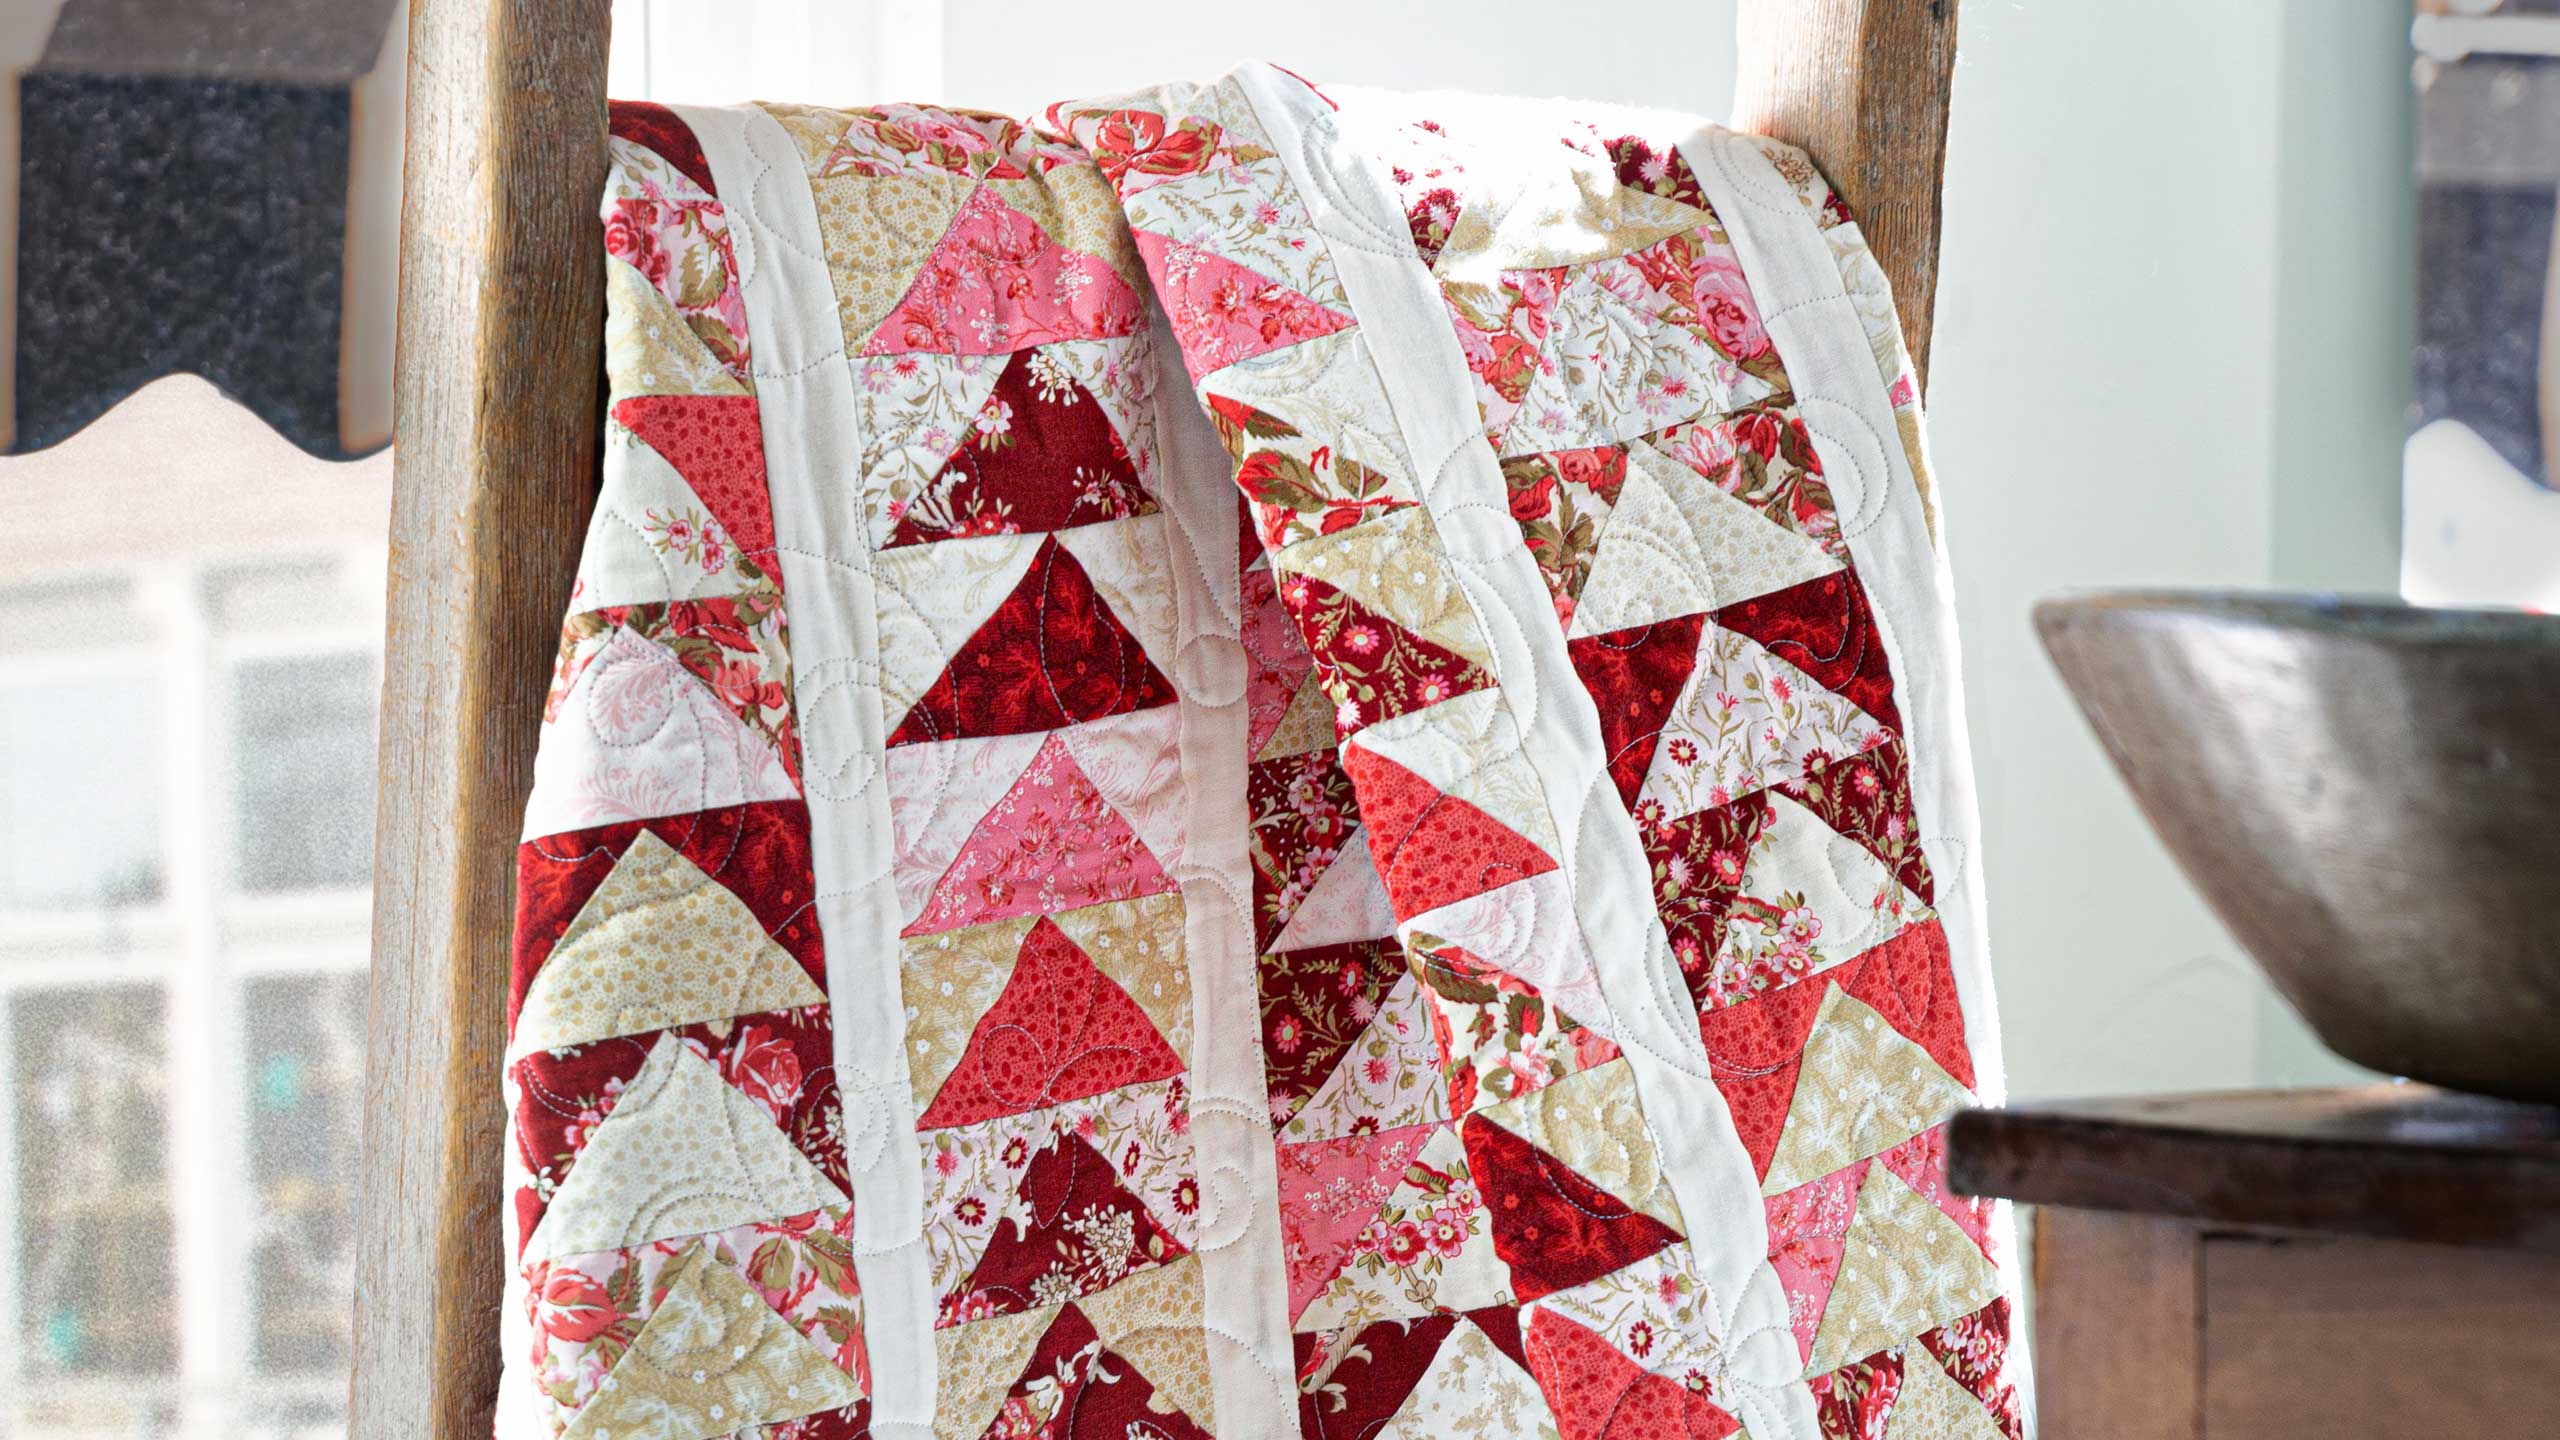
Hi everybody, it’s Jenny from the MSQC. And I’ve got a fun project for you. Take a look at this quilt behind me. Isn’t this sweet? This is a great little quilt. The whole reason I made this was because I have a daughter that has a quilt that is made all out of flying geese. And I wanted to see actually how many I could make out of one packet of 40 2 ½ inch strips. So this is the size you get. It’s going to be about 47 by 61. So it’s a great size. And I just, I just really wanted to see how many it would make. And so that’s why we did this quilt. So the fabric we’ve used for this is called Rhapsody in Reds by Kaye England for Wilmington. And it’s just really fun. One of the reasons I chose this roll for this is because I have just about even numbers of lights and colors. So I wanted to be able to divide that evenly and I think it just came together so great. You’re going to need some sashing right here. You’re going to need about ¾ of a yard because these are one inch or 1 ½ inch strips. And then your outer border out here, this is a six inch border. Now this backing, we used what’s out here in the border. We used that same fabric on the backing here. I just fell in love with it. It’s such a cute print. And we used 3 ¼ yards for that.
So the first thing you want to do to get started is you want to separate your roll into lights and darks. And then I paired a light with a dark like this and I kept them folded in half so that I can cut two at a time. Then I’m going to get a light square or a light strip over here, just like this. So and actually this works for this jelly roll because it is, because it has even numbers of lights and darks. But if you have a packet of strips that’s all colorful and you don’t really have lights and darks, you’ll actually have to bring in some background fabric because you want good contrast on these little geese. Alright so what I’ve done is I’ve stacked them up here and I’m going to cut off my selvedge ends right here. And then I”m going to use my little 2 ½ inch ruler and I’m going to cut the base of my geese. So it’s going to be a 4 ½ inch block so I’m going to lay this down here longwise and cut my 4 ½ like this. And this gives me enough body, so two lights and two darks for four geese. So I need two of the 2 ½ inch squares for each geese so then we’re going to have to cut four of those. So I”m going to go ahead and cut this one right here. Or two sets is what I mean and this one right here. And this should give us enough for each piece. So let’s lay these out and take a look at them. So I have two of the reds and I need two of the lights like this, here and here. Basically what I’m doing is I’m keeping them together because I want to switch them up. And so I”m going to cut all my blocks, all of these one way and all the other. And then I’m just going to switch them up. So I want you to look at the quilt for this very reason.
Now this right here, see this one has the darks on the outside with the light middle and I did a whole row of those. This next one has the lights on the outside with the dark middle. And I did a whole row of those. And I just went across the quilt like that. So let’s make a flying geese so you can see how to do this because this is really fun. Alright first what I’m going to do is I’m going to take my 2 ½ by 4 ½ rectangle that makes the body of the geese. And I’m going to choose two of my 2 ½ inch squares which are going to make the squares we put on the sides so that it has that flying geese look. I’m going to iron them in half like this. You can draw the line or iron. I’m just going to iron them in half. So remember these are 2 ½ and the rectangle is 2 ½ by 4 ½. Alright. Now I accidentally ironed these going two different directions. You really want to iron it outside in. See I have this going inside. It’s going to be very difficult to sew that so I’m going to flip this over and iron it the other way. You always want to sew, if you’re going to iron the line, you want to sew in the ditch not on top of the mountain. It just doesn’t work as well.
Alright so here’s what we’re going to do. We’re going to lay this on here like this. And I”m going to sew right on this pressed line and then we’re going to trim that off. So we’re going to sew right on the line. Make sure your square stays lined up in the corner perfectly. And we’re just going to sew right, right down the side here. Let me turn this a little bit something faster. There we go. Now before I do any cutting on my block I want to fold it back and make sure that it matches up in that corner. So now I’m just going to give this a little press. And I’m going to lift it up and I”m going to cut off this edge right here, making sure this guy doesn’t get caught in there. Just like that. Now I”m going to add the square to the other side. And I”m going to line it up in the corner. And we’re going to sew right across this way just like we did on the other side. So you want your fabrics to cross in the center. That’s part of getting a good point. Let me feel right here. There we go, straight across, a good seam. And again I’m going to fold this back to make sure it lines up with my corner. See how clean that is? It’s, it keeps the square. That’s what we want. So I’ll actually trim that off and then press it back. Alright. Now this is what, this is what our flying geese looks like.
Now this is a really big part. People have been talking a lot on line about how do we not lose this point. This is the beak of our geese right here. And how do we not lose that point? So let’s take a closer look at that. So this is the first part of making sure you have a perfect point is that quarter of an inch overlap. Now on the back when you turn this over, oh this is darker fabric. Let me show you on a light one. It’s a lot better. So see right here, how our gray thread, how it criss crosses right there? You see that cross? As long as when you sew your seam you get on this side or seam side, any place this side of that point, you’re going to keep your point. So let me show you how these go together. So I’m going to sew this one on here because it’s got the light background and I’m making a column of all lights. And so what I’m going to do is I”m going to set these together like this. And so you lay your point side right here to the body side of this one right here. And you just lay it on there like that. Now what we’re going to do is we’re going to sew a quarter of an inch right along here and just catch it the other side of where these threads cross. The threads crossing is the key. So let’s go ahead and sew a quarter of an inch right there. See watch that. There we go. Alright. Now let’s look at where I sewed that. So actually my quarter of an inch looks a little bit scant but I’m right on that side of the point so when we open this up, look at that. You’ve got your perfect point. Here let me iron this for you. I’m going to set my seam and iron this back. So this is the point we’re talking about right here. And that is pretty dang perfect. That’s good. So just remember wherever your threads cross you want to go to the seam side of that. Now truth be told, I have sewn my seam just a little bit like this so I could catch that point because when it quilts it’s all going to be fine. But, you know, do what you feel comfortable with. But whenever you have two threads that cross, that’s what you want to watch for if you want to keep your points.
So now that we’ve mastered the point we’re ready to start assembling our quilt. And we’re going to start putting these in long rows together one after the other. And so let’s just sew a couple of these on here. And I have this one right here and this has, I’m matching it up with my light body and my dark squares on the top. And so again I”m just going to lay this on here like this. I”m going to flip this over so that I can, I make sure that I don’t cut off my point. And we just sew straight across. And then we’re going to press it open, and see how we did on that point because we were watching. Alright look at that, that’s a pretty good point right there. So what we’re going to do now is we’re going to assemble these into columns. There are seven columns on this quilt and there’s 24 in each column. And once you get your column done you’re going to add your sashing. Now our sashing is a 1 ½ inch strip right here and I’m going to trim off my selvedges on this. And I”m going to show you the trick of putting on sashing and this works for borders too so that you can, you can put it on without your borders or your sashing getting rumply at all. The trick for this is once you get your whole column done, you’re going to lay your blocks down next to the feed dogs right here. And you’re going to lay your sashing on top. Always put your sashing on top. And then it won’t, it won’t wave, it won’t ruffle up. Because your feed dogs which are the little things down here on the bottom of your machine that move the material through. They move more material than the top. So if you have your, if you have your little sashing on the bottom it’s going to move more fabric through and then it’s going to end up with a little bit of a wave in it. So I keep kind of a, not a pull, but a nice firm hold on my sashing and I just sew down the side like this. And of course your column will be much longer than mine. And I”m just going to take this over here and we’re going to press it so that you can see what we did here. So set your seam and then roll it back and then your sashing, look at that, it will lay nice and flat like that. And then you’re just going to do the same thing. Even when you add this next column to it, you’re going to flip this over. And you’ll probably start from the other end. I would start from this end and sew this way because I like the bulk of my quilt to be on the outside of my foot to make sure that the sashing stays on top. That’s why we do that, my sashing needs to always be on the top. If we put this side over like this and sew it down and this is on the bottom, that side is going to be ruffly. So we want to make sure that we don’t do it.
Then you’re going to add your 6 ½ inch or your six inch borders out here. And it just makes a great little quilt. Now the cool thing about pre cuts is that if you want this bigger, you’re just going to use two rolls and it’s going to get bigger and bigger very quickly. So we hope you enjoyed this tutorial on Fancy Flight from the MSQC.
& Progress on Social