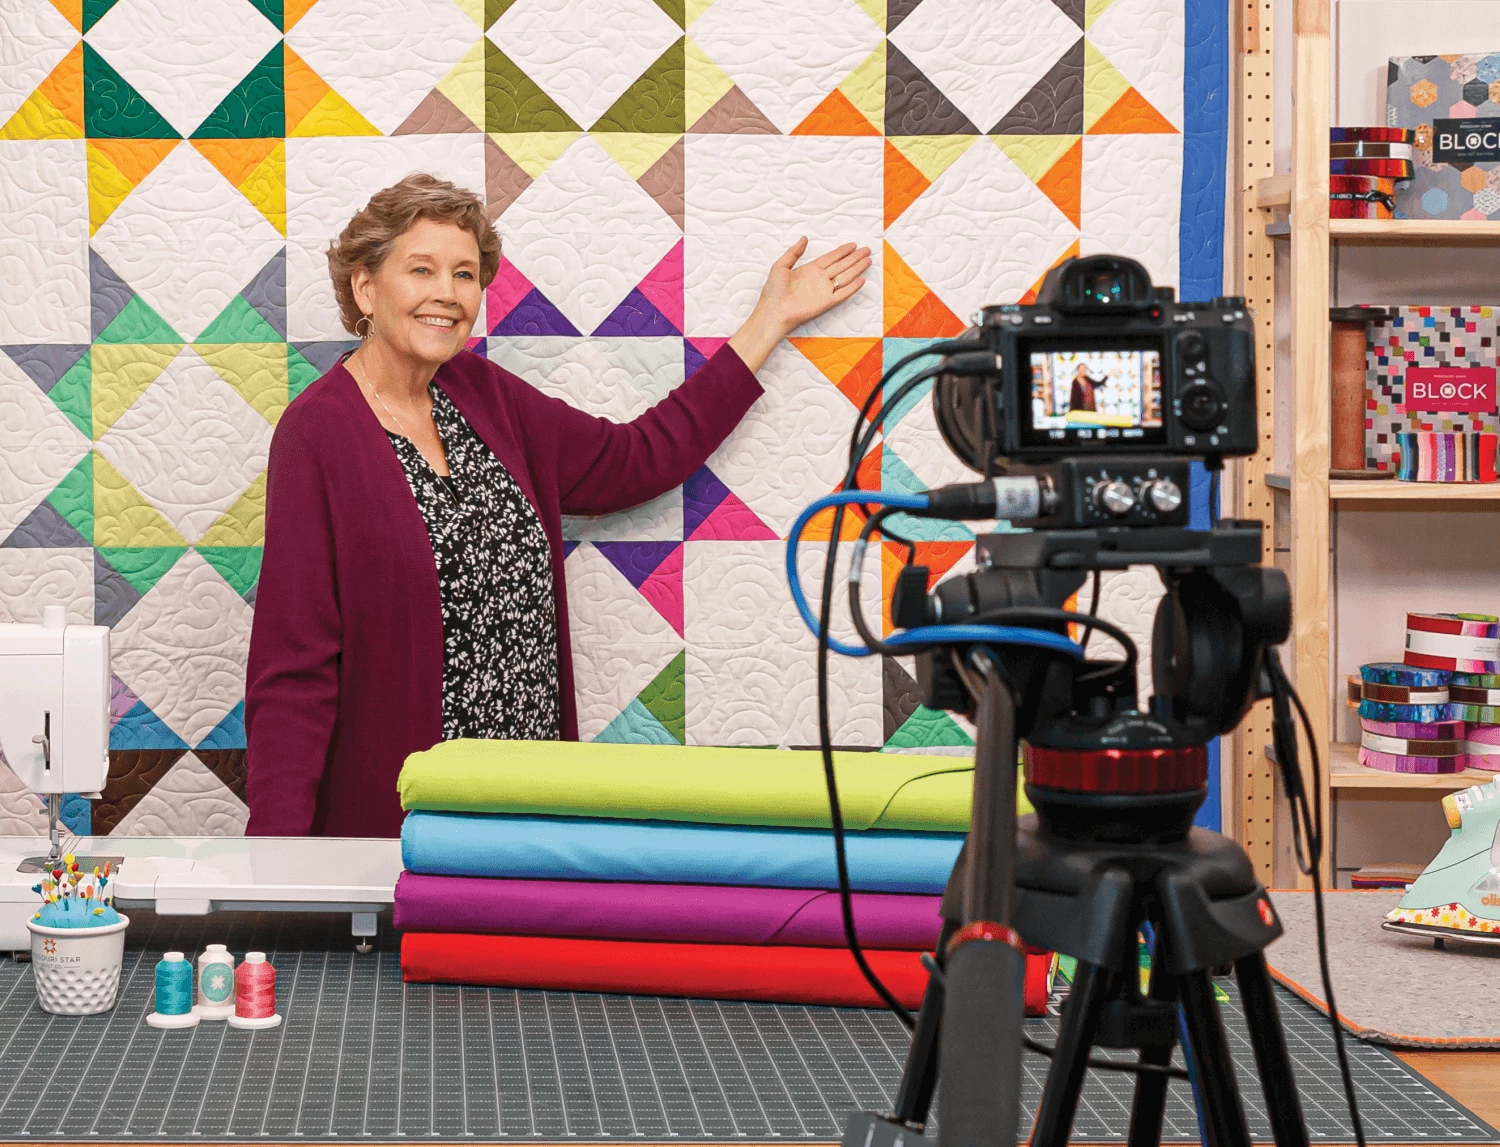
Baby Kisses Quilt Tutorial

with
Jenny Doan

Baby Kisses Quilt Tutorial

Quilt Size: 51" x 51"
Jenny Doan demonstrates how to make a Baby Kisses Quilt using 5 inch squares of precut fabric (charm packs). We used Boo Charm Pack by Cotton + Steel for RJR. Learn how to sew snowballed corners.
Supplies list
Machine
Quilting

Finish your masterpiece and let us give it the finishing touch it deserves.

Subscribe to MSQC on YouTube
Hundreds of FREE tutorials and a new one from Jenny launches every Friday.

video transcript

Hi everybody, it’s Jenny from the MSQC. And I have a great project for you today. Take a look at this quilt behind me. Isn’t this fun? Love these blocks. It’s a super easy block. We’ve done it before. And you can do it again. It’s just how we’re putting it together that changes it. It makes it so much fun. So to make this quilt what you’re going to need is two packs of five inch squares. And we have used the Boo line from Cotton & Steel for RJR. You’re also going to need a background, about a yard and a quarter for your background. And that includes your inner border right here. And for this outer border you’re going to need ¾ of a yard. Also I wanted to show you on the back here, look at this. We’ve used the large print on the back. And Cotton & Steel is so much fun. They have, they do such beautiful fabric. And for the back you’re going to need 3 ¼ yards .

So the first thing we’re going to do is we’re going to take our five inch square, just like this. And out of our background fabric we’re going to cut some 2 ½ inch strips. We’re going to sub cut those into 2 ½ inch squares. And we are going to put a square on opposite sides on each corner. So right here what I’m doing is I’m folding it diagonally and finger pressing it. That’s going to give me a sew line. It makes a little crease. It’s way easier than drawing the lines. You can also iron these with your iron. And if you want you can actually draw the line. So what I’m going to do is I’m going to put one on each corner like this. Opposite corners. We’re going to go over to the sewing machine and we are going to sew directly on that crease. Alright, let’s go do that.

Alright here we go. There we are. Sew straight down on that crease. Now if you, if you happen to put these on so that the fold is mounding up, you probably want to flip that over. It’s easier to sew in the ditch than it is to sew on top of a mountain. So we like to sew kind of in the ditch. It makes it easier. Just a little tip. You can tell, I’ve done some mountaintop sewing and it didn’t work out so well. Alright now we have these sewn on either side.

What I’m going to do now is I’m going to take my little ruler, come in a quarter of an inch to the outside of the block. Trim that little piece off. And do the same to the other side. Just like that. Then we’re going to iron these back. And your block should remain the same size. It should still be, and I’m just going to roll that back, just like that. So then your block should still be five inches. Now what you’re going to do is you’re going to make 16 of these. It takes 16 total blocks to make the square right here. There’s 16. But these four in the center, you’re going to add one more block to. So you’re going to have a stack of 12 of these. And then four of them you’re just going to add one more square on either one of these sides. So again we’re going to do the same thing. We’re going to finger press it. Add a square here and sew it down right on the crease. There we are. And then trim that off and iron it back. Now you’re just going to do this to four of them. This makes kind of your little flower in the center.

So once you get your pieces all ironed, let’s talk about assembling this block. Because there are several ways you could do it. But I decided to try assembling it with a quadrant. So we’re making four of them. So we’re basically taking this block, dividing it into four. Making four of these then we’ll just rotate them around. So these four go in the middle. The one that have the three pieces on them go in the middles. Your white goes in toward the center like this. Then these pieces go around. And you’re going to put them on like this. You’ll want to watch the diagram. And so you make, this is going to make like a little butterfly thing right there. And this is how that little quadrant block goes together. So let’s go ahead and sew these together. We’re going to sew four of these. And then we’re going to put them together our big block.

So I’m going to take these over to the sewing machine. We’re going to sew a quarter of an inch right down the side. And I’m going to chain piece them. So I’m going to do this top one we’re not really matching anything up. That’s the other thing that’s kind of nice about this is there aren’t really seams to match up when you’re sewing your little blocks together. Alright now what we’re going to do is I’m going to open these two up like this. I’m not even going to cut the string. And my block is ready to go. And I’m just going to fold it over and sew it that way. That’s another chain piecing trick that you can do. And your middle should be pretty close together. And I can feel mine is. I felt, I felt for the nesting. You know felt to make sure there wasn’t any, any play in between. So it should match up perfectly. But we’ll see when we open it. It could be a big surprise. Alright here we go. Hey that looks pretty good. I’m going to press that down. So I like to press from the top first to make sure we don’t have any pleats or folds . Then I can flip it over and I can make my seams go the way I want them to. The bottom line is with ironing is that nobody looks inside your quilt so don’t stress over the ironing. And so here we go.

So now we know that this guy, oop let me clip this with this scissor right here. We don’t want that thread coming out of there right from the middle and distracting us. Oop you try to be all smooth, you know, and look what happens. Alright so we know this one with the three, that’s the center. So I’ve got my other three put together over here. And this one with the three is the center. And we just line them up so the centers go together like this. And look at that, your whole block. So it just kind of turns and goes around. There will be a diagram for you to look for this. So you can see exactly how we did it. Now we did use two charms so it makes these four blocks like this. We’re calling it Baby Kisses because it’s small enough for baby. It’s just baby size. And this is our X and O block that we use. And that’s where we got the kisses from. So that makes it kind of fun.

So when you put these together you cut the sashing strip that is the same length as your finished block. And then you’re going to put a strip across here. And then you’re going to go ahead and border it. Your outside border here is five inches. So it just makes the perfect little quilt. And your quilt is going to be 51 by 51. So it’s just a great little size. We hope you enjoyed this and we hope that you have fun making this Baby Kisses block as well. So we hope you enjoyed this tutorial on Baby Kisses from the MSQC.

...
Share your Quilts
& Progress on Social
#MSQC