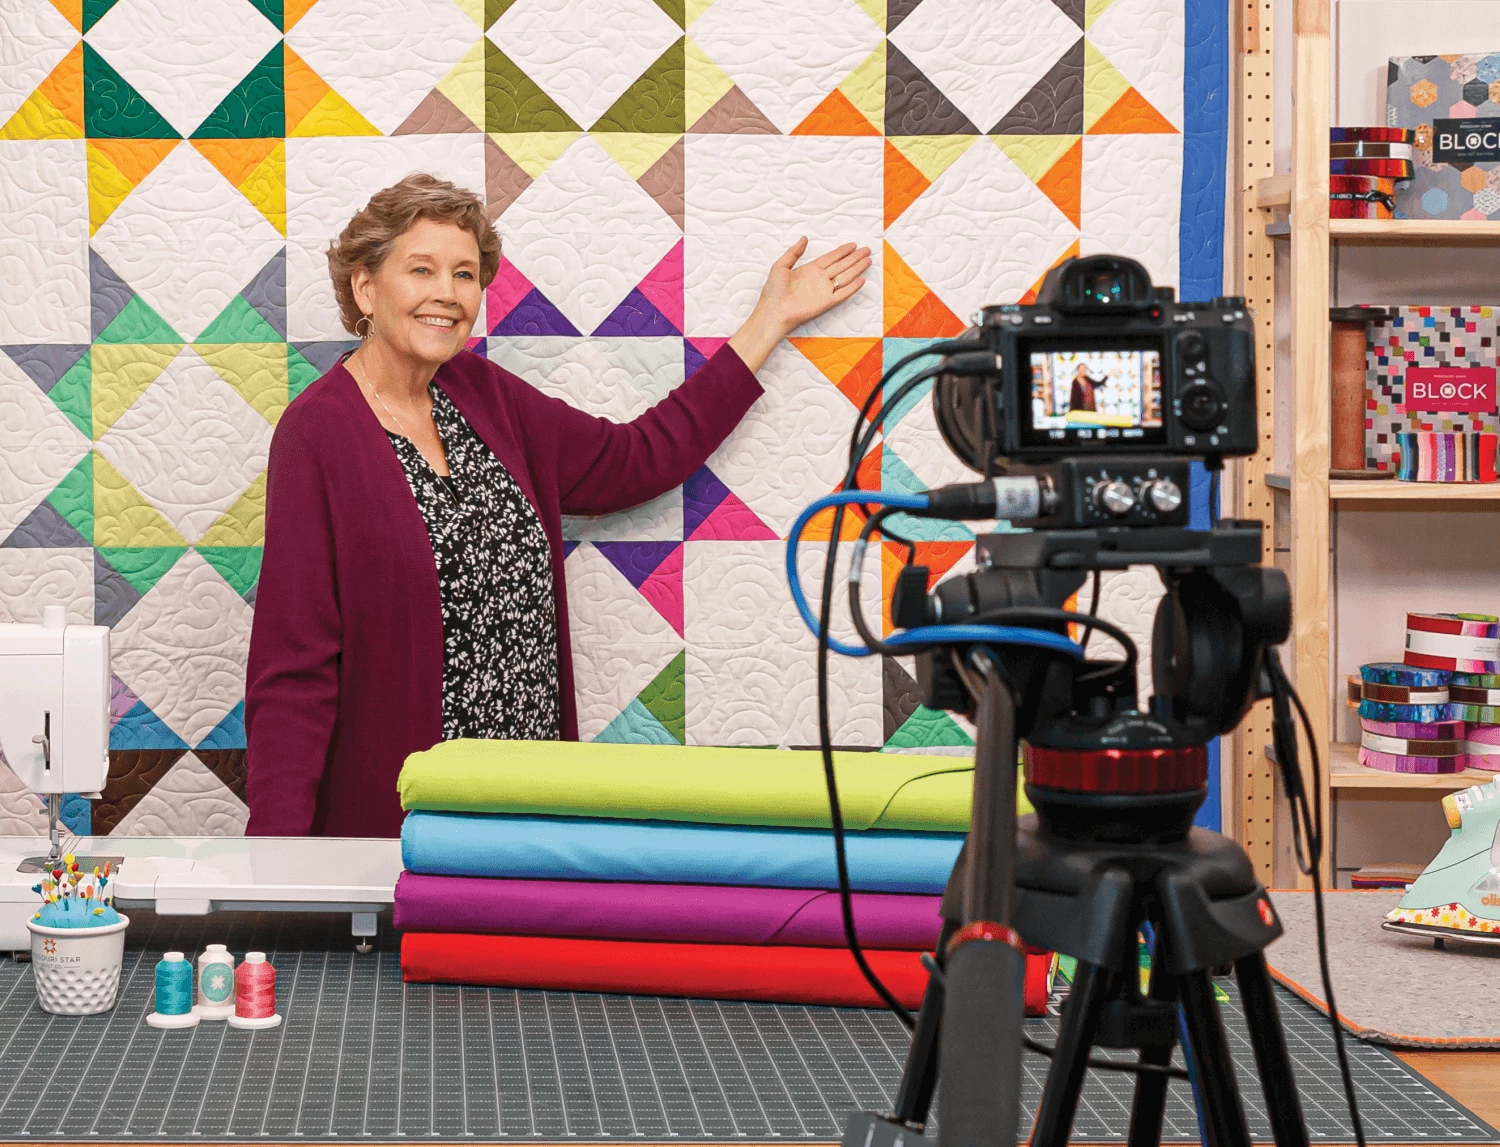
Dresden Coin Quilt Snips Tutorial

with
Missouri Star Quilt Company

Dresden Coin Quilt Snips Tutorial

Quilt Size: 76" x 80"
Time: 7 Minutes
This short clip is the simplest way to create a fun quilt using your Dresden Template and a pack of 10" Squares!
Supplies list

Featured products Get the Supplies Featured in this Tutorial

Machine
Quilting

Finish your masterpiece and let us give it the finishing touch it deserves.

Subscribe to MSQC on YouTube
Hundreds of FREE tutorials and a new one from Jenny launches every Friday.

video transcript

Hi I’m Jenny from the Missouri Star Quilt Company.  Let’s take a look at this darling quilt behind me.  Isn’t this fun?  This is a take on a “Coin’s Quilt.” Now somebody asked a while ago why they call them “Coin’s Quilts,” and the only thing I could come up with is you know when you stack coins in a stack, it’s all these different little sliver colors of fabric and it, it just makes it a really awesome look.  But this one we did a little differently.  This one we used the Dresden ruler so that our pieces, you know give it that little bit of wonky look.  Little bit of movement and a little bit of fun.  

So to make this quilt you’re going to need the Dresden ruler, right here and our Dresden ruler actually fits the entire layer cake.  So it goes from top to bottom.  So it’s going to make it really easy for you.  We also used a layer cake and the layer cake we used on this one is called “Pastel Pops,” and it’s from Michael Miller.  It’s and the color is this citron grey.  It’s just beautiful fabric and so we used a little more than one layer cake on this quilt.  

We used a yard and a quarter for the sashing and the first border of the white and these sashing pieces we’re three inches wide.  The first border is a two inch piece and we used a yard for that.  The outer border is a five inch piece and we used a yard and a quarter for that again or a yard and a half, I’m sorry.  Yard and a half for that outer border.  And it makes about a seventy by eighty quilt.  So this a pretty good size quilt.  It is so quick and easy.  So let me show you how to do this.

Now out of each layer cake square you’re going to get about three of these cuts.  You’re going to line up your Dresden and we are just going to make some of those cuts and show you how to do this.  The first cut your just cutting off this edge over here and then you have this Dresden cut and then you’re just going to flip your ruler upside down like this.  So then you’re always cutting from the same side and you’re just going to flip your ruler over like this and we have this little bit of pieces left over.  And you get three out of them.  Now you can actually stack these up a few two or three and cut them at the same time so you get lots of cuts at once and that, that, that will speed up the process.

So then what you’re going to do when you put these together is you’re going to put them the fat end to the short side and the short to the fat.  You know opposites like this.  So it will make one straight column when going up.  So when we put these together and lay them on top of each other like this, we’re going to see, we’re going to see where they match up just almost exactly.  So we’re going to line this up right here and you can see this edge right here.  They’re going to come, they should come just a barely little peak of fabric sticking out.  It’s real easy to line up and sew.

So let’s go to the sewing machine and put these together and just sew a quarter inch seam.  So here we are and we’re just going to sew these together and what I do when I sew these is I will sew two pieces and two pieces and two pieces and two pieces and then I sew four and four and four.  You know so that I, I just keep chain piecing them through and so I’ll sew a whole bunch like this and then I’ll take my two’s and I’ll, I’ll put those together so then I have a whole bunch of, you know, I mean I just keep adding so it’s two, two, two, four, four, four, you know and then pretty soon I have long strips.

So I want to go over this chain piecing, because it is one of those things that really speeds up the process when you’re quilting.  So what you’re going to do is you’re going to sew your two pieces together and you’re not going to cut the thread.  You’re going to leave them right there and I have all my pieces here.  So then I’m just going to pick two more and I’m going to lay them with the fat side to the thin end and the thin side to the fat end and I’m just going to start sewing again.  So we’re going to sew a few of these and you can see they just, we just keep sewing them just like this and let’s do one more here.  So you just, you want to pick colors that contrast so that when you put them together you get that, you know it’s not too all the same color and that sort of thing.  I like to just mix it up.

So then you’re going to go through and you’re just going to do all of yours like that.  Two, two, two.  Then you’re going to press these open and let me do that real quick.  So here we go.  So then we have our two right here that we’re going to put together and again you’re going to do the wide side to the narrow side and we’re just going to chain piece those through, just like this.  And so then you’ll do fours.  Then you’ll do eights and, and because you don’t have to take them out in between and do all this stuff, you just sitting and sewing and it goes really, really quick.  So that’s the whole idea, behind chain piecing and I just hope that helps you.  You can use that in almost every facet of quilting that you do.

So one of the things that I forgot to mention is that when you’re chain piecing, if you always put the same one on the bottom.  You know like the wide one is always on the bottom, then they’ll always line up together.  You won’t have to put a, an extra spare one in the middle to hook up your chains or something like that.  They’ll always be going in the right direction and you’ll end up with these long pieces really quickly.  So let me press this down.

So then you have these long strips, you make them as long as you’d like and then you’re going to attach you’re three inch stripping.  You’re three inch sashing in between them.  And it, I mean it just goes together so quickly and easily.  So I have another one over here I want to show you.  This is one made with Kate Spain’s fabric, “Honey, Honey,” and it’s the same idea, but the sashing is a little wider and one of the reason’s I wanted to show you this is, because you, this quilt is so versatile.  You can really do anything you want.  The wider sashing just gives it a little different look.  You could use a colored sashing instead of the white and it’s just a really fun, quick quilt to make.  So we hope you enjoyed this tutorial on the “Dresden Coin Quilt.”  From the Missouri Star Quilt Company.

...
Share your Quilts
& Progress on Social
#MSQC