

How to Make a Zipper Pouch: Easy Scrap-Busting Tutorial with Jenny Doan
Zipper pouches are the ultimate scrap-buster project. They're fast, they're fun, and everyone needs one — for makeup, sewing notions, pencils, charging cables, you name it. Plus, once you learn how to sew a zipper (it's easier than you think!), you'll feel like you leveled up your sewing game.
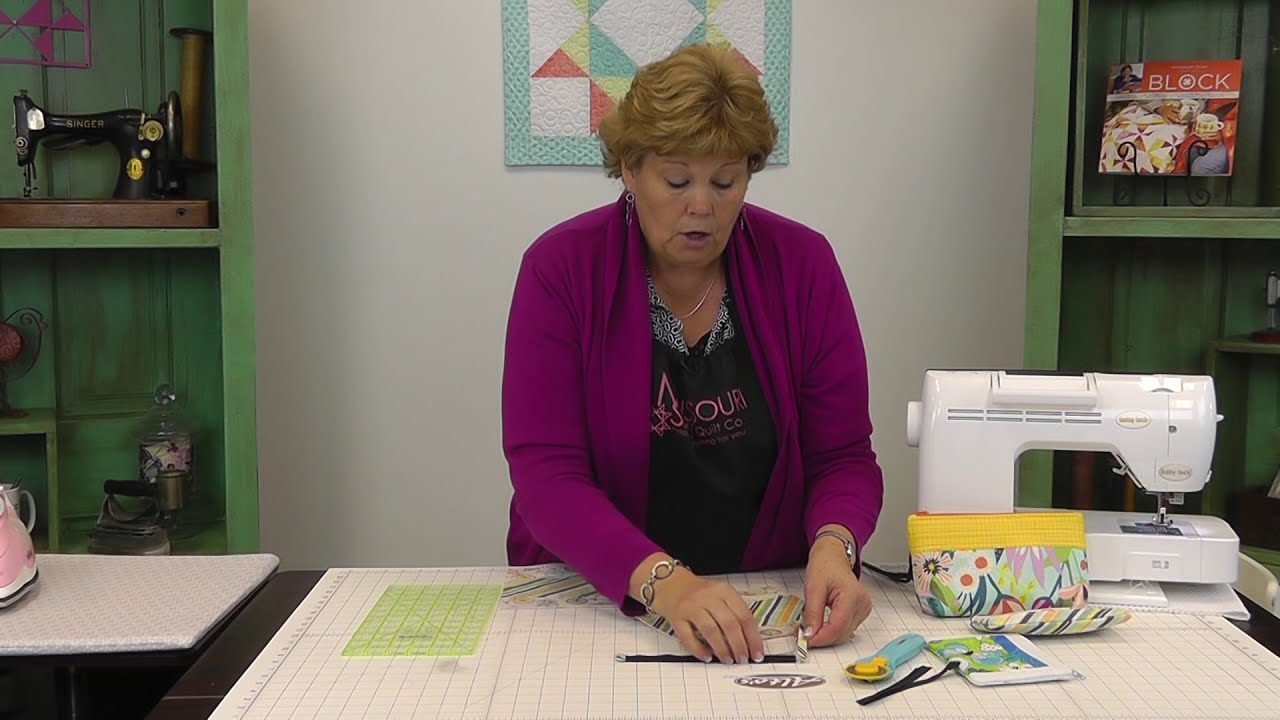
In this tutorial, Jenny Doan shows you how to turn fabric scraps and a basic zipper into a cute, fully-lined zipper pouch. With over 3.4 million views, this is one of the most popular zipper tutorials on YouTube. Let's make one together!
What Makes This Zipper Pouch Special?
There are tons of zipper pouch tutorials out there, but Jenny's approach is perfect for quilters because it starts with scraps and strips. You piece together a simple strip design for the outside of the pouch (like a mini quilt!), back it with fusible fleece for structure, and line the whole thing so there are no raw edges inside. The result is a sturdy, professional pouch that looks like it came from a boutique.
The best part? You don't need a zipper foot (though one helps), and the zipper doesn't even have to be a perfect fit — you'll trim it to size.
What You'll Need
🧵 Fabric scraps for the outer panel
A center scrap (about 4" × 9") plus 2½" strips for the sides. Use your favorite prints! Shop precut fabrics.
🎨 Lining fabric — two 9" × 7" pieces
A solid or subtle print works great for the inside. Shop fabric by the yard.
🔲 Fusible fleece — two 9" × 7" pieces
Iron-on fleece gives your pouch body and structure. It's what makes the pouch feel "real" instead of floppy.
🔗 One zipper — slightly longer than 9"
A basic all-purpose zipper works perfectly. You'll trim it to fit. Shop zippers.
✂️ Rotary cutter, ruler & mat
📌 Pins or clips
🪡 Sewing machine — a zipper foot is helpful but not required
Step-by-Step Instructions
Step 1: Piece the Outer Panels
Start by creating the outer fabric for your pouch. Take your center scrap and sew a 2½" strip to each side, right sides together. Press the seams open (or to the side — your preference).
You're making two identical panels, each about 9" wide × 7" tall. The pieced strips give it that quilty charm — it's like a tiny quilt sandwich!
Step 2: Fuse the Fleece
Iron your fusible fleece onto the wrong side of each outer panel. Follow the manufacturer's instructions — usually a medium-hot iron with steam, pressed for about 10 seconds per section.
The fleece transforms your fabric from floppy to structured. This is what gives the finished pouch that satisfying, padded feel.
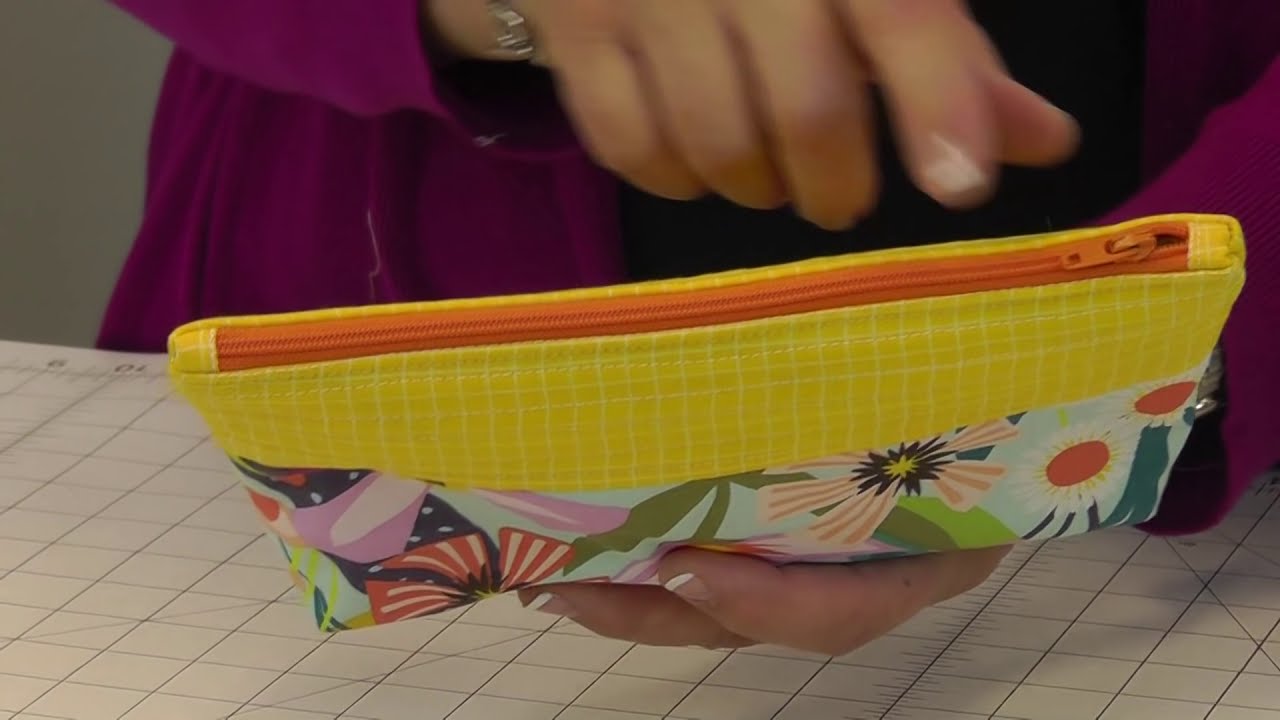
Jenny shows how simple the construction really is — just scraps, strips, and a zipper!
Step 3: Prepare the Zipper
Your zipper needs to be about 1 inch shorter than the width of your pouch. If it's longer, no problem — you'll trim it!
Cut a small piece of fabric about 1½" × 3". Fold it in half, wrong sides together, to create a zipper tab. Slip this folded tab over the cut end of the zipper (the end without the pull) and topstitch it in place. This creates a neat, finished end and prevents the zipper from sliding off.
Step 4: Sew the Zipper to the Panels


Now for the zipper — this is easier than it looks, we promise!
1. Lay one outer panel right side up
2. Place the zipper face down along the top edge, centered (about ½" from each side)
3. Place one lining piece right side down on top of the zipper, sandwiching it
4. Sew a ¼" seam along the top edge through all three layers
Open everything up and press the fabric away from the zipper. You should now see the outer fabric on one side and the lining on the other, with the zipper between them. Add a topstitch along the edge of the zipper to keep everything flat and neat.
Repeat with the second outer panel and lining piece on the other side of the zipper.
Step 5: Sew the Pouch Together
Open the zipper about halfway — this is crucial! You need that opening to turn the pouch right-side out later.
Arrange the pieces so the two outer panels are right sides together and the two lining panels are right sides together. Pin around all four edges.
Sew a ½" seam around the entire perimeter, but leave a 3-inch opening at the bottom of the lining (between the two lining pieces). This is your turning hole.
Almost there — just the turning and finishing left!
Step 6: Turn and Finish
Reach through the opening in the lining and gently pull the pouch right-side out through the hole. Use a point turner or chopstick to push out the corners nice and sharp, especially around the zipper tabs.
Once everything is turned out and looking good, fold the raw edges of the lining opening inward and sew it shut — either by machine with a quick topstitch or by hand with a ladder stitch.
Tuck the lining inside the pouch, give everything a final press, and you're done!
Step 7: Fill It Up!
Your zipper pouch is complete! A fully lined, structured, professional-looking pouch made from scraps. Load it up with your sewing notions, throw it in your bag, or wrap it up as a gift. You earned this.
Pro Tips for Success
Size Variations
Small (coin purse): 5" × 4" panels, 5" zipper
Medium (pencil case): 9" × 7" panels, 9" zipper — this tutorial
Large (makeup bag): 12" × 9" panels, 12" zipper
Extra large (project bag): 15" × 11" panels, 14" zipper
You've Got This!
If the word "zipper" used to make you nervous, congratulations — you just conquered it! Sewing a zipper is one of those skills that seems intimidating until you actually do it, and then you wonder what all the fuss was about. Now you've got a technique you can use for bags, pouches, pillows, and so much more.
Go raid your scrap bin and make a few more. They're addictive, they're useful, and they make everyone smile when they get one as a gift!