



The 3 Dudes Jelly Roll Quilt: An Easy Pattern with Stunning Results
What happens when three guys from Phoenix, Arizona get together and design a quilt pattern? You get one of the easiest, most jaw-dropping jelly roll quilts you've ever seen! The 3 Dudes Jelly Roll Quilt has captured the hearts of over 2.8 million viewers, and for good reason — it turns simple strips of precut fabric into stunning, intricate-looking blocks that practically sew themselves.
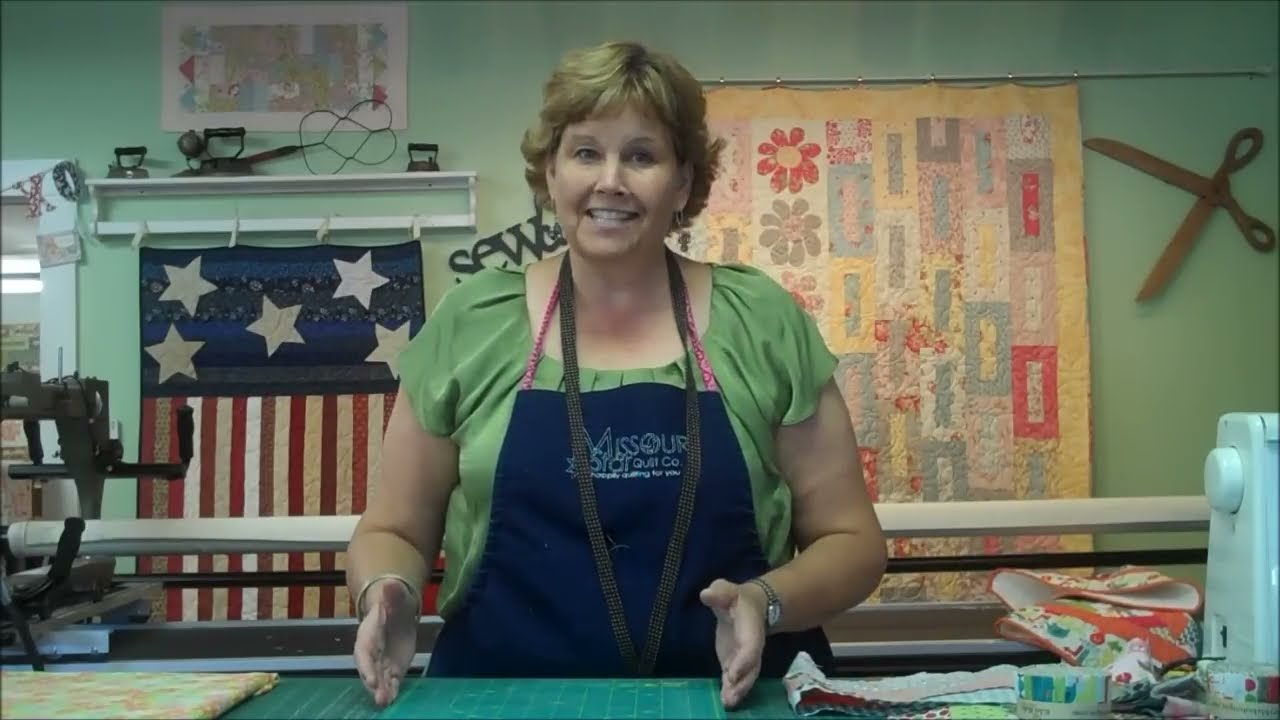
Jenny Doan fell in love with this pattern the moment she saw it, and in this tutorial she walks you through every step with her signature warmth and enthusiasm. If you've got a jelly roll and a free afternoon, you can make this quilt. Seriously — it's that easy.
What Is a 3 Dudes Jelly Roll Quilt?
The 3 Dudes Jelly Roll Quilt is a pattern originally designed by 3 Dudes Quilting out of Phoenix, Arizona. The concept is brilliantly simple: you sew jelly roll strips into strip sets, cut them into squares, and then rearrange and rotate those squares to create blocks that look incredibly complex — but are actually just strips sewn together and turned different directions.
A jelly roll is a precut bundle of 2½-inch fabric strips, typically containing 40-42 strips from a coordinated fabric collection. Because the fabrics are already selected to work together, your quilt automatically has that gorgeous, designer look without any color-matching stress. The 3 Dudes method takes those strips and turns them into a quilt that looks like you spent weeks on it — when really, it only takes a few hours!

What You'll Need
🎀 1 Jelly Roll — 40-42 strips of 2½" precut fabric. Choose one you love! Shop jelly rolls here.
✂️ Rotary cutter, ruler & cutting mat — for squaring up your blocks. Shop rotary cutters.
🪡 Sewing machine — with a ¼" presser foot for accurate seams
🔥 Iron and ironing board — for pressing seams after each step
📌 Pins — for keeping blocks aligned when sewing. Shop pins & clips.
🧵 Thread — a neutral color that works with your fabric collection. Shop thread.
Step-by-Step Instructions
Step 1: Sort and Organize Your Jelly Roll Strips
Open up your jelly roll and sort the strips. You'll want a good mix of lights, mediums, and darks throughout your quilt. Don't overthink it — the beauty of this pattern is that it all comes together no matter how you arrange the strips.
You'll be making strip sets of 4 strips each, so divide your jelly roll into groups of 4. Try to get a variety of colors and values in each group. With 40 strips, you'll get 10 strip sets.
Step 2: Sew the Strip Sets
Take your first group of 4 strips and sew them together along the long edges using a ¼" seam allowance. Press all seams in one direction (either all up or all down).
Repeat for all your groups until you have 10 strip sets. Each set will be about 8½" tall (4 strips × 2½", minus seam allowances).
Step 3: Cut the Strip Sets into Squares
Here's the magic step! Take each strip set and measure its height. However tall your strip set is, that's how wide you'll cut it. You want perfect squares.
For a 4-strip set, your squares will be approximately 8½" × 8½". Cut each strip set into as many squares as you can — you'll usually get 4-5 squares per strip set.
Step 4: Arrange and Rotate the Blocks
Now comes the fun part — arranging your blocks! Take your stack of squares and lay them out on a design wall or the floor. The secret to this pattern's stunning look is alternating the direction of the strips:
Row 1: First block with strips running horizontally, second block with strips running vertically, alternating across
Row 2: Start with strips running vertically, then horizontally, alternating (opposite of Row 1)
Continue alternating this checkerboard pattern of horizontal and vertical blocks throughout the quilt
This rotation is what creates the woven, complex-looking design. Mix up the strip sets so you get a variety of color combinations throughout the quilt — grab randomly from your stack for a scrappy, fun look!
Step 5: Sew the Blocks into Rows
Once you're happy with your layout, it's time to sew! Pick up the blocks in each row, keeping them in order. Sew the blocks together with a ¼" seam allowance, pressing seams in alternating directions for each row.
Because the strips are running in different directions, pay attention to how the seams nest together. When your seams go in opposite directions, they'll lock together perfectly at the intersections.
Step 6: Sew the Rows Together
Join your rows together, pinning at each seam intersection to keep everything aligned. Press seams as you go. Take your time here — this is where all your hard work comes together!
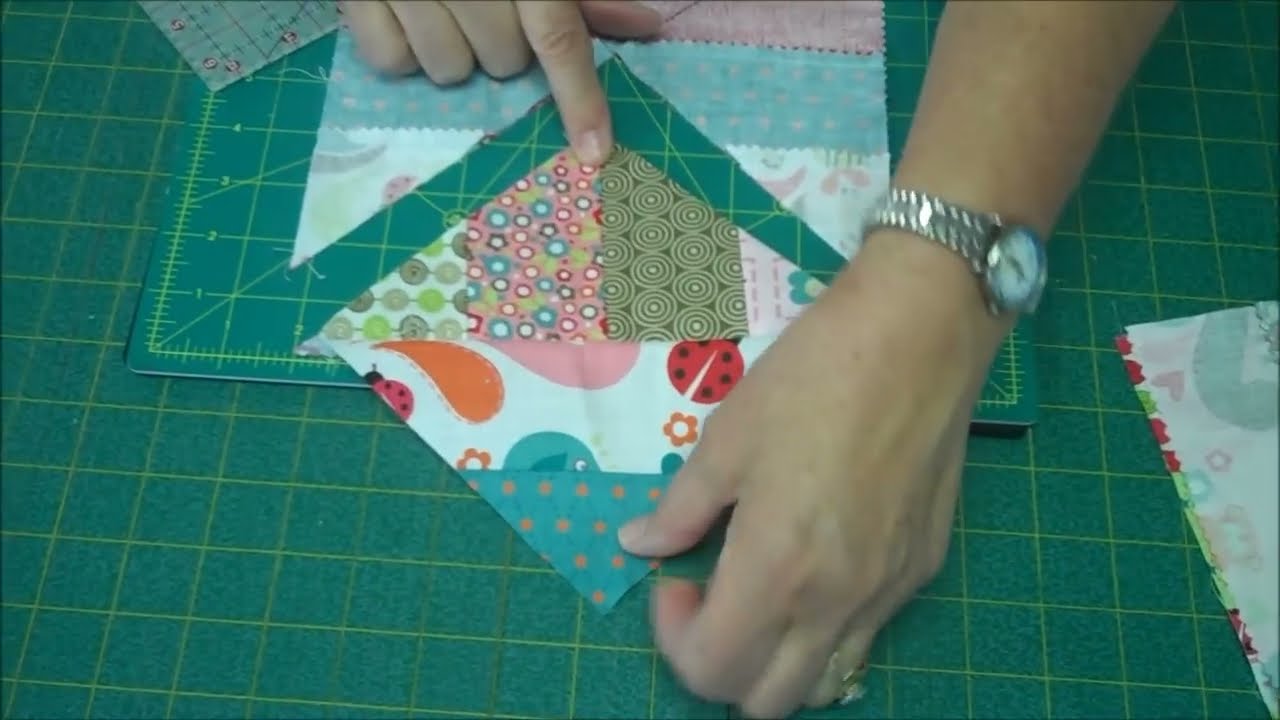
The alternating block directions create a stunning woven effect!
Step 7: Quilt and Bind
Layer your finished quilt top with batting and backing fabric to create your quilt sandwich. Baste with your preferred method — basting spray is fast and easy, or use safety pins.
Quilt as desired — this pattern looks fantastic with simple straight-line quilting, a meandering free-motion design, or even just stitching in the ditch along the seam lines. Then add your binding and you're done!

Pro Tips for Success
You've Got This!
The 3 Dudes Jelly Roll Quilt is proof that you don't need complicated patterns or years of experience to make a quilt that looks absolutely amazing. With just a jelly roll and a few hours at the sewing machine, you'll have a quilt top that will make everyone ask, "You made that?!"
This is one of those patterns that's perfect for beginners because it builds confidence fast — and it's a favorite of experienced quilters because it's so satisfying to see those strips transform into something spectacular. As Jenny says, it's "awesome when guys quilt," and this pattern proves that quilting is for everyone.
So grab a jelly roll, fire up your machine, and get ready to be amazed!