



How to Appliqué for Beginners: Methods, Supplies & 6 Free Projects
⚡ Quick Answer
- What it is: appliqué is stitching a fabric shape on top of a background fabric, instead of piecing shapes edge to edge
- Easiest method: raw-edge fusible — iron the shape down with fusible web, then stitch around the edge
- What you need: background fabric, scraps for the shapes, fusible web, a sharp needle and thread you like
- Skill level: adventurous beginner. Curves, points and circles are where it gets interesting, and those come later
- Time: a single-shape pillow or tote panel is an evening; an appliqué quilt is a season
- Free help: every tutorial linked on this page is a free video — written patterns, where a design has one, are sold separately
Piecing makes shapes out of seams. Appliqué makes shapes out of fabric and lays them on top. That difference is why appliqué can do curves, letters, animals and flowers that piecing simply cannot — and why it looks harder than it is.
If you can iron and you can sew a line, you can appliqué today. Here is the whole method, the four ways to do it, and six free projects to practice on.
Key Takeaways
- ➤Fusible web is the beginner's shortcut. It holds the shape exactly where you put it so your hands are free to sew, not wrestle.
- ➤Reverse your shape before you trace. Fusible web is applied to the back of the fabric, so anything asymmetrical — letters especially — must be traced mirrored.
- ➤Big simple shapes first. Hearts, leaves, animals, state maps. Save narrow points and tight inner curves for your third project, not your first.
- ➤The stitch is a design choice. Blanket stitch, zigzag, straight stitch or invisible hand stitch all say something different. Try them on a scrap first.
- ➤Contrast is what makes it read. A shape only a shade away from its background disappears from three feet back.
The Four Ways to Appliqué
They all end in a shape sewn onto a background; the difference lies in how the edge is handled and how much time it takes.
| Method | How the edge is handled | Best for |
|---|---|---|
| Raw-edge fusible | Left raw and secured with stitching over the edge | Beginners, quick projects, anything washed rarely |
| Machine blanket or zigzag stitch | Decorative stitch covers the raw edge | Durable everyday items — quilts, totes, kids' things |
| Turned-edge | Edges pressed under before stitching | A crisp, traditional finish without handwork |
| Needle-turn (hand) | Edge turned under with the needle as you stitch | Heirloom work, portable stitching, complete control |
Start with raw-edge fusible finished with a machine blanket stitch. It is the fastest route to a result you are pleased with, and every other method makes more sense once you have done one.
What You Need
- •Background fabric: anything stable. A solid such as Kona Cotton lets the appliqué shape do the talking.
- •Shape fabric: scraps, charm packs or fat quarters. Appliqué is the best scrap-user in quilting.
- •Paper-backed fusible web: the adhesive that holds the shape while you stitch. Lightweight for quilts that must stay soft.
- •A sharp needle and good thread: a fine needle and 50wt cotton for machine work; a milliner's or straw needle for needle-turn.
- •Small sharp scissors: cutting a smooth curve with big shears is a losing battle. Find them in notions.
Raw-Edge Fusible Appliqué, Step by Step
1. Trace the shape onto the paper side of the fusible web — reversed. Whatever you trace will end up mirrored on the fabric. Letters and any asymmetrical shape must be flipped first, and this is the mistake almost everyone makes exactly once.
2. Fuse the web to the wrong side of your shape fabric. Follow the manufacturer's heat and time. Too hot for too long makes it brittle; too cool, and it lifts later.
3. Cut out the shape on the traced line. Cut smoothly — the cut edge is the finished edge, so every wobble shows.
4. Peel the paper and position the shape. Lay the whole design out before you press anything. Where pieces overlap, work back to front: the piece that sits behind goes down first, with a little extra tucked under the piece in front.
5. Press it down. Press, do not slide. Sliding drags the shape out of position and stretches the background.
6. Stitch around the edge. Blanket stitch, a narrow zigzag, or a straight stitch about 1/8" in from the edge. Go slowly around curves and stop with the needle down to pivot at points.
▶️ Watch it done: How to Appliqué! — free video walkthrough
💡 Pro Tip: Put a stabilizer or a scrap of lightweight interfacing behind the background fabric before you stitch. Dense decorative stitching pulls thin cotton into a tunnel, and stabilizer is a five-cent fix for a problem that is impossible to undo.
Six Free Appliqué Projects to Learn On
Every project below has a free video tutorial. Work down the list and you will have covered simple shapes, layering, curves and stitching on a finished item.
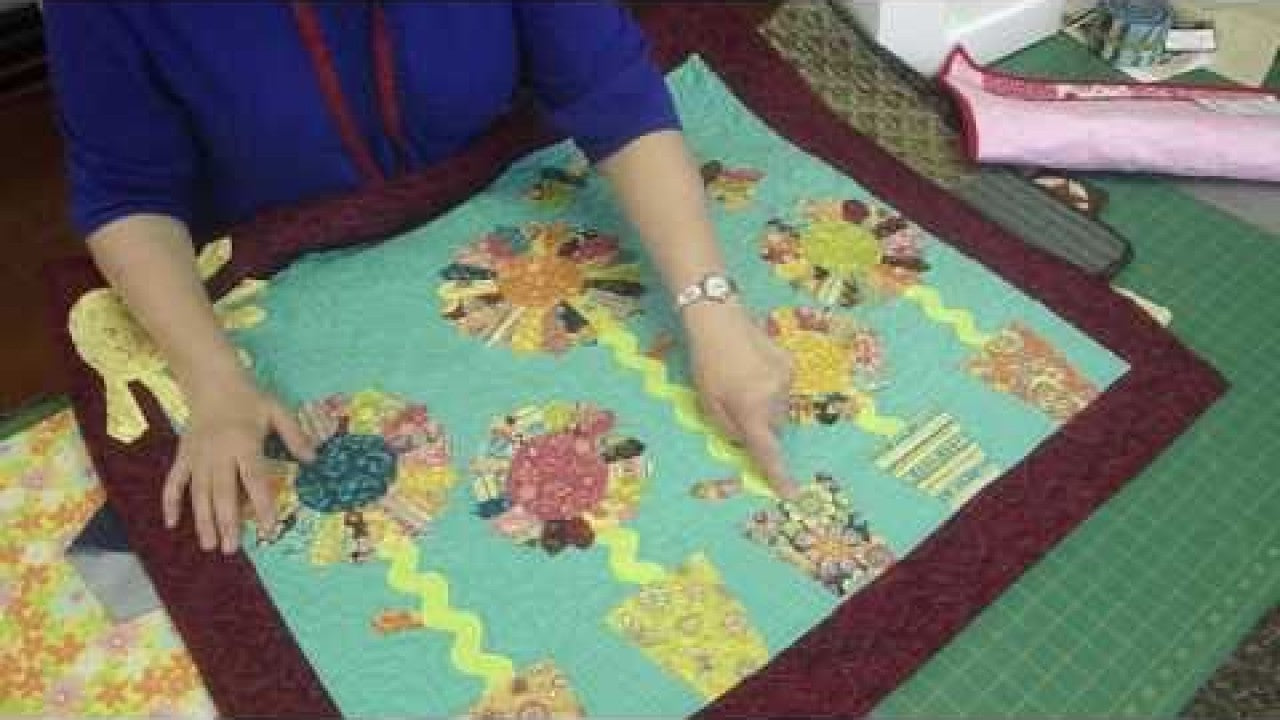
Free tutorial · start here
Intro to Appliqué with Jenny Doan
Jenny's plain-English introduction — what fusible web does, how to place a shape, and how to stitch it down. See the tutorial

Free tutorial · skill series
Appliqué Like a Pro: Rectangles & Basics
Part one of a four-part series that builds from straight edges to curves. The most thorough free training we have. See the tutorial
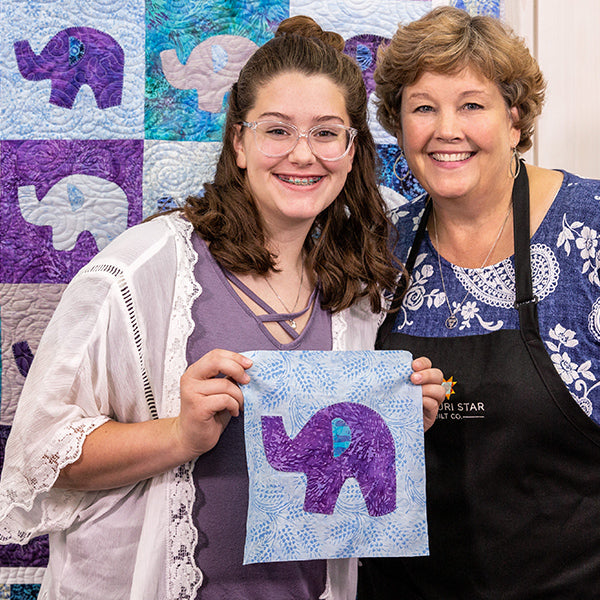
Free tutorial · first project
Easy Elephant Appliqué Quilt
Big, simple shapes with gentle curves — forgiving enough to be a genuine first appliqué project, and good for sewing with kids. See the tutorial

Free tutorial · one evening
State Map Appliqué Pillow
One shape, one pillow, one evening. The fastest way to practice placement and stitching without committing to a quilt. See the tutorial

Free tutorial · seasonal
Gnome Appliqué Table Runner
Layered shapes on a small canvas. Excellent practice for stacking pieces in the right order. See the tutorial

Free tutorial · gift-sized
Appliqué Mushroom Tote Bag
Appliqué on something you will actually carry. Sturdy fabric makes the stitching easier to control. See the tutorial
Handling Curves, Points & Circles
- •Outer curves: let the stitching do the work — shorten your stitch length and pivot little and often rather than once, sharply.
- •Inner curves: clip almost to the stitching line if you are turning the edge. If you are raw-edge fusing, no clipping needed at all.
- •Points: stitch right up to the point, needle down, pivot, and take one tiny stitch across the tip to keep it from fraying open.
- •Circles: the hardest simple shape. A turned-edge circle pressed over a template beats freehand every time.
The four-part Appliqué Like a Pro series covers exactly this: stars and points, leaves, stems and circles, and inner and outer curves.
Where to Go Next
- •Appliqué on a quilt: start with Appliqué Quilting Made Simple for the whole-quilt version of this method.
- •Fix what is going wrong: fraying edges, puckering, lifting shapes — Master Appliqué: Overcoming Common Mistakes is the troubleshooting guide.
- •Try it on a classic: the Orange Peel quilt is an appliqué design built entirely from charm squares.
- •Holiday sewing: our Appliqué Christmas Projects roundup is where the practice pays off.
- •Personalize a finish: appliquéd quilt labels put your name on the back in your own shapes.
Frequently Asked Questions
What is appliqué in quilting?
Appliqué is stitching a fabric shape on top of a background fabric rather than piecing shapes edge to edge. It lets you make curves, letters and pictures that piecing cannot.
Is appliqué hard for beginners?
No. Raw-edge fusible appliqué is one of the easiest techniques in quilting — you iron the shape down and stitch around it. Points and tight inner curves take practice, but simple shapes do not.
Do I need fusible web to appliqué?
Not strictly, but it makes beginning far easier by holding the shape in place while you sew. Needle-turn and turned-edge methods skip it entirely.
What stitch should I use around appliqué?
A machine blanket stitch is the most popular and the most durable. A narrow zigzag or a straight stitch just inside the edge also work — test on a scrap first.
Will raw-edge appliqué fray in the wash?
A little, and many quilters like the soft halo it develops. If you want it crisp for years, stitch the edge with a blanket or zigzag stitch rather than a straight stitch.
Do I have to reverse my appliqué shapes?
Yes, whenever you trace onto fusible web, because the web goes on the back of the fabric. Anything asymmetrical — especially letters and numbers — comes out mirrored otherwise.
Are these appliqué tutorials free?
Yes. Every video tutorial linked here is free to watch, and several include a printable supply sheet. Written patterns, where a design has one, are sold separately in print or as a digital download.
Cut one simple shape out of a scrap tonight and fuse it to a square of background fabric. That is appliqué — everything else is practice.