


⚡ Quick Answer
- Start with the print, not the listing: a panel listed as “approx. 24" x 44" is the cut piece, so square it up and measure the image (or part of the image) you actually want to use
- Border width per side = (target size − finished panel size) ÷ 2, done separately for width and length
- Cut width = finished border width + ½" for seam allowances
- Gaps don't match? Add a spacer strip on just two sides first, then one outer border all the way around
- Common targets: crib 36" x 52", throw 50" x 65" (from our quilt sizes chart)
Fabric panels make stunning focal points, but they rarely come in off-the-shelf sizes that fit every bed, lap, or sofa. Bridging the gap between the raw panel and your target quilt size requires real numbers, not guesswork.
While creative border inspiration is covered in Jenny’s How to Add Borders to a Quilt Panel tutorial, this guide focuses entirely on the math. Step by step, we break down how to calculate strip widths, cut with confidence, and buy the right yardage the first time.
Key Takeaways
- ➤Measure after you square up. The listed size is approximate and includes the edges you’ll trim away. Your math starts from the trimmed piece.
- ➤Do width and length separately. Most panels are rectangles that don’t match the shape of a crib or throw quilt, so each direction usually needs a different amount.
- ➤Add ½" to every finished width. A ¼" seam on each side of a border strip eats ½" total.
- ➤Fabric is figured at 42" usable width. That’s the width Missouri Star patterns assume, and it decides whether a border strip needs to be pieced.
Step 1: Find Your Panel’s Real Starting Size
Panel listings include a cut size, such as the Ingrid’s Wildflowers Birds and Butterflies Blue Panel (approx. 24" x 44") or the Welcome to Quilt Town Welcome to Hamilton Multi Panel (approx. 36" x 44"). That “approx.” matters. The 44" side runs selvage to selvage; the print doesn’t always sit square on the fabric, and many panels have a printed frame you might keep or trim.
- Press the panel well (no steam stretching).
- Decide where your edge is: the outside of the printed frame, or just inside it.
- Square it up with a long ruler, measuring through the middle as well as the edges.
- Write down the cut size, then subtract ½" from each measurement. That’s your finished panel size, the number all the math uses.

Ingrid’s Wildflowers Birds and Butterflies panel is approx. 24" x 44". The blue frame is part of the print, so you'll need to decide whether or not you want to keep it before you start measuring.
💡 Pro Tip: Measure twice before you trim, then once more after. Panels are printed onto fabric that moves, so the print can be a little off-grain. Trim to the print, not to the selvage.
Step 2: Pick a Target Size
Our quilt sizes chart lists these common finished sizes. Panels usually end up in the smaller ones:
| Quilt | Finished size | What it suits |
|---|---|---|
| Crib | 36" x 52" | Baby gifts, play quilts |
| Throw / lap | 50" x 65" | The couch, gifting when you’re not sure |
| Twin | 68" x 86" | A bed. That’s a lot of growing for one panel |
Step 3: Do the Border Math
Use the same three lines for any panel:
| Step | Formula |
|---|---|
| Width gap per side | (target width − finished panel width) ÷ 2 |
| Length gap per side | (target length − finished panel length) ÷ 2 |
| Cut width of a border strip | finished border width + ½" |
If your gap calculations match, one border width wraps the whole panel. When they don’t—as with most tall, narrow panels—you can adjust your finished quilt size, cut different border widths for the sides versus top and bottom, or insert spacer strips (plain fabric or pieced blocks) on two sides to balance the quilt out. The two examples below walk you through using spacers step by step.
Worked Example 1: A 24" x 44" Panel to a 50" x 65" Throw
📐 Worked example (hypothetical numbers): Say your 24" x 44" panel squares up to 22½" x 40½" cut, or 22" x 40" finished. Your panel may measure differently, so put in your own numbers.
The gaps: width (50 − 22) ÷ 2 = 14" per side. Length (65 − 40) ÷ 2 = 12½" per side. That’s 1½" more needed on each side than on the top and bottom.
- Inner border, 2" finished (cut 2½"), all around. 22 + 4 = 26" wide, 40 + 4 = 44" long.
- Spacer, 1½" finished (cut 2"), on the two long sides only. 26 + 3 = 29" wide, still 44" long. The difference is gone.
- Outer border, 10½" finished (cut 11"), all around. 29 + 21 = 50", 44 + 21 = 65". Right on target!
| Border | Cut strips | Pieces to cut (sides first) | Fabric |
|---|---|---|---|
| Inner, cut 2½" | 4 strips x WOF | 2 @ 40½", 2 @ 26½" | 10", so buy ⅓ yard |
| Spacer, cut 2" | 3 strips x WOF, joined | 2 @ 44½" | 6", so buy ¼ yard |
| Outer, cut 11" | 6 strips x WOF, joined | 2 @ 44½", 2 @ 50½" | 66" (1⅚ yards), so buy 2 yards |
The spacer and outer pieces are all longer than 42", so join the strips end to end before cutting them. Each joined set of three strips yields about 125" once the seams are taken out.
Worked Example 2: A 36" x 44" Panel to the Same Throw

The Welcome to Quilt Town Welcome to Hamilton panel (approx. 36" x 44"), finished with a single yellow border.
📐 Worked example (hypothetical numbers): Say this panel squares up to 34½" x 42½" cut, or 34" x 42" finished, hung portrait.
The gaps: width (50 − 34) ÷ 2 = 8". Length (65 − 42) ÷ 2 = 11½". This time the length needs 3½" more per end.
- Top and bottom spacer, 3½" finished (cut 4"). A good place for a pieced row or a coordinating stripe. Now 34" x 49".
- Outer border, 8" finished (cut 8½"), all around. 34 + 16 = 50", 49 + 16 = 65".
| Border | Cut strips | Pieces to cut | Fabric |
|---|---|---|---|
| Spacer, cut 4" | 2 strips x WOF | 2 @ 34½" | 8", so buy ¼ yard |
| Outer, cut 8½" | 6 strips x WOF, joined | 2 @ 49½" (sides), 2 @ 50½" | 51" (about 1⅜ yards), so buy 1½ yards |
💡 Pro Tip: Buying “a little extra” matters most for the outer border. If one cut goes wrong, getting the same fabric later isn’t always possible.
When You’d Rather Follow a Pattern
If you don’t want to do the math yourself, these Missouri Star patterns and tutorials already have sizes worked out:

Panel at least 24" x 40"
Vertical Attic Window Panel Quilt
The panel is cut into windows. The sample finishes at 47" x 64½", close to throw size. Pattern sold separately. See the tutorial
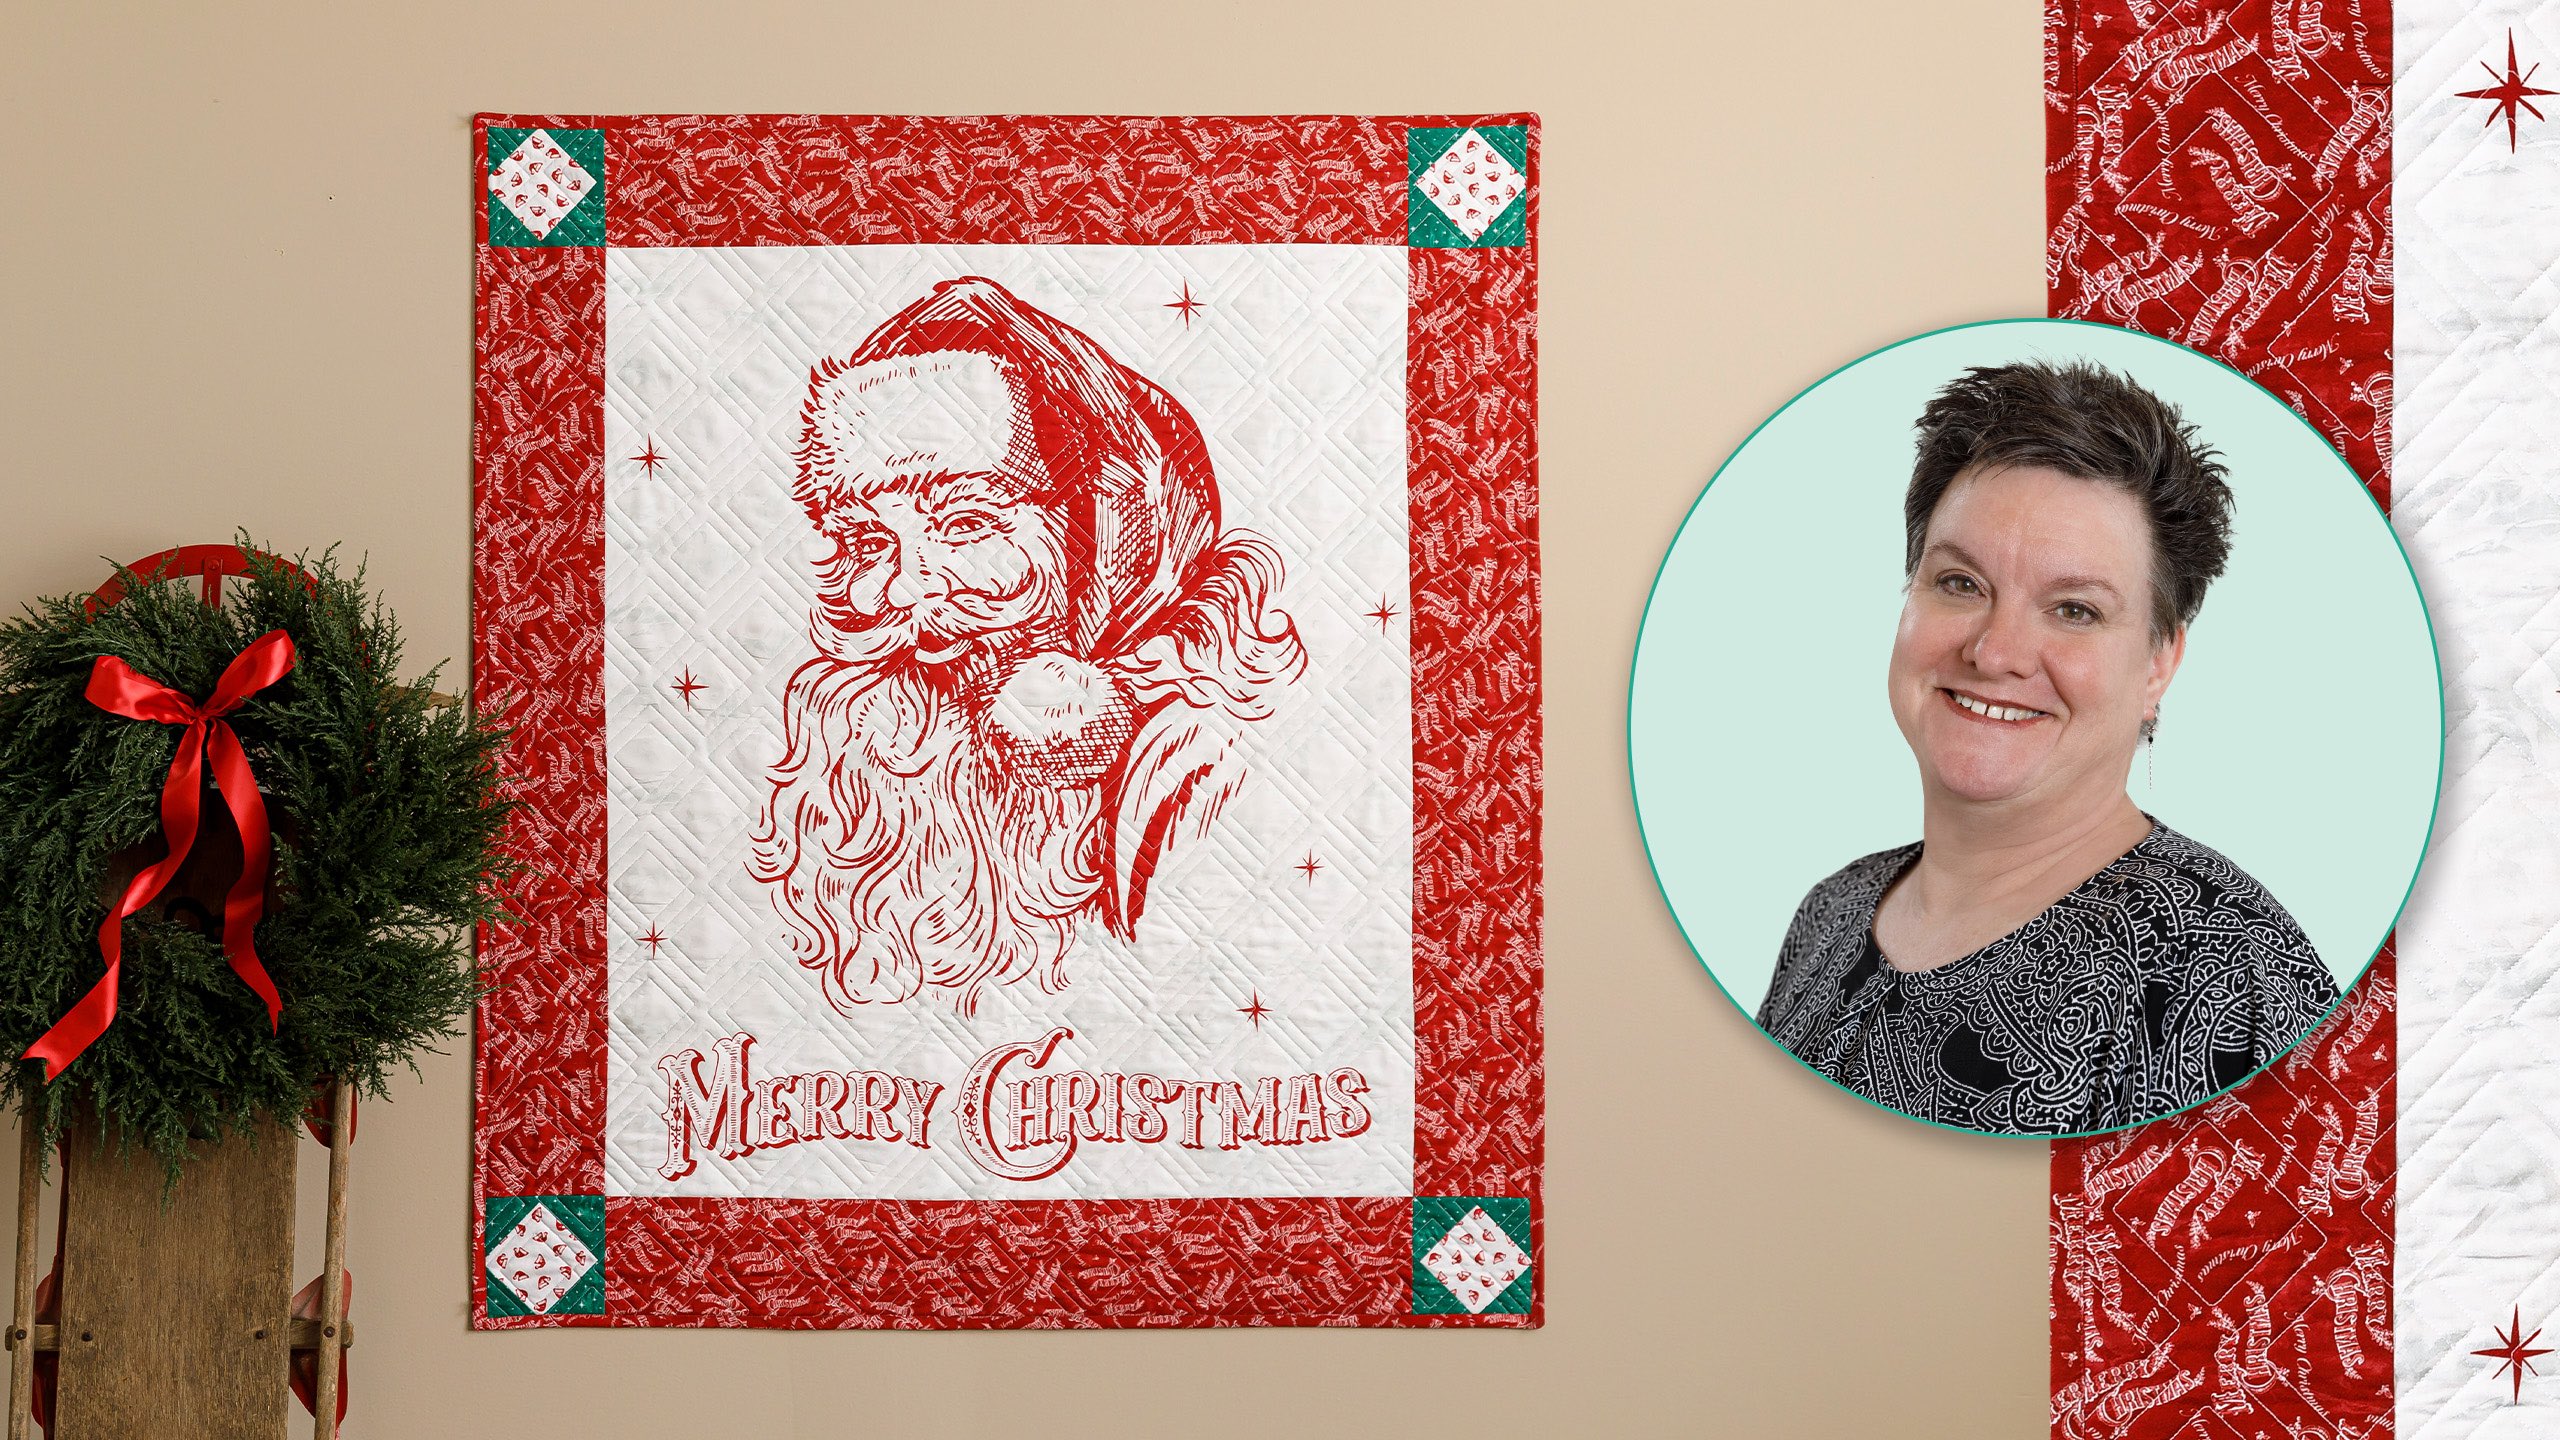
Four finishing styles
Turning Panels into Quilts with Courtenay Hughes
Panel only, simple border, border with cornerstones, and pieced border. See the tutorial

Border styles
How to Add Borders to a Quilt Panel
Jenny’s fence rail, brick and pinwheel borders. The supply list calls for one 10" square pack. See the tutorial
Frequently Asked Questions
Should I trim off the printed frame?
It’s up to you. Keeping it adds a few inches for free. Trimming it lets your own border fabric do the framing. Just decide before you measure, because it changes every number.
Why add ½" to the border width?
Each border strip is sewn with a ¼" seam on both long edges, so ½" of the cut width ends up in the seams.
My panel is nearly crib size already. Do I still need borders?
Not necessarily. Courtenay’s first “recipe” is panel only: quilt it, bind it, and you’re done.
Why measure through the middle?
The edges of a panel can stretch while you handle it. Cutting side borders to the center measurement and easing the panel to fit keeps the quilt flat and square.
What does WOF mean?
Width of fabric, the selvage-to-selvage measurement. See What Does WOF Mean in Quilting? for more.


