Make Dessert Plates Twice as Pretty with Fabric
by Liz Gubernatis
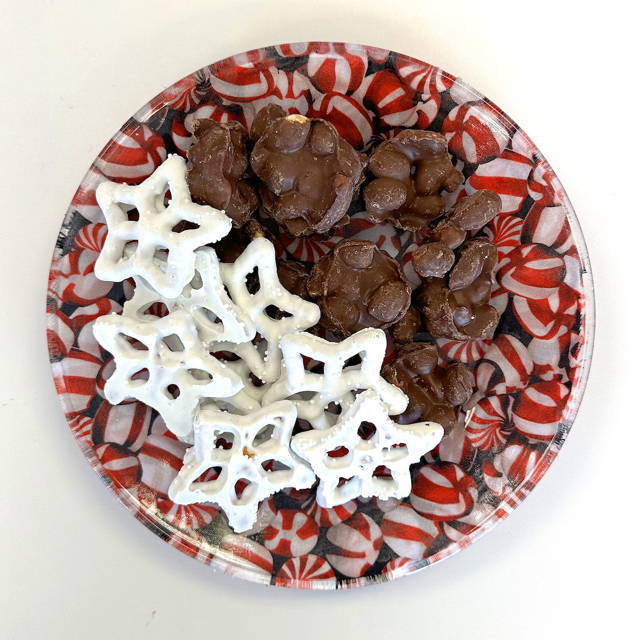
When you want to add a little extra to a table, dessert plate, or gift of goodies, we love the look of fabric on glass. We grabbed a stack of $1.25 clear glass plates from our favorite dollar-ish store and dug into our stash to find fancy peppermint yardage. For these dessert-sized plates, a 10” square is just right, so any extra 10” squares from a project would work perfectly, too. We’ve got visions of sugarplums dancing, or maybe just that candy craving that strikes when taking a break from stitching… but we think these candy plates will be SUPER pretty ways to deliver goodies to friends and family over the next few weeks.
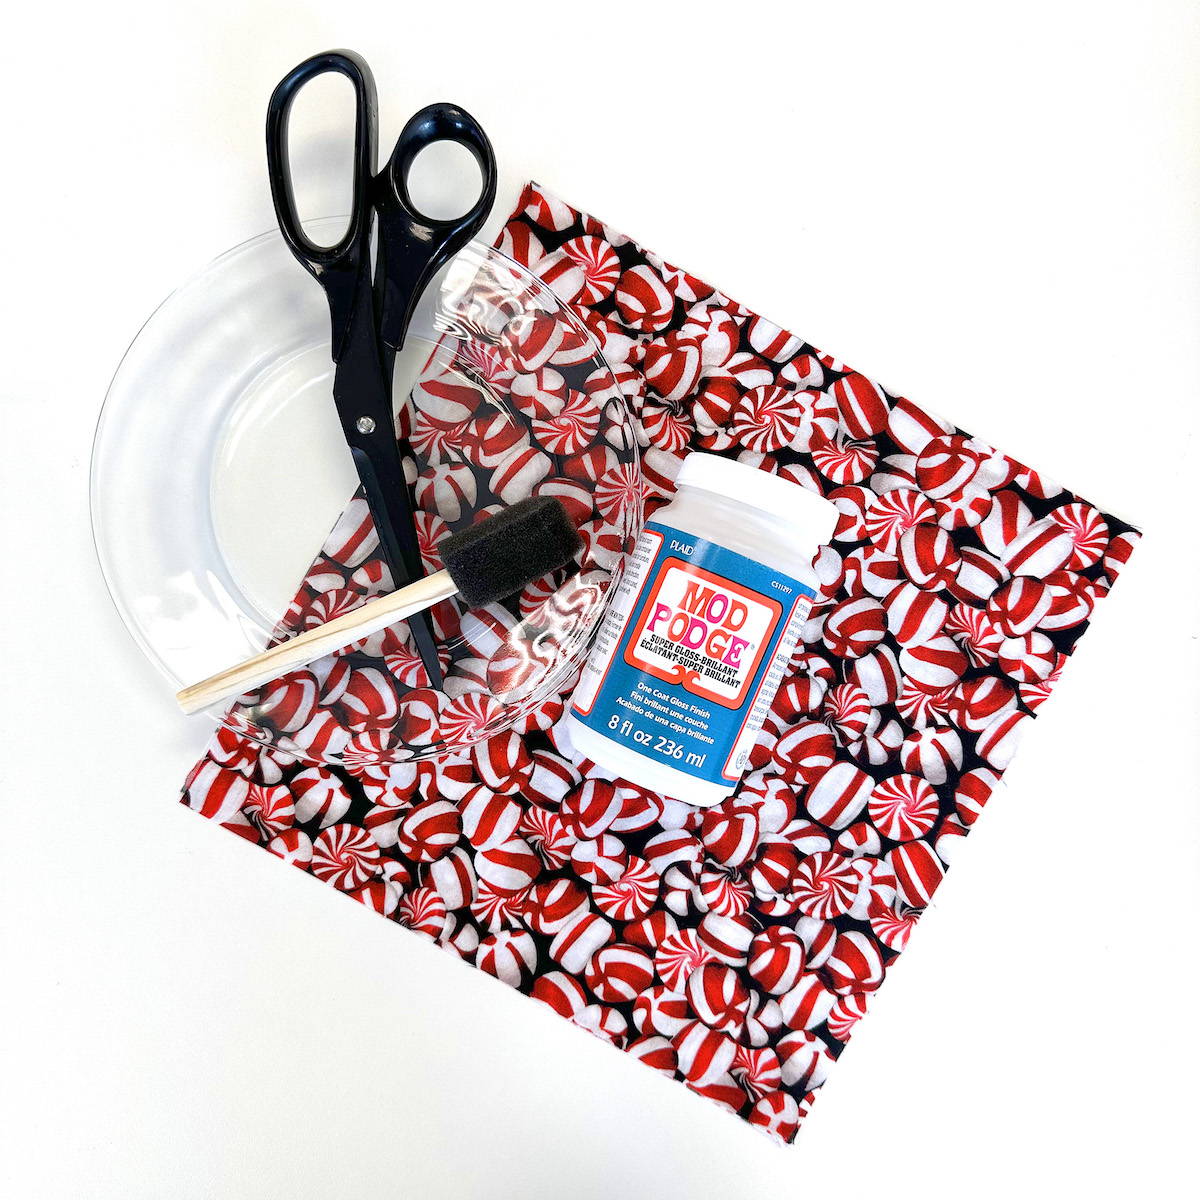
Supplies Needed
Clear glass dessert plates (found ours at a local dollar-ish store)
Mod Podge (we tested Matte, Satin, and Super Gloss)
Foam brushes
Scissors
Isopropyl (Rubbing) Alcohol (for cleaning plates and scissors)
Project Instructions
Step 1
Clean plates and remove any stickers. Isopropyl/Rubbing Alcohol helps remove gummy sticker residue. Once plates are completely clean, let dry face-down.
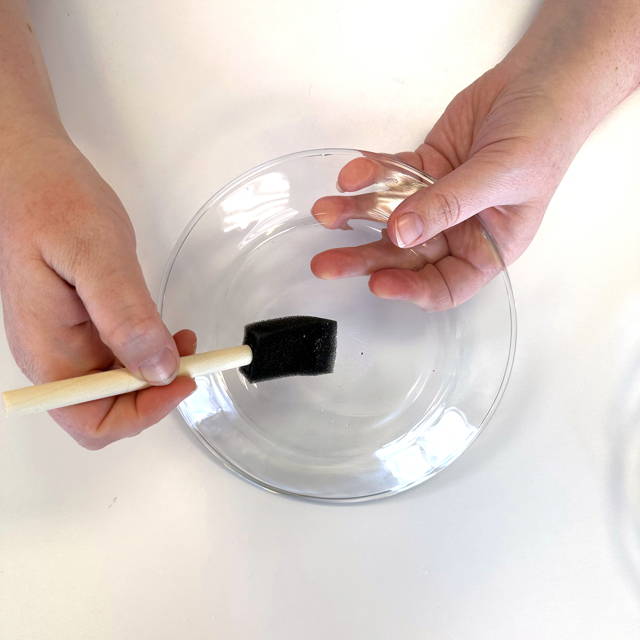
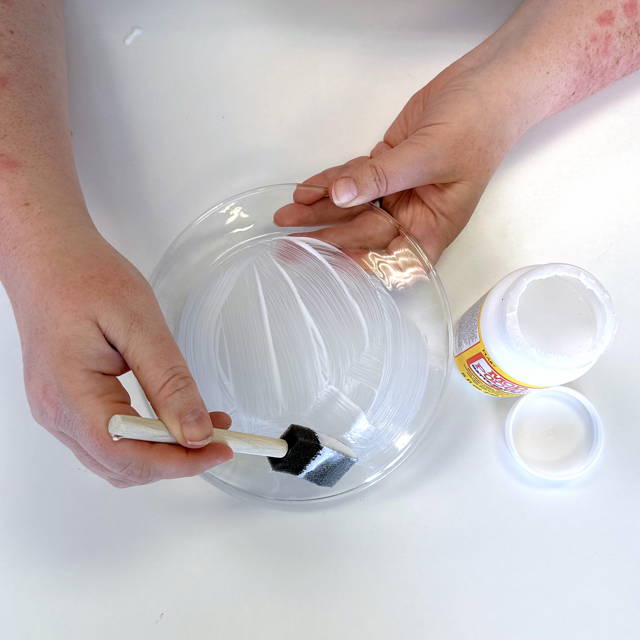
Step 2
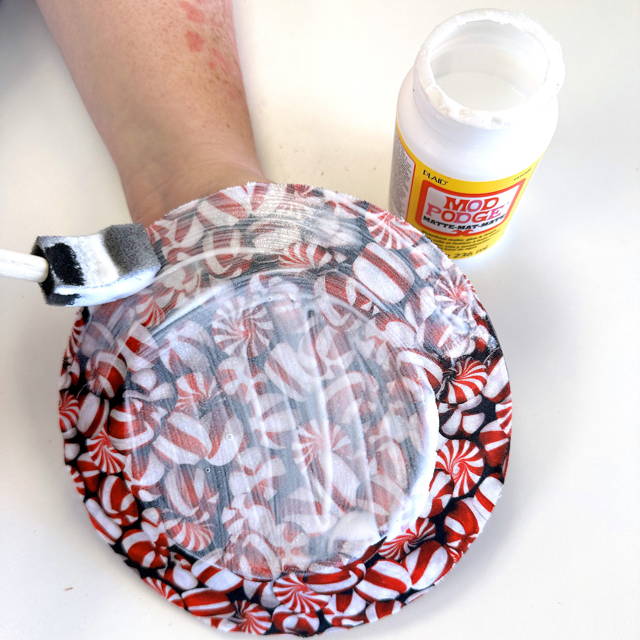
Apply mod podge in thick, even layer to bottom of plate, using foam brush. Let sit for about a minute.
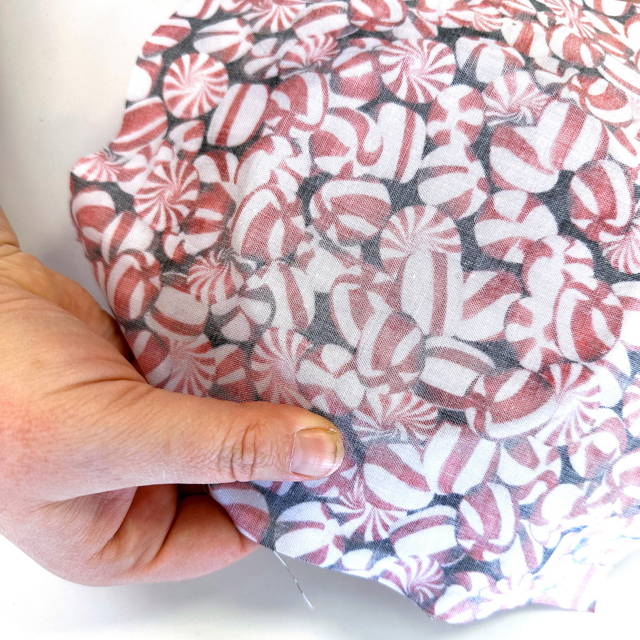
Step 3
Roughly center a 10” square of fabric right side towards glue and smooth, tugging gently and smoothing from center outward to edge of plate. Glue will soak through the fabric and get on your hands during this step.
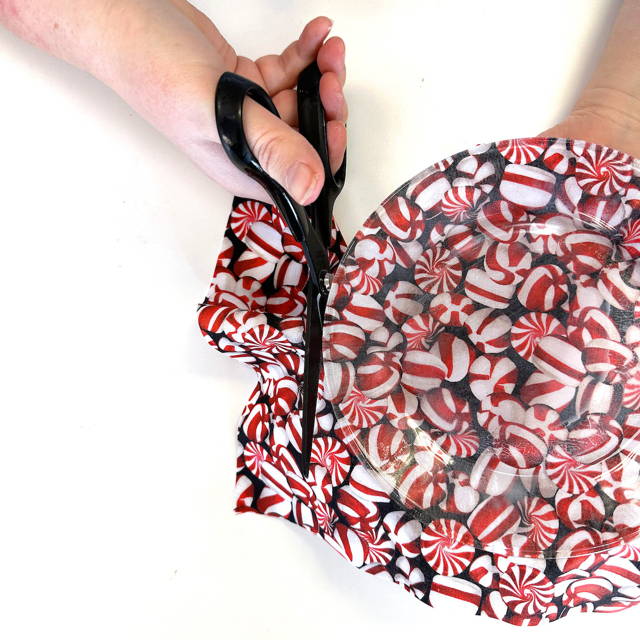
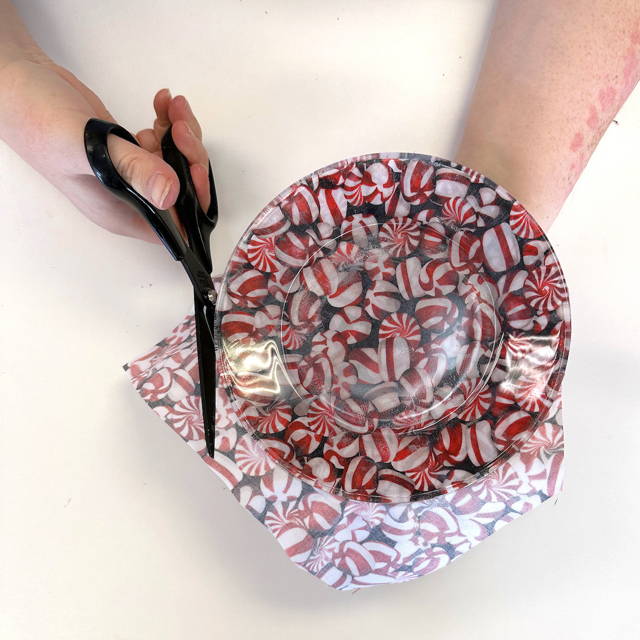
Step 4
Flip the plate right-side up and carefully cut around the plate, removing extra fabric. TIP: When cutting, tip your scissors to match the angle of the plate for the smoothest fabric trimming.
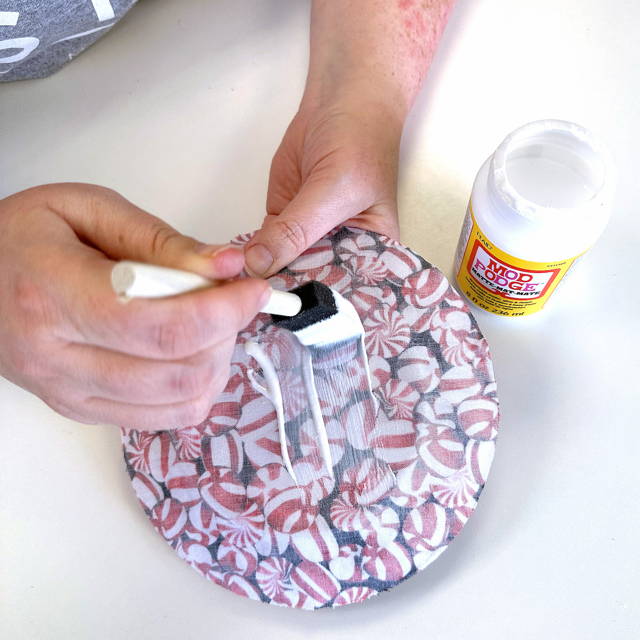
Step 5
Flip the plate back over so the wrong side of fabric is up. Apply another coat of mod podge. Allow to dry for just a minute.
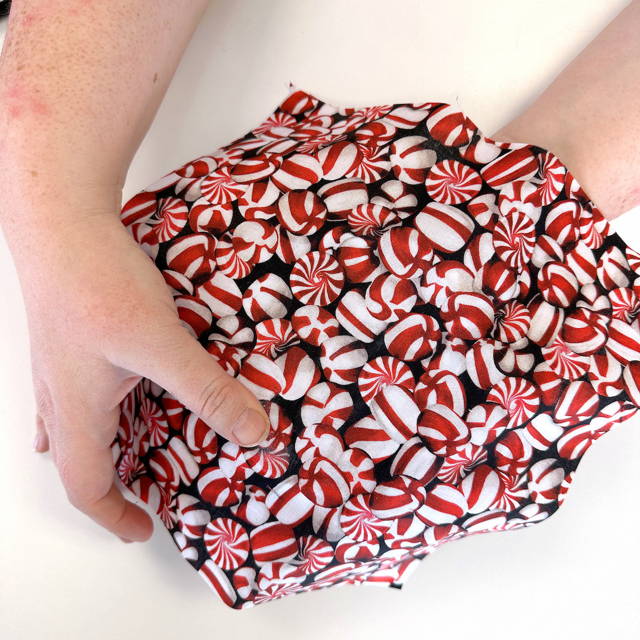
Step 6
Add a second layer of fabric, this time wrong side toward glue/right side up. Smooth as the first layer, from center to edges, gently tugging and smoothing outwards to the edge of the plate.
Step 7
Flip plate glass-side up and trim this second layer of fabric as you did the first. Again, tip your scissors to match angle of plate for best results.
Step 8
Flip plate again, applying another thick layer of mod podge. Allow to dry for about an hour and apply another coat. Once you’ve added two layers of mod podge, additional layers are optional. If you choose the super gloss mod podge, more layers will continue to add a glossy shine to the fabric.

Step 9
Let dry. Add more mod podge to any gaps or places fabric needs a little extra glue. You can use clips to hold the fabric as it dries.
Step 10
ENJOY! Add treats and enjoy the beautiful fabric-backed dessert plates!