


Basket of Blooms Quilt Tutorial
Jenny Doan
Basket of Blooms Quilt Tutorial
- 1 roll x 2.5" Strips (Jelly Rolls) - Print
- 3-1/2 yards x Background Fabric - includes inner border
- 1-1/4 yards x Complementary Fabric
- 1-1/2 yards x Outer Border Fabric
- 3/4 yards x Fabric for Binding
- 5-1/4 yards x Quilt Backing Fabric
Featured products Get the Supplies Featured in this Tutorial


Finish your masterpiece and let us give it the finishing touch it deserves.
Subscribe to MSQC on YouTube
Hundreds of FREE tutorials and a new one from Jenny launches every Friday.
video transcript
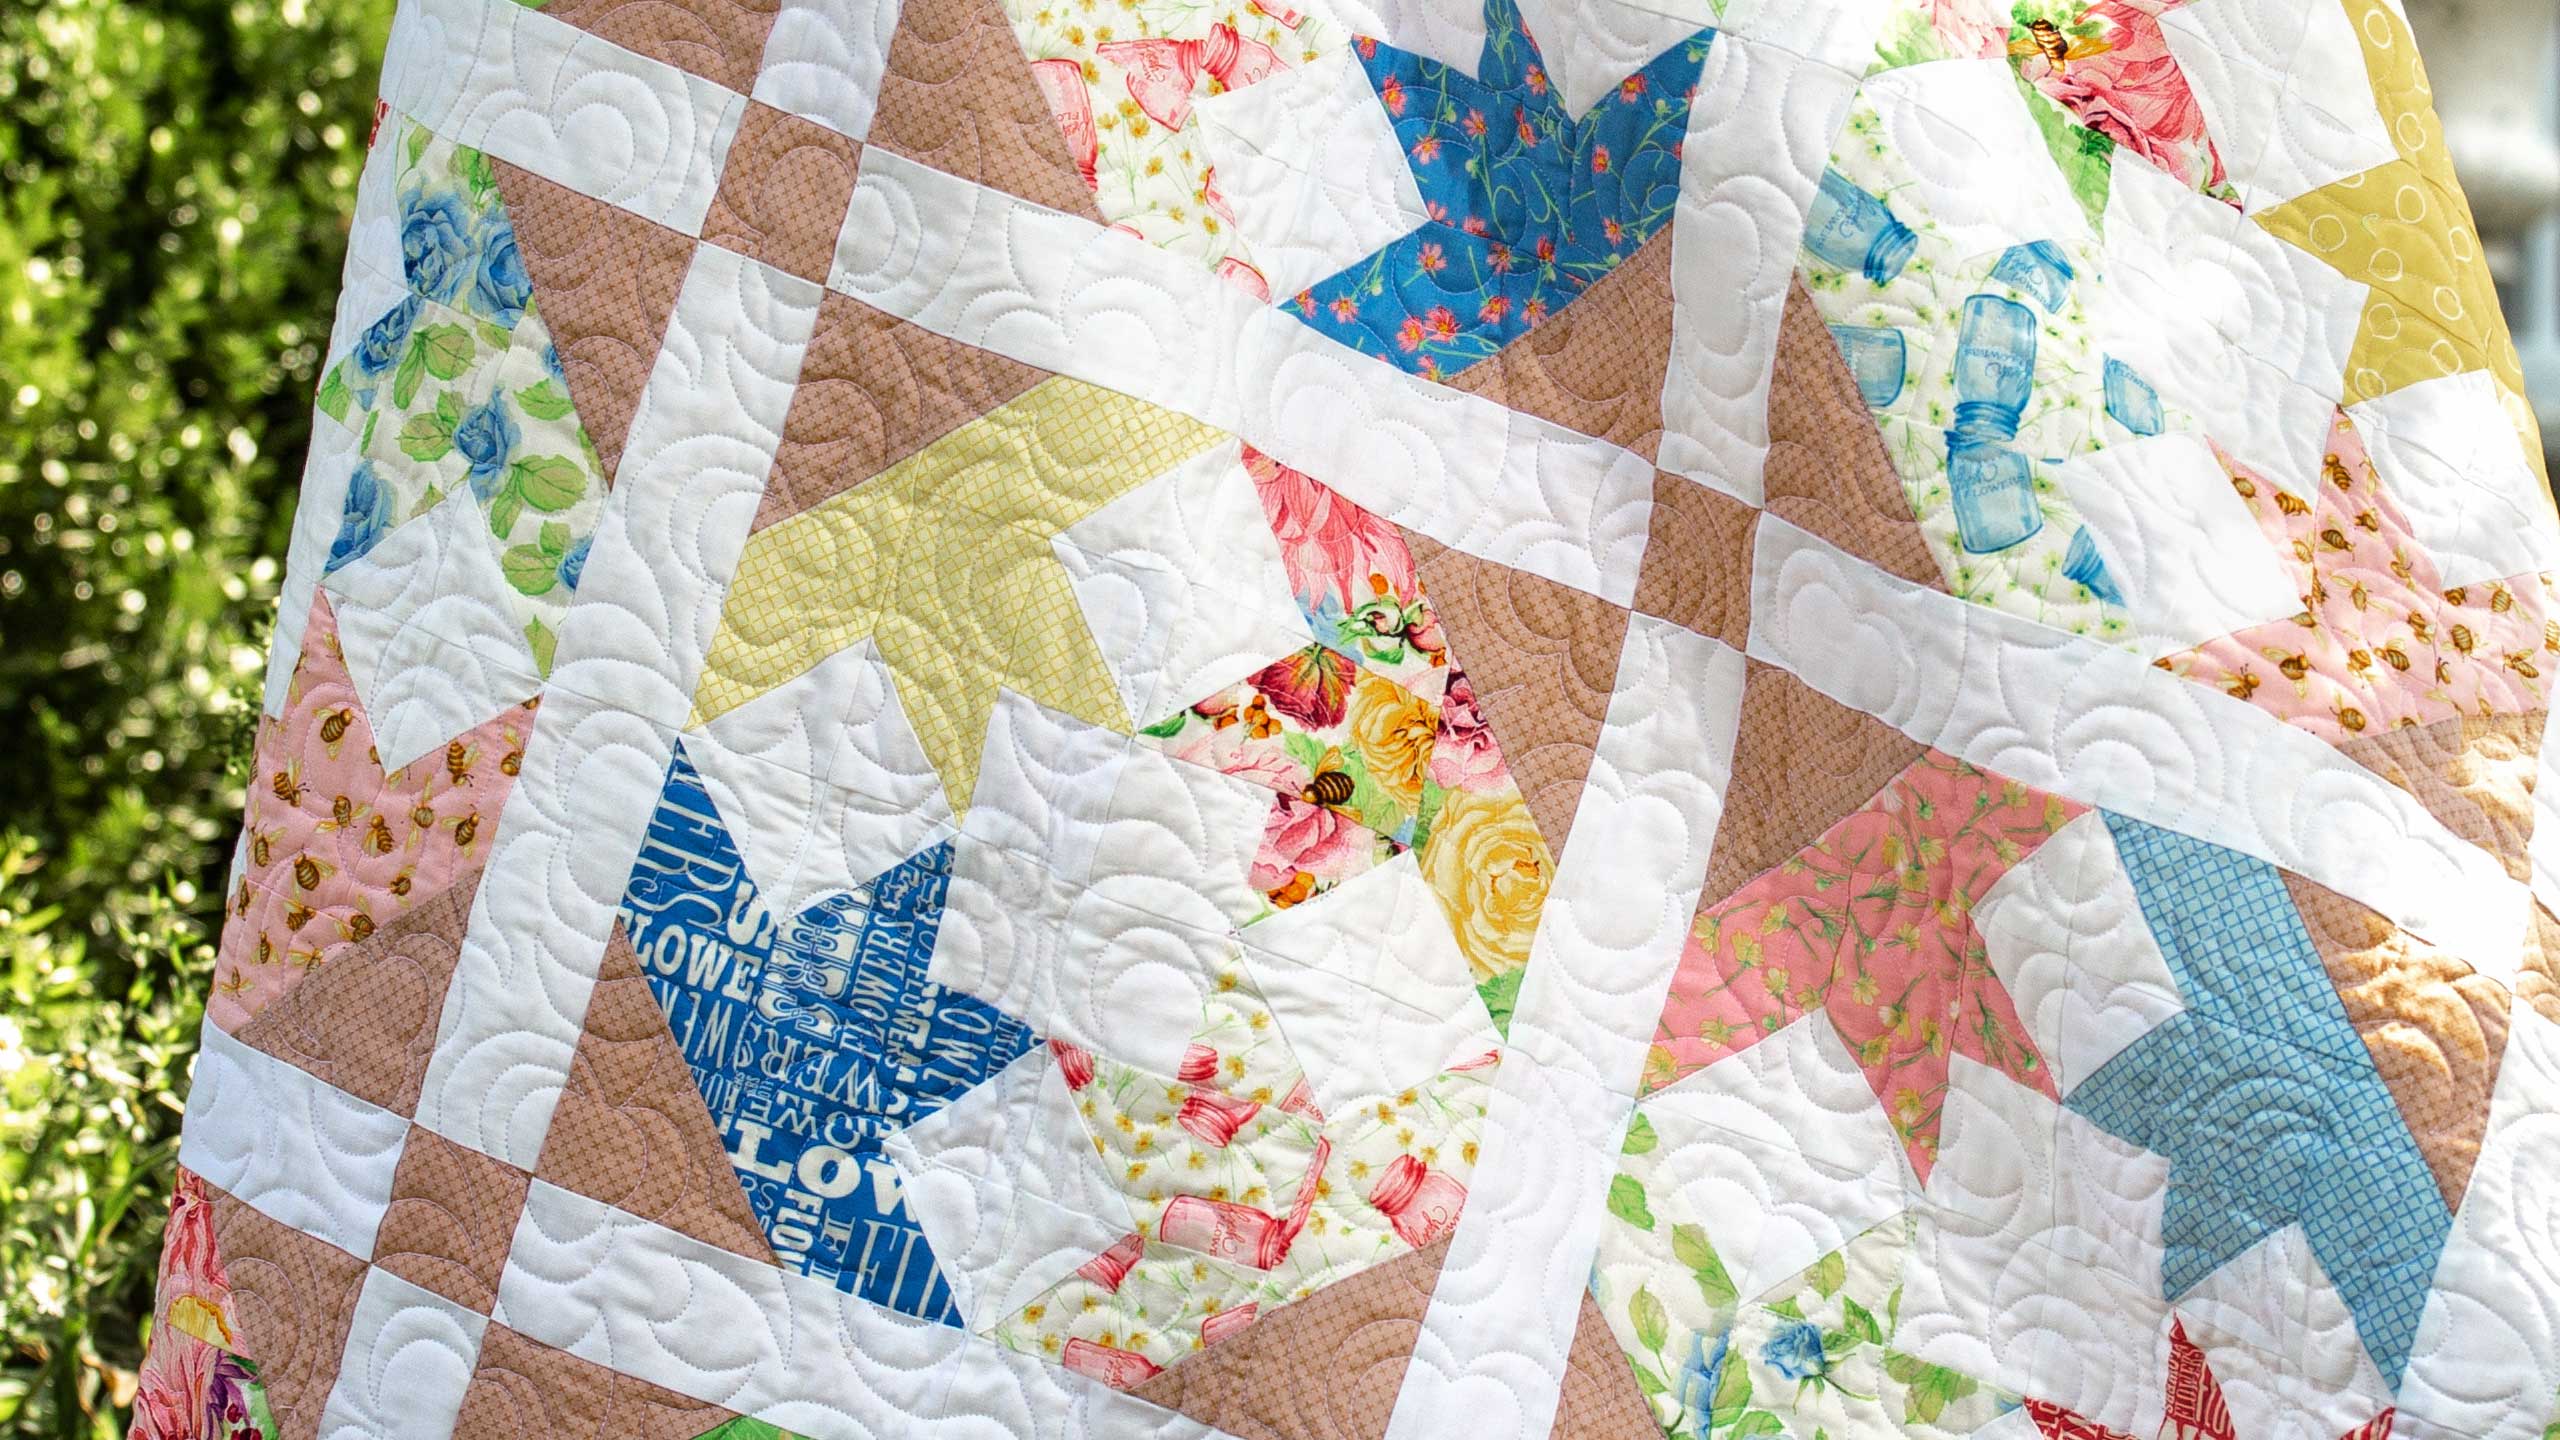
Hi everybody, it’s Jenny from the MSQC. And I’ve got a great project for you today. Take a look at this quilt behind me. Isn’t this fun? This is a wonderful old, antique block. And I love this fabric line. It’s actually made by my friend Shannon Christensen who designs for Windham Fabric. And the line is called Cottage Joy. So to make this quilt what you’re going to need is one roll of 2 ½ inch strips which is 40 strips. You’re going to need some background fabric. You are going to need 3 ½ yards and that takes care of this inner border and the sashing and all these little squares. You’re going to need some complimentary fabric for your baskets and your little cornerstones. And for that you’re going to need a yard and a quarter. For your border fabric you’re going to need a yard and a half because we did this nice big six inch border out here. And then on the back, look at this I pieced it right in half because I just loved both of these fabrics. I thought they were so cute. It’s such a cheerful line with that bright yellow and pink, just really fun. So let me show you how to make this because this is super easy.
Alright. So what we’re going to do is we’re going to take our strip and you’re going to do this to all your strips. And we are going to cut this in several different measurements. So the first thing we’re going to do is cut off our selvedges and I want to look and make sure I’ve got my, oh I can’t cut with this, can I? I’ve got my pen in my hand. Alright there we go. Alright so I’m going to move that out of the way. And these are the cuts you’re going to make and you’re going to do this to every strip. You’re going to do two 2 ½ so we’ve got two stacked up right here because it’s folded in half. And so really you do one 2 ½ inch cut. And then you do two 4 ½ inch cuts. So you’re going to end up with four of those pieces. Right here. And then you’re going to do one 6 ½ inch cut. So we’ve got one, two, three, four, five, six and a half right here like this. And then what you want to do is you want to separate these, keep your colors together but separate them because each strip is going to make two blocks. So we’ve got a 6 ½ inch strip, two 4 ½ and one two in each block. So you’re going to want to keep your colors together but separate them into blocks.
Then we’re going to need some 2 ½ inch squares. Now for each, each 2 ½ inch strip that you cut, and this is taken out of your background fabric, you’re going to get 16 of these squares. So for each block you need five. And I have five right here. And let me show you how this is going to go together. Alright let me move some of this stuff off of here. We’re going to start by sewing our two little 2 ½ inch squares together just like this. So we’re going to do a quarter of an inch. Let me move that over there. We’re going to do a quarter of an inch right down the side. And because we’ve already cut our other pieces we want to make sure that, that these seam widths are pretty accurate so look at your quarter of an inch and make sure it’s pretty accurate. And then we’re going to press this open. I’m going to clip these threads and press it open. I lay my dark to the top and just roll it back like that. Now I”m going to add my one 4 ½ inch piece to this side. And right here, this one has a little fold in it so I want it to be nice and straight so it’s easy to add on. And that’s going to go right here. And I want to put my white fabric at the top and then add this onto the side. So let’s go ahead and add that, just like that. We’re going to sew right down the side here, line them up. Alright.
Now the next thing we’re going to do, well after we press. We’re going to press first. Let’s see if I can get a good shot of steam here. Alright so the next thing we’re going to do is we are going to put a 2 ½ inch square on each corner like this. And you are going to want to draw the line or fold the line. I have mine on here so I’m going to go ahead and draw a line right here. So we’ll just draw a line right here. This gives us a sew line. We’re going to sew right on that line. And we want these lined up going the same direction. Oop, slid a little bit on my fabric but I think I can do that. Alright so on these corners, we’re lining this up like this, make sure they’re lined up exactly on your corners. And we’re going to sew right on that line. Alright now we’re going to flip this around and do the other side. Let me just get a little extra thread right here. Maybe I’ll just trim it. Ok now what we’re going to do, oh that was a big sigh wasn’t it? Alrighty.
So now what we’re going to do is we’re going to trim these off and iron them back. I can’t trim with my pen so I better use my rotary cutter. Alrighty. Now let’s press these back. Let me move some of this stuff to make sure you can see my ironing. Just roll it back and roll it back. Alright so now that we have this all ironed nice and flat we’re going to add our next two strips like this and this but we want these to be snowballed on the inside of this block. So basically what we’re going to do we’re going to draw our line on two of them like this. And then I’ll show you how we place them. Alright here’s one more. Alright so now what we’re going to do is we’re going to lay this block going this way because we want this to be a V right here. And we want this one to be a V as well. So we’ve got this coming in so now I can pick up these two pieces and you’ll see even when you get them together they’re going opposite directions. And we’re just going to sew on these two lines. One here and then I’m just going to stick this one in here and I know it’s going the right way because I didn’t move it. Alright. Now what I’m going to do is I’m going to press these back and I’m going to lay them back in there again just to make sure they’re going the right way. So see how that red line disappeared right there? I don’t know if you caught that. I’ll do it again on this one. I love how that happens. It just goes away. Alright so now before we cut these we’re going to lay these on here and I already thought OH but no it was right, here we go like this. So see how that goes. Alright so now we can trim this little edge off on both of these right here because we know it’s going to work. So we’re trimming that one and we’re trimming this one. Okie doke.
So now we’re going to add our 4 ½ inch one on first. And it’s going to go like this. And so when you fold it over you want to match up this corner and you want to pay a little attention to where this comes together right here because you want those two to match up or be fairly close. So here we go. Alright now we can add the other piece on the other side. Let’s go ahead and iron this and make sure it lined up pretty good. And it did, it did a pretty good job. Alright now this one is going to go this way. So let’s put that on. And again I’m starting at the corner, making sure my corner lines up. And then I’m going to hold my other two ends together and make sure that my, where the two little white squares are snowballed, that that matches up. Alrighty. And it’s pretty good. That’s pretty good. Alright so this is our little block right here. And now we need to add the basket part to the flower. So to do that we’re going to take a four inch square. I have some cut here. And again we are going to sew the, or draw the line so right on the line because we want this to look like a little basket. So we’re going to lay this right here in the corner and sew this line right here. Alright so now what we’re going to do is we’re going to trim this off right here. And this is a pretty big piece. If this is one you want to sew down on the other side and save it for something you can do that. We didn’t use it for anything on this quilt but you know I always have a baggie of those going so that I have those cute little half square triangles to use whenever.
So now we’re going to take four of these and put them together because this is the block we’re looking to make right here. This makes our little blooming baskets. So we’re going to put this one. Now these are kind of the same print so I’m going to move this over here and I’m going to put this like this. Just like that. So for our sashing what you’re going to need to do is measure the size of the block. And then your little cornerstone is going to be a 2 ½ inch square. So that’s going to go in there. And then we should have two little pieces right here for this side and this side. And because we’re calling this whole unit a block, let me show you how we put that together. So first we’re going to take these and we’re going to lay this on here and we’re going to sew this a quarter of an inch right down the side and add the other piece. And here we go with that. Whoop. Oop, I’ve got a little roll, there we go. Then I’m going to add my green to the other side. And you always make sure that your baskets come into the middle because that’s where your little, your little cornerstone is going to go in there. And it’s going to match up. Alrighty now we’re going to do this to the bottom two as well so I’m just going to fold my, my piece on over there. Make sure that I’m sewing it to the basket part in the middle. And we’re going to add the other side. Isn’t this fun? This just goes together so quick and easy.
Alright then what we’re going to do is we’re going to put these back up here like this so you can see how this goes. And then we’re going to sew this middle sashing piece. So we’ve taken a sashing block so it’s the same size your block is, added a 2 ½ because that’s the width of these borders and then put it clear through on the other side. So we’re going to go ahead and add that, add both sides to this and that will make our whole big finished block. Now you want to just put a few stitches down and then make sure that your middle cornerstone lines up with your sashing strip. And then once I cross that seam line and I’m sure those are lined up then I put my finger on the other one because those are the two I want to be together. Alright then we’re going to add our other blocks to the other side. Let me clip these threads right here. Lots of little threads. Whenever I take a quilt to quilting I’m always like, please clip the threads. I have a bunch of threads on there. There we go. Alrighty. Now we’re going to add this one to the other side. So we’re going to go ahead and put this on here like this, flip it over right sides together and just start sewing. And we’re going to, again I do those couple little anchoring stitches I call them and then make sure that my middle seam lines up. Now if you ever have one seam that’s a little bigger than the other then you want to put the bigger seam on the bottom because the bottom, the feed dogs will take in more, more fabric and then that will make it better. Alright then we’re going to come across this one. Make sure we match up at the end.
Alright now let’s press this open. See what we’ve got here. Oh that looks pretty good. I always check my middle first because that’s what I’m looking to match up. And then we just look and see how things laid out. Alrighty. Now if you’re worried about which directions your seam goes you can always flip this over and make sure that they’re laying the way you want them to. I’m always looking for a flat block so as long as it’s pretty flat I’m not too worried about which direction they’re going in. Alright so right here I want to show you this right here. This right here, see how this sticks out a little bit. We’re going to want to just shave that off. I like to even up those edges of those blocks. So what I’m going to do is I’m going to put my ruler on the edge of this block and on the edge of this block. And then I’m just going to trim the tiny bit in between. So just by taking that off it cleans that whole side up. And that little, you know where it didn’t come together exactly, that’s all going to be hidden in the seam now. And this one I’m just going to basically cut off these threads. That one looks pretty good. This one has a little bit where it pokes out and sometimes that just, you know just kind of goes out like that because. You know your fabric gets pulled one way or the other or maybe it’s just this little piece right here that’s a little bit too long. Maybe you didn’t cut it exactly right. But all that can be taken care of and then you have this great little block.
So now let me show you how this fits together in the quilt right here. Here’s our block right here. Now when we were putting this together we looked at adding an additional sashing in between the blocks. But we didn’t love it, we thought it looked cool how they just came together like this. So we put ours together. And what that does right here is it makes a secondary block right down here where this white comes together here. And so it just makes fun little baskets kind of all pointing together. We gave this a basket look. I love that it makes a little shoefly block in the center of our, of our big block. And so there’s just a lot of different things going on with this. And a lot of fun. So we hope you enjoyed this tutorial on the Blooming Baskets from the MSQC.
& Progress on Social