Brick Yard Quilt Tutorial
Jenny Doan
Brick Yard Quilt Tutorial
- 1 roll x Print 2½" Strips
- 1 roll x Solid 2½" Strips
- 1¼ yards x Border Fabric
- ¾ yard x Binding Fabric
- 4½ yards x Backing Fabric
Finish your masterpiece and let us give it the finishing touch it deserves.
Subscribe to MSQC on YouTube
Hundreds of FREE tutorials and a new one from Jenny launches every Friday.
video transcript
Hi everybody, it’s Jenny from the Missouri Star Quilt Company. And I’ve got a great project for you today. Let’s take a look at this quilt behind me. Isn’t this fun? Now what makes this project so special is the ombre fabric. And an ombre fabric is the fabric that goes from light to dark, all in one piece, in one strip. So to make this quilt what you’re going to need is one roll of 2 ½ inch strips. And we have used the Ombre Confetti Metallic. And this is my V. & Co. for Moda. And it’s just a beautiful line. You’re going to need a little more than half of one of these rolls because you’re going to have one strip for every two of these. And you’re also going to use that for your inner border right here and the little squares that we put on our blocks. For this outer border out here, you’re going to need a yard and a quarter. And it’s a nice big six inch border. But let me show you the back because you can see the ombre on the back. See how it goes from light to dark. That is what ombre looks like. And that’s what makes it so much fun to work with.
So to make this quilt what we’re going to do is we are going to sew strips together. And we’re going to sew them in groups of threes like this. Now take a look at this strip because it goes from, they go from dark to the lightest in the middle and then back out to the dark again. And so that just makes it really cool because you get all different colors in your blocks. So what we’re going to do is we’re going to take two strips and you want them to be two different colors. And so we’ve got this red one and this blue one just like this. And we’re going to sew a strip right down the center of those. So we’re going to put a white strip in here. And I”m just going to lay this on here like this. And we’re going to go to the sewing machine and we’re going to sew a quarter of an inch all the way down the side. And then we’ll add our red strip to the other side. So we’re going to start right here, line them up, selvedge to selvedge. And then I just kind of come, lean back a little bit and line up my strip for a little bit and then just kind of let it sail. Alright, I’m going to stop and check and make sure it’s still together. And we are doing great. Alrighty, once we get to the end of our strip we’re going to open this up. And we want to make sure that the white strip is in the middle. So I’m going to lay these like this. We’re going to put this red one on top of here. Let me move this so you can see this better. We’re going to put this red one right on top of here like this and we’re going to do the same thing and we’re going to sew a quarter of an inch right down the side and make a strip set of three. Alrighty, line this up. Ok so now we’re done with our strips right here. And we are going to go ahead and press these to the dark side, make sure that our fabric strip lays nice and flat. I like to actually press from the top so that, so that I can make sure there’s no creases or pleats in here. We want this to lay nice and flat. And I just love this ombre. There we go and a little bit more. And I’m making sure these seams, you can see I’m pulling these seams to the colored side of the fabric. And I’m going side to side here to make sure that there’s no creases or pleats or anything in here so that we know that we have a wide open strip just like this.
Alright now what we’re going to do is we’re going to take two strip sets like this and we’re going to put them right sides together. And we’re going to sew a quarter of an inch down this top side and a quarter of an inch down the bottom side. So we’re going to sew these together in a tube. And I have one here that’s all sewn together. So you can see right here, I have my two colors and my white one and you flip it over and you have your two colors and your white one in the middle. And then you can see my stitch line along here. So this is important because this is how we’re going to cut these blocks. And what we’re going to do is we’re going to take a ruler that has a 45, almost any ruler that has a 45 will work on this. And I’m going to lay my stitch line right on that, this 45 right on the stitch line. And so I’m going to find my rotary cutter, maybe I put it back in my drawer. There it is. So I”m going to line the 45 up with my stitch line. And then I’m going to hold this down and I’m just going to cut all the way up to the top right up here. This part is going to be waste. So we’ll set that up here. And now what we’re going to do is we’re just going to slide our ruler like this up. And we’re going to put our 45 line on the top, on this stitch line up here. And we’re going to kind of balance this one right at that point and we’re going to go ahead and cut again. Now these should be 8 ½ inches square. How cool is that? Just from a tube. Let’s cut a few more so you get the hang of this.
Alright so we have our, our ruler on the line up here, our 45 on the stitch line and we’re just going to slide this back down and make sure that this strip stays straight and our 45 line stays right along our stitch line. And then we’re going to go ahead and make a cut and we’re going to come up here and do the same thing. Now if at any time you’re cutting and you find yourself doing some kind of weird backward cutting, you’re not sure which way to go, flip your strip around because I’m left handed so I’m going to be coming at this from this side but you may want to come at it from the other side because all I’m doing, I’m cutting, this is a very easy cut for me. I’m just cutting straight up from the bottom on both ways and so it’s, it’s not awkward, it’s hard. We don’t want you to cut a finger off or you know, lose a limb in this quilt. We just want you to go about it easy. But you’ve got to watch and make sure that your, that your rotary cutter isn’t doing something crazy. Alright and one more I think we can get out of here. Whew, right to the edge. Alright.
So let’s take a look at these blocks. Now you see I made very quick work of cutting that whole strip set into blocks. And let’s take a look at these blocks because these are pretty cool. Alright I’m going to, I’m just going to press this open like this. And we’ve got all these cool blocks. But what I want to show you is that look at all the different colors that are in these blocks. Now these were, these are ombre strips so you’re going to get all the shades in every block. So this purple came off of this purple but they look completely different because they’re ombre and so that makes it really fun. And because we’re cutting from the top and the bottom of the strip some of the green ones are going to be big and some of the purple and pink ones are going to be the big blocks so it’s just fun to see how different these all look from one strip set. The ombre to me is what makes this one really, really fun. Alright so we’ve got a bunch of blocks here. We’re going to go ahead and iron this one just cuz.
And then what we’re going to do is we’re going to take our blocks and we’re going to take a 2 ½ inch square right here. We’re going to draw a line on that. And we’re going to put it on our strip side where the colors come together. So over here on this side you see we already have the little colors. These sides are going to have a white. So we’re going to line these up like this. Then we’re going to sew straight across them on both sides, make sure they stay lined up nice and square. And we’re going to sew right across there. Now I’ll clip my thread and I’m just going to flip this around and do the other side. And you’re going to do this to all your blocks. Alright now what we’re going to do is we are going to just trim these off. You can use your rotary cutter or your scissors. I think my rotary cutter might have been a better call but this is working. Trim my threads and then I’m going to press this back. Alright. So how cute is this? Isn’t that fun? Fun little block. And it’s fun to put them together so let me show you how we do that.
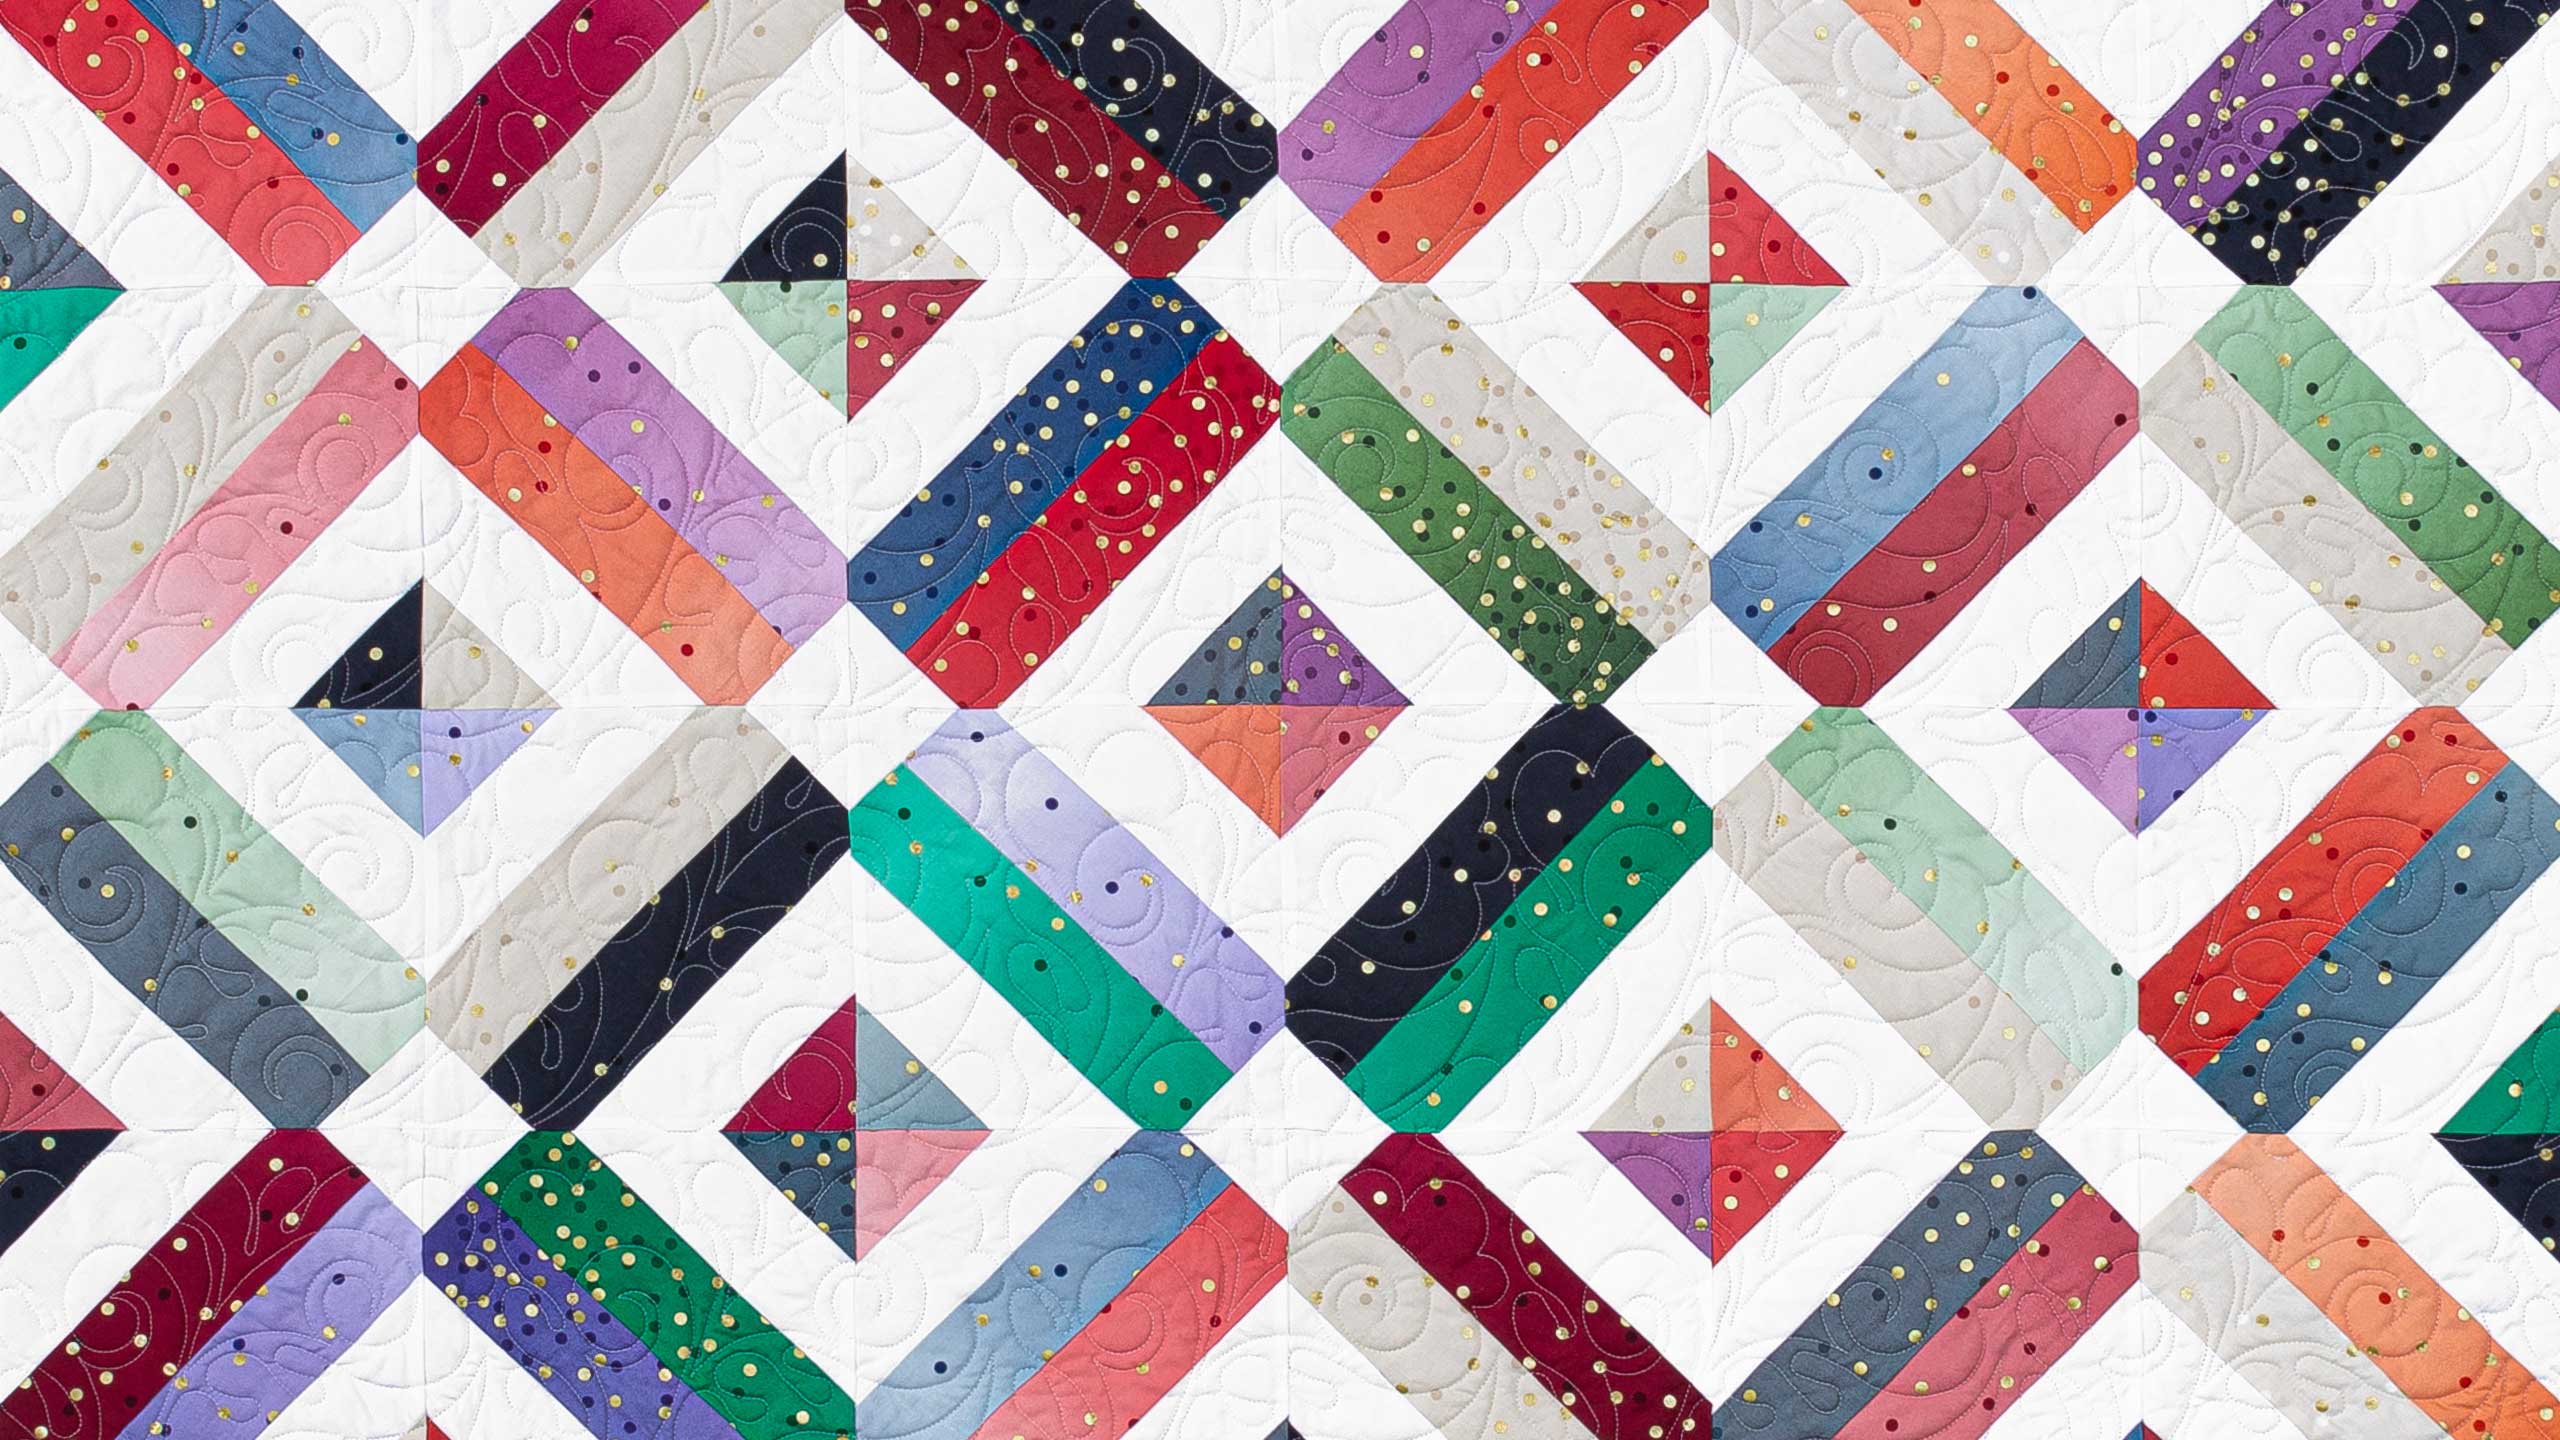
Alright so what we’re going to do is we’re going to lay these out and we’re going to match color to color and white to white. And so when you put them together, you want to put them together like this. So see how our little colors come together and our white comes together. And what happens, look what happens to this double block in the middle. It does this chevron thing across it. And so let me add another row here so you can see what’s happening and what’s really fun is because of all the different shades in this, in these strips, you get all kinds of different colors and fun like that. Look how fun that is. Let’s take a look at this quilt behind me. Alright so we’ve got one, two, three, four, five, six blocks across here. And you can see we’ve turned them like this. And that happens just by lining up your color here, your white here, your color here, your white here. Then we’re going to have one, two, three, four, five, six, seven rows, six in each row. Once you get your borders on it’s going to make a quilt that is about 64 by 73. I think when the colors come together they look a little bit like bricks and bricks in a patio so we called it the Brick Yard quilt. And we hope you enjoyed this tutorial from the Missouri Star Quilt Company.
& Progress on Social