


Strings Attached Quilt Tutorial
Jenny Doan
Strings Attached Quilt Tutorial
- 1¾ yards x Dark Solid Quilt Fabric
- 2 yards x Light Solid Quilt Fabric
- ¾ yard x Quilt Fabric for Binding
- 3½ yards x Quilt Backing Fabric
- 1 x 10" Rhombus Template
Featured products Get the Supplies Featured in this Tutorial


Finish your masterpiece and let us give it the finishing touch it deserves.
Subscribe to MSQC on YouTube
Hundreds of FREE tutorials and a new one from Jenny launches every Friday.
video transcript
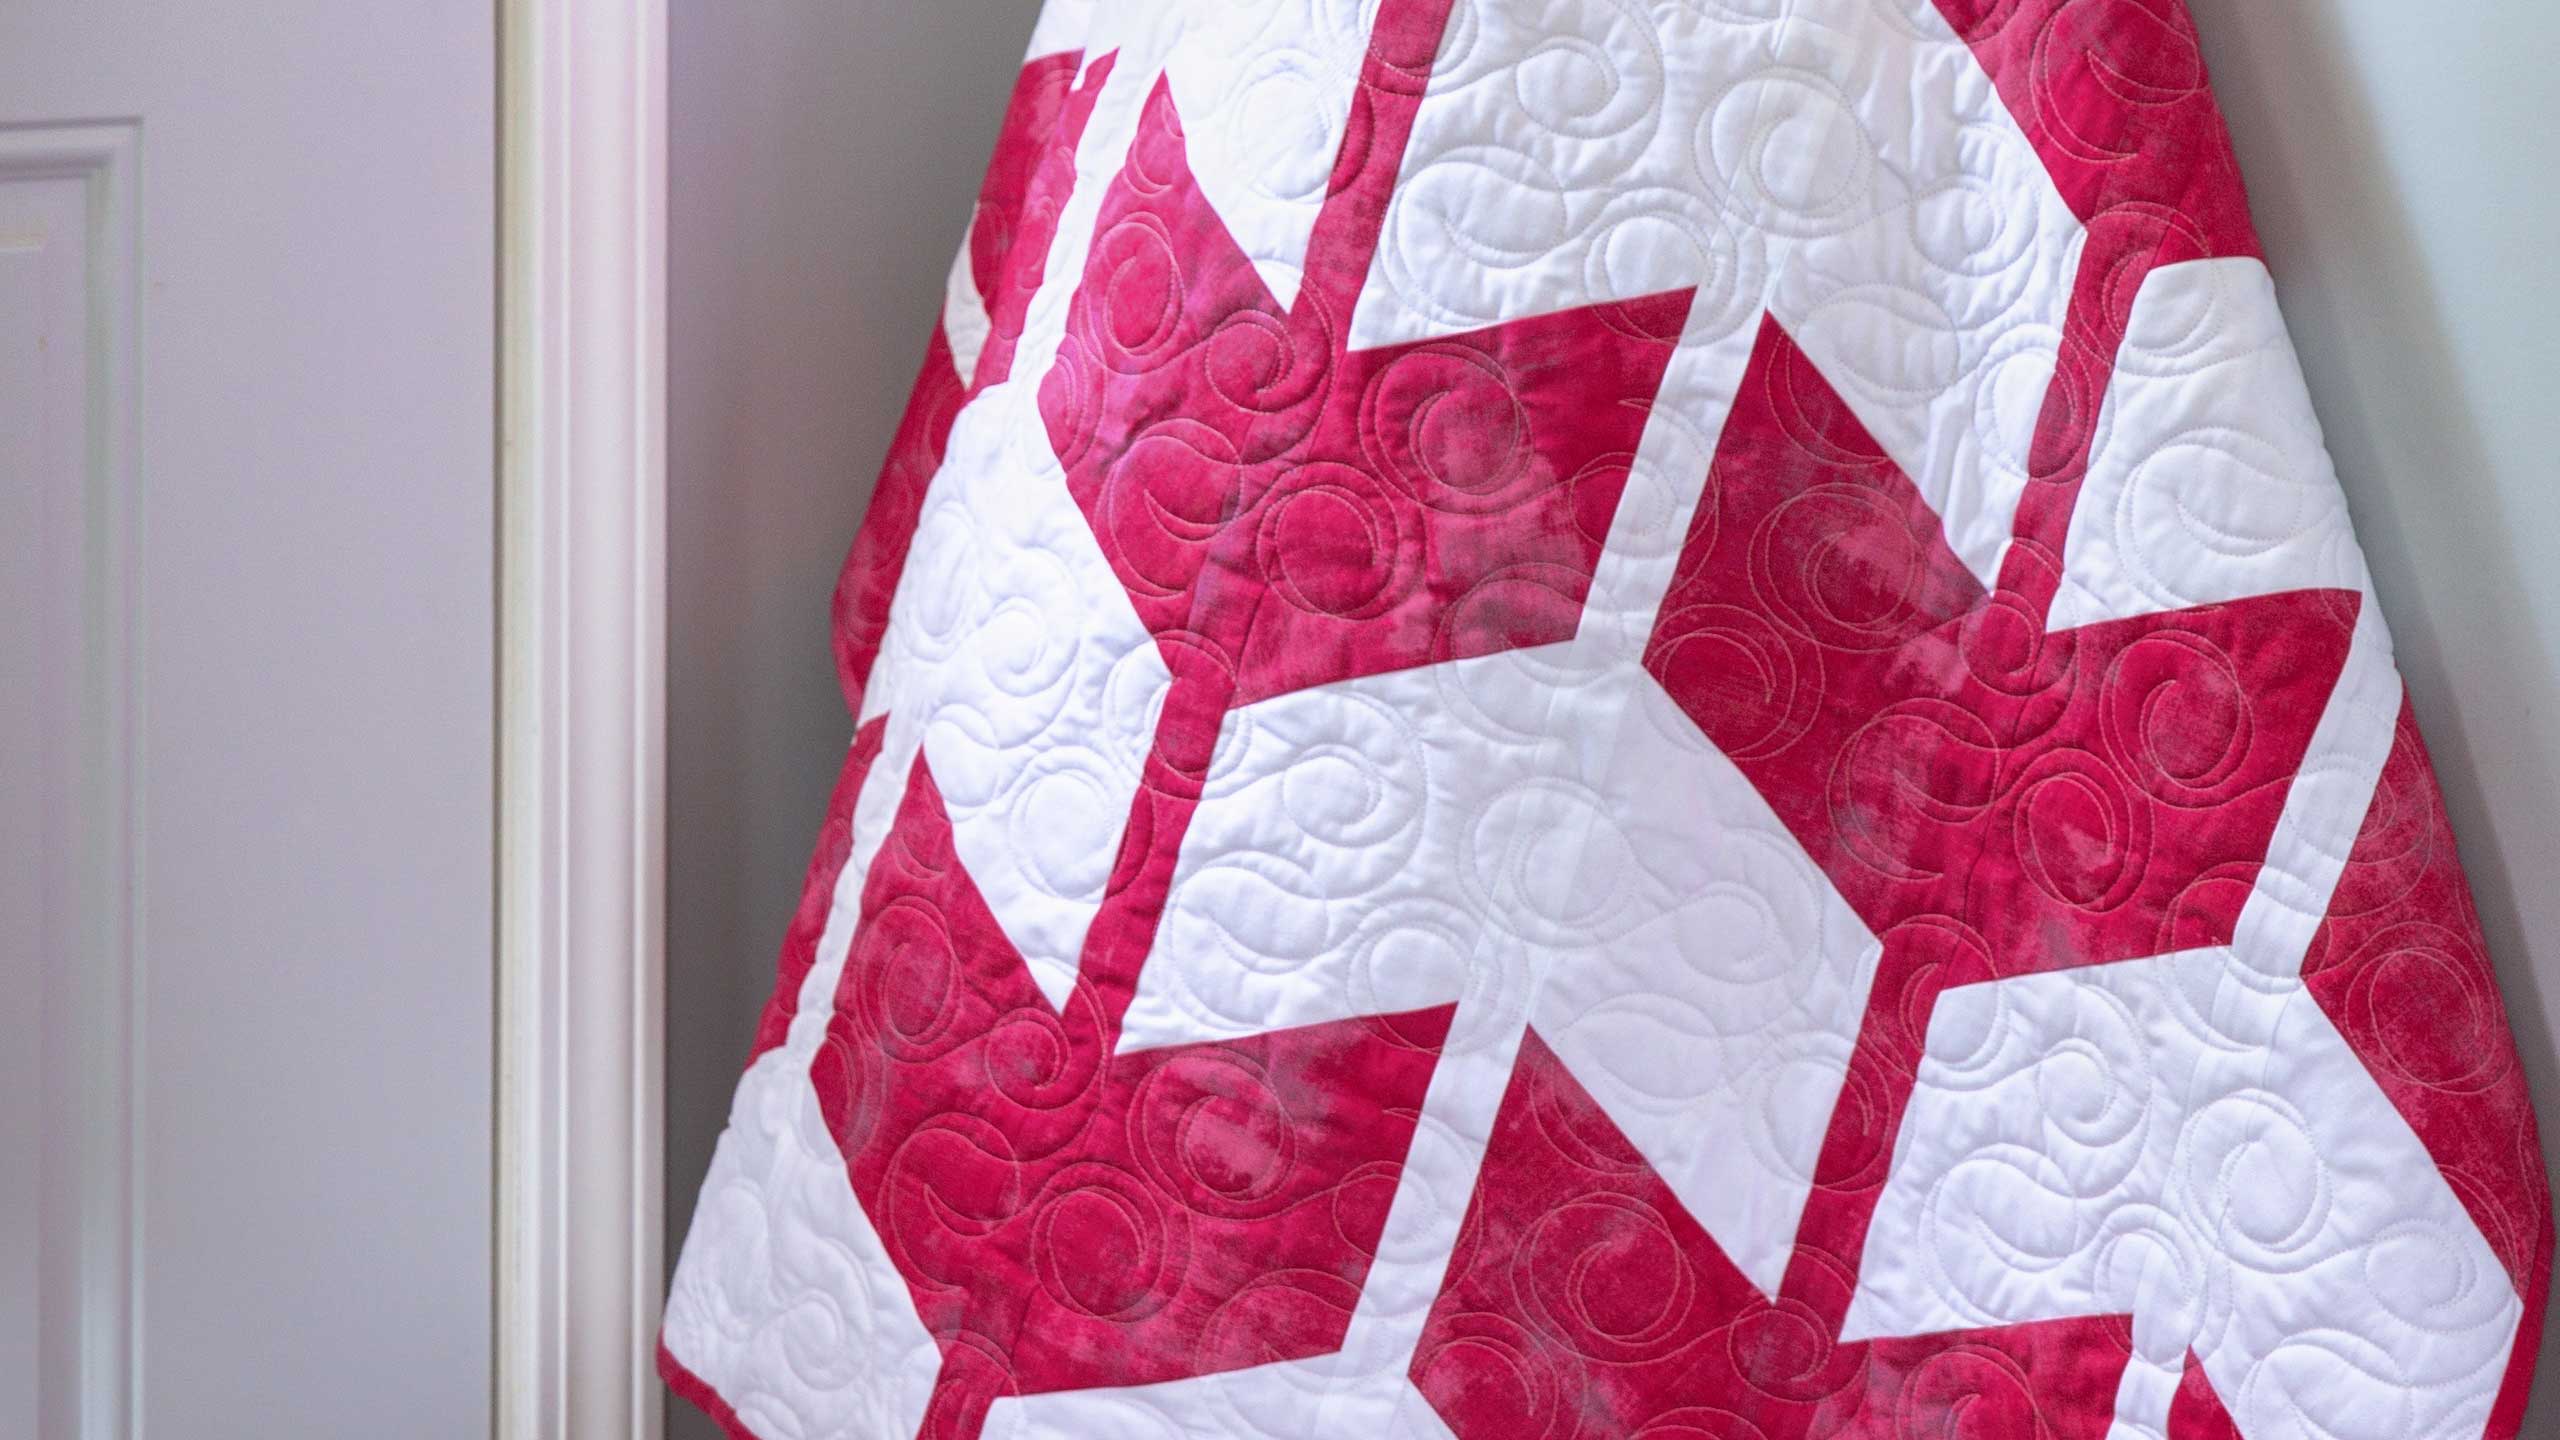
Hi everybody, it’s Jenny from the MSQC. And as you can tell we are feeling in the pink today. Let’s take a look at this quilt behind me. Isn’t this fun? This is a rhombus quilt made with our rhombus tool. It’s made in long columns. Super easy to make. I can’t wait to show you. So to make this quilt what you’re going to need is two yards of a background color. And we’ve used Bella white right here. And it takes care of our rhombus and this strip. You’re going to need one and ¾ yards of a print or a solid. And we’ve used this Grunge Basics and it’s by Basic Gray for Moda. And I just love the Grunge fabric, it’s really fun. For your backing you’re going to need 3 ½ yards and again we’ve just used the same Grunge Basics on the back. And it just makes a really pretty quilt. So let me show you how to do this because this is really fun.
So you’re going to take your yardage when you’re ready to cut it into two rhombus strips. And you’re going to cut a five inch strip right here like this. And I am just going to lay my ruler right along the edge because this is a five inch ruler. Oh even the rotary cutter is pink. Five inch ruler and we are going to just cut a five inch strip right here. Alright now we’re going to take our five inch strip and we’re going to get our rhombus tool and we’re going to cut our rhombus, our little rhombus shapes out of those. This is the rhombus shape. And I love this shape. We use it for a lot of different things. And it’s just a really fun shape to work with because it’s so easy. Alright so now you can see, let me just show you this real quick here. So you can see that because we cut a five inch strip, there’s no cutting on this side. So you’re basically just cutting these two sides. So I’ve moved this over as far as I can get it to the edge right now there. And I’m cutting this and my little notch and this little notch and this right here. And then you have your rhombus sets right here. Now we’re going to make these in columns of 12.
So let me show you how easy this is to sew together. We’re going to take our two pieces, a white and a pink. And we are going to put them together like this. You want to make, you’re going to sew this together in long columns like this. So we’re sewing this whole section right here at a time. And you’re going to sew one, two, three, four, five, six, seven, eight, nine, ten of those. And so let’s, let me show you how to sew these together because this is really, really easy. So you’re going to lay these so they line up. I like to lay them so that it makes, you can see that it’s straight. Because every side of a rhombus is the same size. So you could sew any side but it’s going to make different things every time. So we are going to sew these together so they make a straight line. And then I’m just going to lay this back on the other one. I’m going to line it up as close as I can get it. And then I’m going to sew a quarter of an inch right down the side.
Now sometimes when we sew these they get a little off. The thing about that is that as long as it will, as you can still catch that in the quarter of an inch seam that’s all that matters. So we’re going to sew this and see how close I get right here. Alright now let’s go press this open and see how I did. Alright first I’m going to lay this on here and set this seam right here. And then I’m just going to fold it back like this. And we didn’t do too bad. We’re a little bit off. Here’s let’s look at this. So see how this is a little bit off right here, tiny bit. But still we’ll be able to catch that in that quarter of an inch seam. So I’m going to say that’s ok with me. Alright so you’re going to sew 12 of those together. Now the one thing you have to watch on this is you have to watch your direction because one strip, they’re going to go this way. You know one strip is going to go in and one strip is going to go out. And let’s see here. So see how one goes in and one goes out. I mean they come out this way. So you’re going to make five of each of these. And then we’re going to put the little inch and a half strips in between them. Now on the quilt here you can see that every other row, we just, we just, every other row is white, pink, white, pink like that. And you’ll just want to lay that out and make sure that works. That’s a really easy, that’s really easy to do.
So you’re going to sew your strip like this. And you’re going to have to sew a couple of pieces together to get them the length you need. And make sure this piece is on the back. I can’t even tell you how many times I’ve been sewing along especially with a, with a solid and then up comes my seam on the top. So just check that out because we don’t want to do that. Alright so you’re just going to lay the strip on here and you’re going to sew it to this side and to that side and you just want to make sure that these two pieces match up. So let’s go ahead and sew that strip on so you can see how easy this is. And I’m just going to gather my strip and sew a quarter of an inch right down the side. I’m matching up this little top piece a little bit right here actually hanging it over just a hair. And again we’re going to just sew a quarter of an inch right down the side. Alrighty now we’re going to want to press this open. And I’m just going to set my seam and roll it back. I like to press in between because it’s easier to see how to line them up if your strip is laying nice and flat. And we want that to line up. And I can’t tell you how glad I was as I was sewing along and I had my, my little seam was going the right direction. You know that always has that little Oh did I actually fix that again. So anyway, it worked and I’m glad. Alright.
Alright so now we’re going to line up this other one. And you can actually use your strip how it went up here at the top. So see how right here, let me show you this, see how I’m just like a tiny bit up right here. I’m going to go a tiny bit up right there and make sure those stay together. And then I’m just going to lay this back on here like this. And I’m going to stick a little pin in here. I know you’re shocked. There we go. And then I’m just going to stick a pin down here at this junction because I want to make sure that when I open this up it’s going to go in the right place. And it’s a little hard to tell because it’s a, it’s a, it’s an inch away from its buddy over there. So let’s go ahead and sew this and see, see if it lines up close. I’m hopeful. I’m feeling really hopeful. Alright, take my pin out. Alright I’m going to go ahead and peek here and make sure it’s lining up. Oh ya that looks really good. Alrighty. So now we can just sew down the side. Alright I’m going to peek again. It’s still good, still good, hooray. The reason why I feel like I have to check again is because the feed dogs take in more fabric than the top fabric so there’s a real chance it could shift a little bit. And so we want to make sure that we keep those right together. And you may want to go ahead and pin them all the way down the side. I’m just living on the edge here. Alrighty let’s see how we did here. Hey those look pretty good. Very nice. Alright let me press this back.
So then what you’re going to do is right along the next side, once you get this all pressed nice and flat, what you’re going to do is you’re going to sew a pink strip to the next side. And it’s going to work exactly the same way. And it’s just going to go together so quick and easy. I just think you’ll be surprised at how fast this quilt really is. Alright once you get your strip all pressed nice and open it’s time to add the pink strip on. And it’s just going to go right next to it.
So when you’ve got all your columns done and they’re together and you’re ready to straighten off the top of your quilt and the bottom, I guess you could leave it pointy. That would be an interesting look. But we cut ours straight off on the top and straight off on the bottom so it would be nice, straight, square quilt. I just used the edges of my pieces. So right here, I’m just going to cut this straight across. And, and these will be extra right here. And somebody is going to do something really clever with those. I just know it. But I just cut it straight off the top like that. And squared up our quilt. And this makes a quilt that is 54 by 60. So we’re calling this Strings Attached. And it’s just a really fun, quick quilt. And we hope you enjoyed this tutorial from the MSQC.
& Progress on Social