Building Blocks Quilt Tutorial
Jenny Doan
Building Blocks Quilt Tutorial
- 1 pack x Print Layer Cake (10" Quilt Squares)
- 3/4 yard x Quilt Fabric for Inner Border
- 1-1/4 yards x Quilt Fabric for Outer Border
- 3/4 yard x Quilt Fabric for Binding
- 5 yards x Quilt Fabric for Backing


Finish your masterpiece and let us give it the finishing touch it deserves.
Subscribe to MSQC on YouTube
Hundreds of FREE tutorials and a new one from Jenny launches every Friday.
video transcript
That’s pretty good. My thumb nail just fell off, sorry. Wait, let me get some glue.
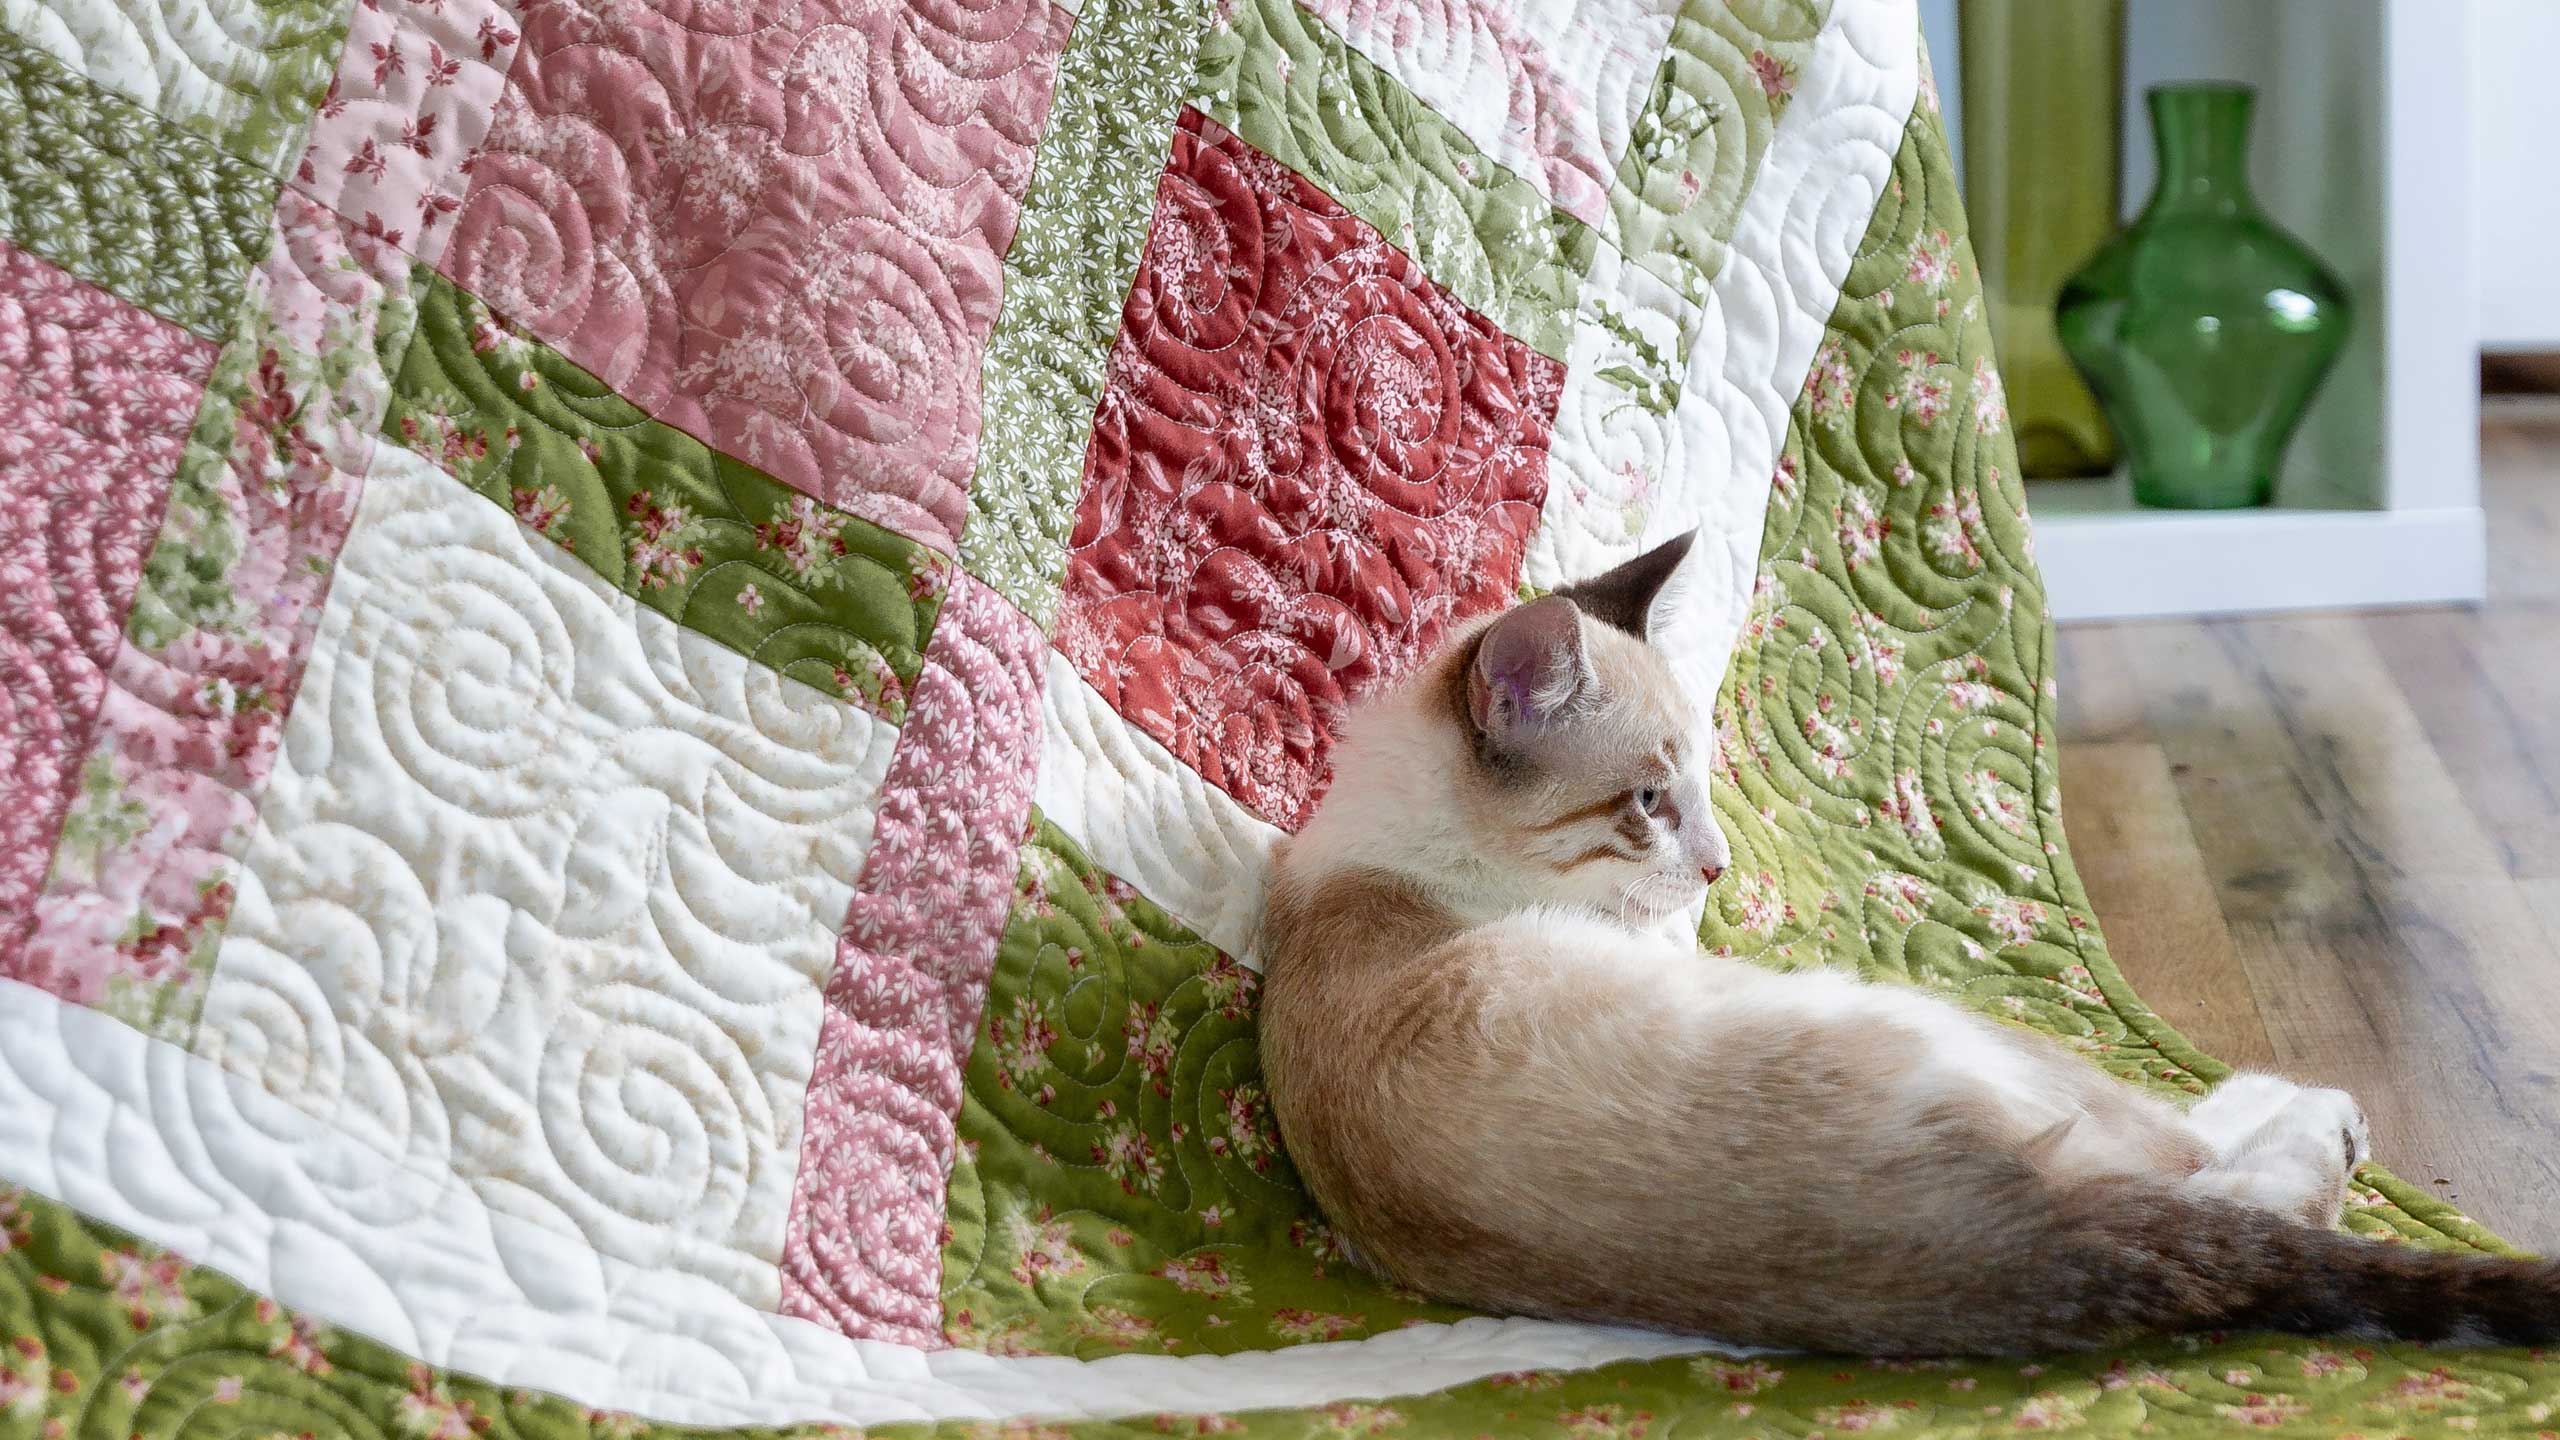
Hi everybody, it’s Jenny from the Missouri Star Quilt Company. And I’ve got a fun project for you today. Take a look at this quilt behind me. Isn’t this great? Now this is so quick and easy I can hardly wait to show you how to do it. So for this quilt we used one packet of ten inch squares, that’s 42 ten inch squares. And we used Sensibility for Maywood Studios. You’re going to need ¾ of a yard for an inner border. And for your outer border you’re going to need a yard and a quarter. And these are six inch borders. Your backing back here, this is a five inch or five yard piece of backing. And you can see that it is just gorgeous and that’s using the 45 wide fabric.
So to make this quilt what we’re going to do is we are going to take all of our squares. We’re going to open our pack up. And we’re going to layer about four at a time because we’re doing the same thing to every square. And I’m going to lay mine right here together, make sure they’re lined up really well. Just take the time because this part matters. Now if you’re uncomfortable cutting four, just go ahead and cut one at a time. But basically we’re going to do the same thing to the entire pack. So what we’re going to do first is we’re going to take our ruler and we’re going to lay it in here and cut a 2 ½ inch strip off the edge. Oops I’m not quite lined up here. Let me get this one over. Alright. There we go. Alright so now we’re going to lay this ruler 2 ½ right along that edge. And I’m just going to cut a 2 ½ inch strip off here and we’re going to set those over here. And then I’m going to turn my square and I’m going to cut a 2 ½ inch strip off the top. And these are going to go right here. And we’re going to do this to our whole pack. And then what we’re going to do is we are going to take these, these should be a 7 ½ inch square. And we’re going to take these and we are going to sew our, mix them all up and sew our borders back on.
So basically what we’re doing is we’re bordering our block, just with two cuts, we’re going to border this block. And you want those borders to be scrappy and stand out. And so, so what I did is I”m going to take this one here, oh look this has lilies of the valley. That’s so cute. That was my grandma’s favorite flower. And I’m going to sew this piece back on here like this. So we’re going to take and lay those right together, come to the sewing machine and sew a quarter of an inch. And we’re just going to sew right down the side here. Get a little start, line up my strip. And then we’re going to trim the thread. And I’m going to press this back. So now what I’m doing is I’m setting the seam. And I”m just going to iron this back like this. And then we’re going to add the side piece. Now you can do them the same but on the one behind me, I chose to make it scrappy. So I’m going to take this green one and put it along the side. Now you can see right here, it’s a little bit longer because we’ve lost a half an inch when we sewed this. So we’re just going to go ahead and sew this on. We’re going to match up this top corner, sew right down the side and then. So now we’re just going to sew right down the side a quarter of an inch. Make sure that’s laid down. Alright. Now we’re going to back to the ironing board and we’re just going to press this open like this. Just like that. And now see this little piece right here? We’re just going to trim that off. So lay your ruler, let your square be your guide and lay your ruler right along the edge. Now and your block is done. Look at that. Your block is done.
Now I would really qualify this as a beginner quilt. People ask me all the time, what’s a great quilt for me to start on. Well the best one is to start on just sewing squares together. You know, get yourself used to the fabric. But this is just one step up and it’s so easy. But I love the scrappy look it creates. And I love the finished sashing look it creates. So one our quilt here you can see we have a square and we have sashing. But when you put those squares together like this it literally sashes and you know, puts a sashing in between and on the top on every quilt block. So you don’t have to add those. You’re just sewing blocks together. So let me show you how we did that.
And remember you’re going to do this to your whole pack, your whole packet you’re going to cut your top, cut your side, sew them together. So then when you put these together, let me look at the quilt to be sure. So the way I did it was, and I do have to look and remember how I did it because I do so many that it just like slips my mind. So basically what we’re going to do is we’re going to lay these out like this right next to each other, making sure that you don’t have any fabric that’s the same. Now you want to make sure that your fabric has good contrast when you set them together and that they’re all different. You know I wouldn’t be happy, like if put this one like this, I wouldn’t be happy with that. So we’ll put a different one in here and then you’re good to go. So you’re going to have one, two, three, four, five, six across, seven rows. That is six by seven, that is 42 squares. And that makes a quilt that is 69 by 78. So if you didn’t want to buy a lot of yardage for your backing, this would be a good one to put one of those 108 pieces on because you’d need about, I don’t know, three yards of it. And you’d get a 108 by 108 piece and then you could just put that on there and that would be really easy.
So just sewing these rows together, again you don’t have anything to match because these are the same size and there’s no, there’s no seam in between here. So you don’t have to match any of it. You literally are just going to sew this one to this one. And they should square up at about 9 ½ inches unfinished. And it just makes a quilt so quick and easy. Now I did try this where I put the same piece on either side and it also makes a cute quilt but it’s a completely different look. So don’t be afraid to play around with, you know, what you’re doing and how you’re putting it together because it’s just fun to see at the end of the day. And you create something special and unique. And we hope you enjoyed this tutorial on the Building Blocks quilt from the Missouri Star Quilt Company.
Pro Tips
So I just wanted to take a moment and talk about some cutting tips because people ask me all the time about how to keep your ruler steady and I mean just lots of questions about the cutting. So what I do is I”m going to lay my ruler here. I’m going to adjust it to exactly where I want it. And I”m going to place my hands so half of my hand is on the ruler and half is off on this mat. Obviously you have to do what works best for you but this is how I do it. And then I make the cut. Now my rotary cutter stands straight up next to my ruler and I’m going to make the cut like this. Ok? And just go. And this keeps it pretty steady. If you still have trouble with your ruler slipping you can buy some of that first aid tape and put on the back and it will hold it. And there’s also a host of products that people put on the back of their, on the back of their rulers to keep them steady. Now if you were a right handed cutter you would do that just the opposite. So you’d switch your rotary cutter over here, your ruler would be on this side and you would just lay, again, half your hand on that ruler, half on the mat to give it real stability. And then you’d go ahead and make your cut. You can also come in like this and if you’re using your mat as your ruler, you could come in. We needed to make, for this quilt we needed to make a 2 ½ inch cut. You could put it in here like this and cut this way. So just make sure when you’re cutting that your safe and that you’re doing what feels comfortable to you because there’s lots of ways to do it. So we hope you enjoyed this Pro Tip from the Missouri Star Quilt Company.
& Progress on Social