Butterfly Blossom Quilt Tutorial
Jenny Doan
Butterfly Blossom Quilt Tutorial
- 2 packs x 5" Quilt Squares (Charm Packs) - Print
- 2 packs x 5" Quilt Squares (Charm Packs) - Background
- 3/4 yard x Background Fabric
- 1-1/2 yards x Outer Border Fabric
- 3-1/2 yards x Backing Fabric


Finish your masterpiece and let us give it the finishing touch it deserves.
Subscribe to MSQC on YouTube
Hundreds of FREE tutorials and a new one from Jenny launches every Friday.
video transcript
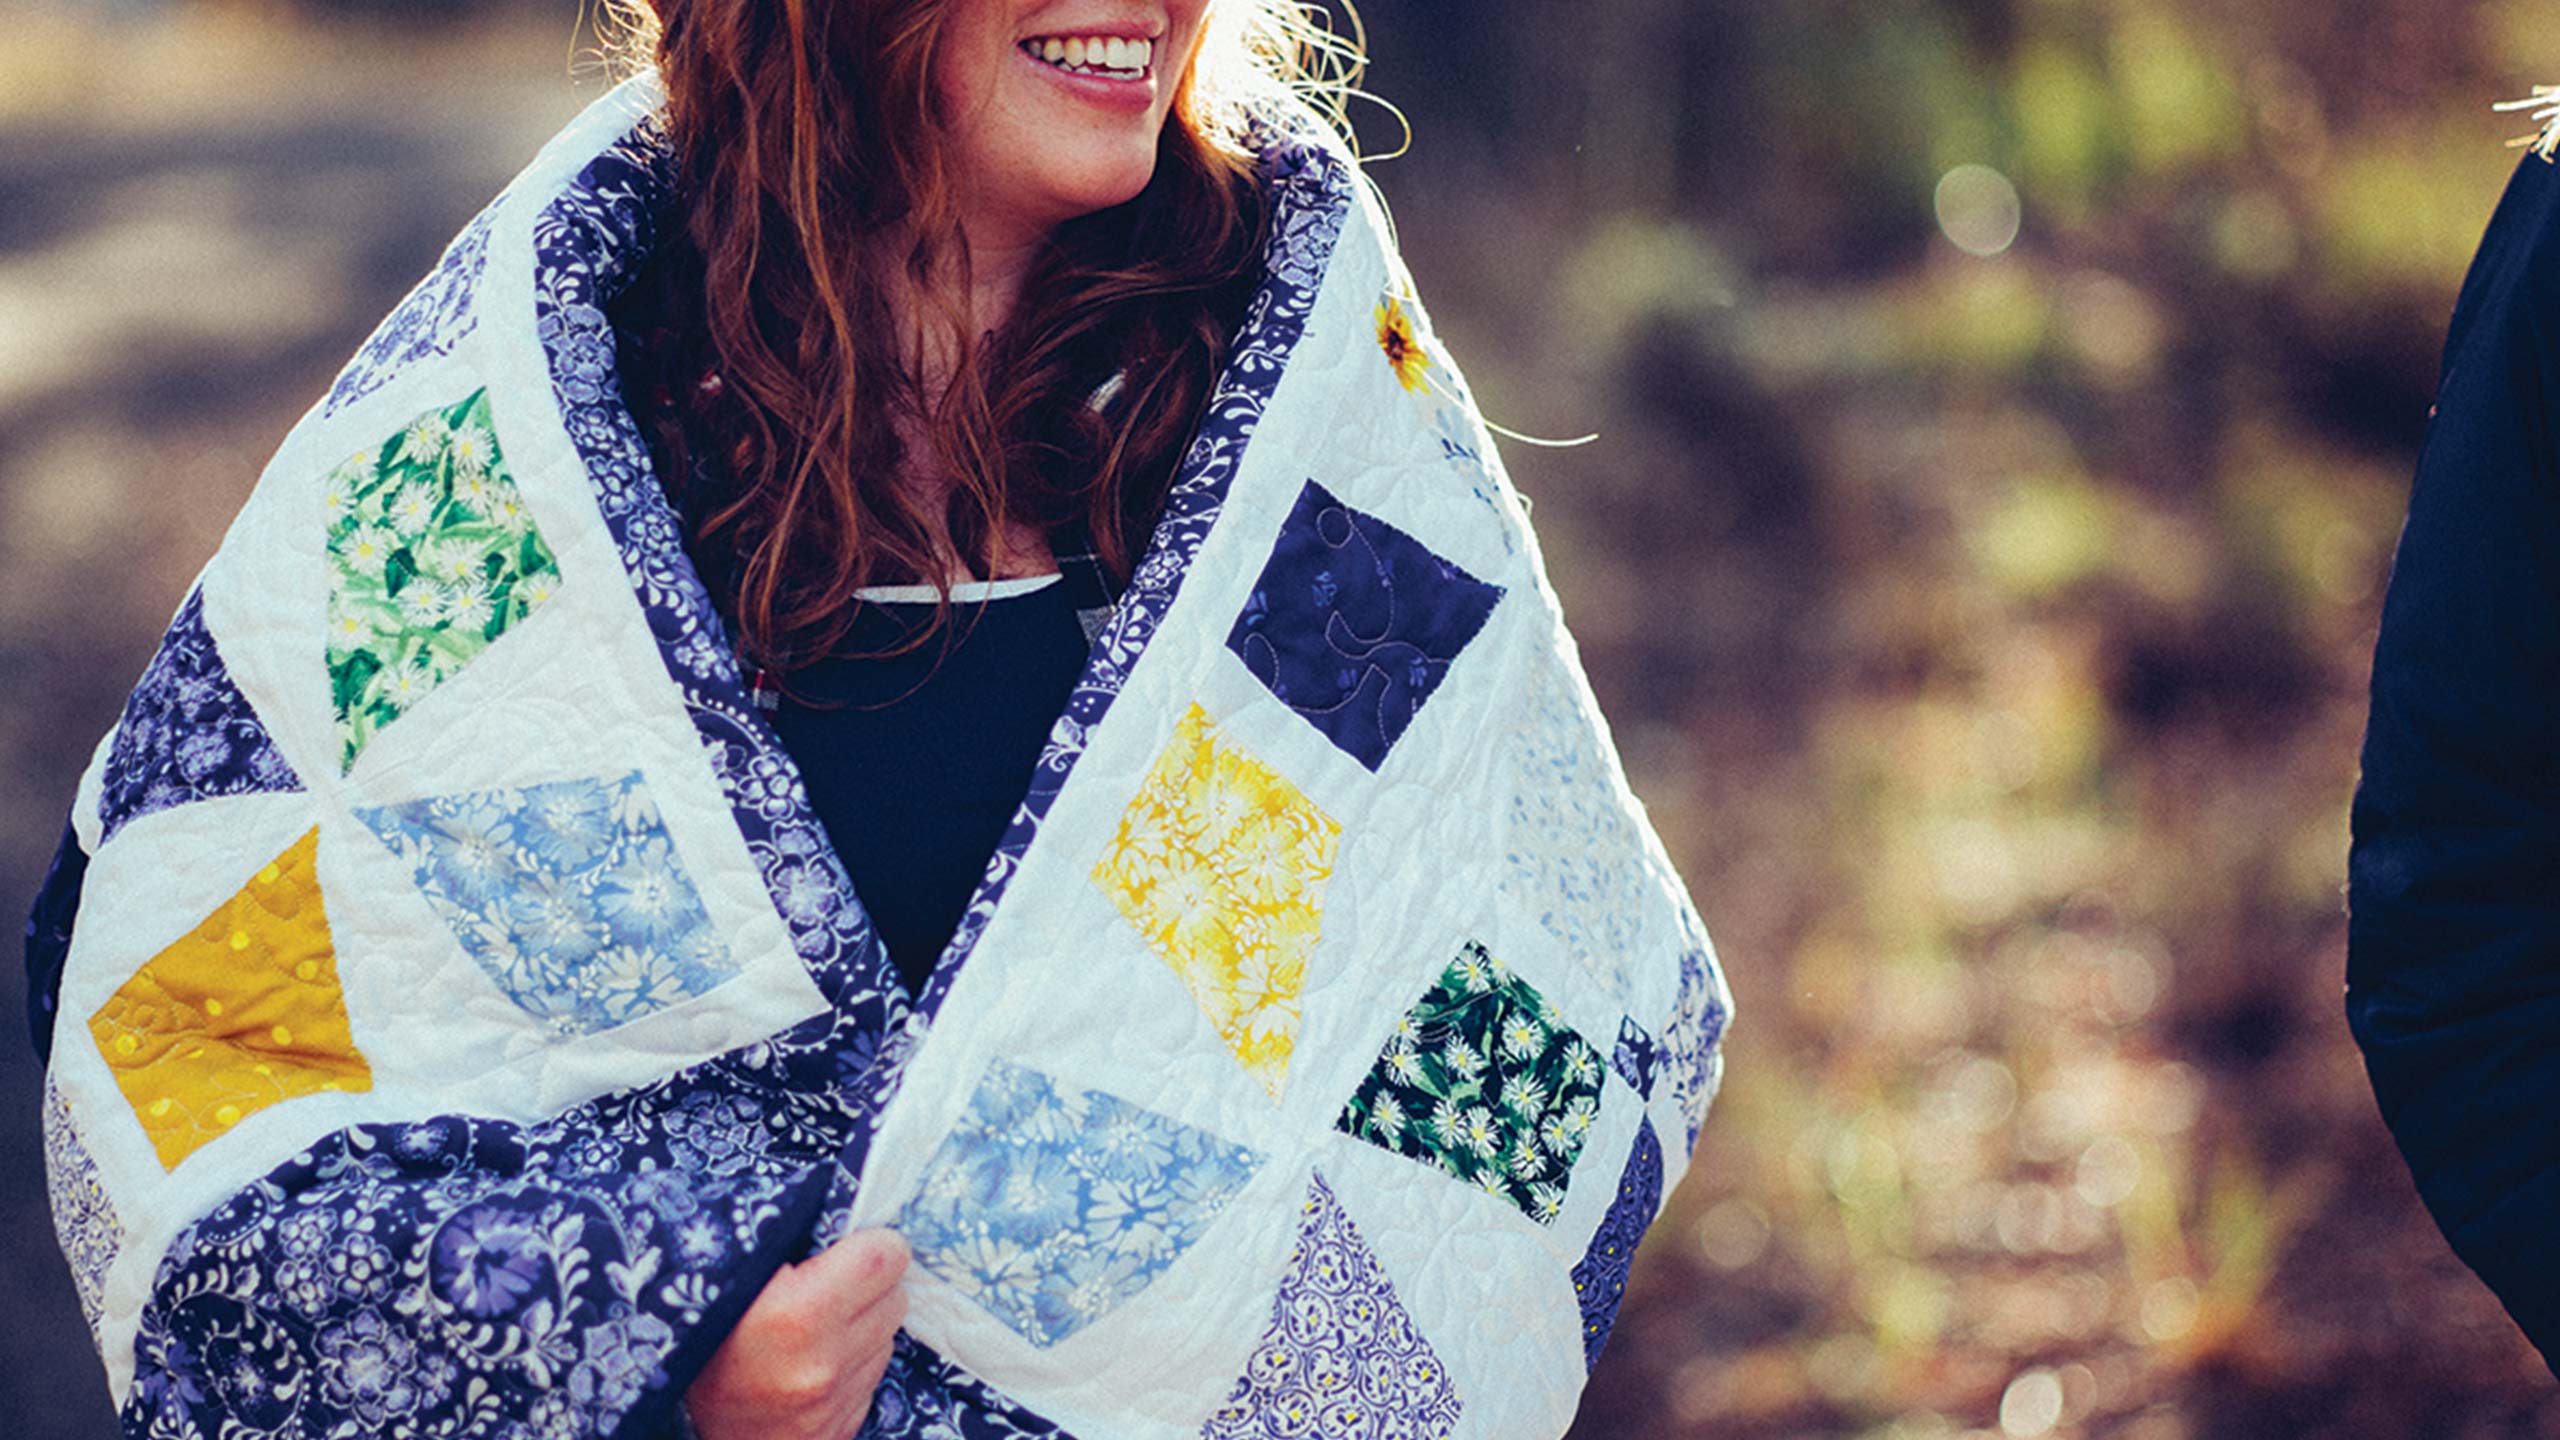
Hi everybody, it’s Jenny from the MSQC. And I’ve got an awesome project for you today. We’re calling this quilt Butterfly Blossoms. Look at that. Isn’t that pretty? It has kind of this butterfly shape to it and also comes together as a flower as well. So we thought Butterfly Blossoms was good. And it’s just a fun, quick project. You’re going to really enjoy it. So to make this quilt what you’re going to need are two packs of print. We’ve used Mariposa Meadow by Elizabeth Isles for Studio E. And when I’m talking about two packs I’m talking about each pack has 42 squares and they’re five inches. You’re also going to need the same amount of background squares and we’ve used white. You’re going to need ¾ of a yard for this sashing right here. And this outer border is a yard and a half. And we’ve put a nice big fat eight inch border on there. Now if you want to back your quilt in the same fabrics it takes, let’s see, 3 ½ yards. And look at this. Isn’t this gorgeous? It’s just so pretty. I have a little granddaughter who is going to love that. You’re going to need a template. This is our periwinkle template. And you’re going to need a glue stick. Glue stick is optional. I like to use it.
So let me show you how to make this because this is just such a fun quick quilt. You’re going to take your five inch square and we’re going to lay our periwinkle template on it. We’re going to line up the corner right here on the edge with the fabric. And then we’re going to trim this side off. So we’re just trimming this back side right here. And I’m just going to flip this around. This is where one of those rotating mats comes in very handy. We’re going to trim this side off and go ahead and trim your end off as well. So you’ll get a piece that looks just like this.
Now what we’re going to do is take this over to our iron and we are going to iron this edge under right here. Now you can do raw edge applique if you want but I liked it turned under. I just like the idea of it. You know sometimes it just makes fun. So what I’m going to do is I’m going to iron this edge down a quarter of an inch and this edge down a quarter of an inch. And I’m just going to finger press them so when I get there it will be easier. This little end right here at the bottom it’s easy just to fold that up. Can you see that there how I have that folded like just a little quarter of an inch? Then these two pieces will fold over to greet it. So we’ll have a nice little, a nice little point there on the bottom. So let’s go to the ironing board and we’re going to, we’re going to press this down to make sure that it just stays nice and flat. It is handy to go ahead and finger press them down before you get here so that you make sure that it lays down really nice. Alrighty.
Now what we’re going to do is we’re going to take our background square and we are going to line this up right on the corner. Just like this. So this part we don’t need to stitch down because it’s going to, it’s just going to be enclosed in the seam. And this part we’re going to want to do our little blanket stitch or a little zig zag. Now I have one here that has a tiny little zig zag on it. And you can barely see that. So that’s a, that’s kind of a good idea. The other way we’ve done it here is we’ve used our blanket stitch right here to go right along the edge. Right like that. So let’s talk about this blanket stitch for a minute. What you want to do is you want to find on your machine what stitch it is. On my machine it happens to be number 29. And so what you want to do with this is you want to take a piece of fabric and just set up your blanket stitch and then sew it and see if it takes the size of the bite that you want. And by the bite I mean the part that comes over and grabs the fabric. So let me sew this down and then get over there to the camera where you can see it really good. Alright. So this is the stitch that I’m talking about right here.. See how nice that looks. Now if you want to increase your bite that’s your width button on your stitches. So you’ll just want to catch that.
So let’s sew this down over here, actually to help this really to help this a lot I’m going to put a line of glue right here. And then I’m just going to lay this one here. And that literally, it’s going to go nowhere. And you don’t have to fuss with it. You know once you get it on here you don’t have to pin it or anything like that. It will just lay on there and be nice and glued. Alright so let’s go down the side just like this. We’re only going down two sides. And I’m going to line my presser foot so that my needle comes right along the edge. And I’m just going to sail down this side. The fun thing about this is because we used the glue stick and we’re enclosing the other side in a seam we don’t actually have to, we only sew two sides. There we go. Now I’m right at the point and I’m going to maybe take one more stitch. You might want to do this by hand because you want it to come right down the other side. And you’re just going to do this to all your pieces. Alrighty. So let’s take a look at this one and see how we did. Gosh you know that looks pretty good. Alright so take a look at that. And this is what we’re looking for. We’re looking for it to just be stitched on the sides.
Then what we’re going to do is we’re going to put four of these together. So let’s take a look. I’ve got a couple sewn together here. And I’ve got this guy. And what we’re going to do is our block goes together with the points to the center just like this. So now what we’re going to do is we’re going to put these two together and sew a quarter of an inch down the side. You’re going to have to remember to readjust your, your seam because you want it to, you want just the quarter of an inch not the blanket stitch for this part. And so, there we go, a quarter of an inch. And we’re going to sew right down the side. Alright so once you get your quarter of an inch seam done you’ll bring it over here and we’re going to sew these two together. Remember your points come to the middle. So then we’re just going to sew this together like a four patch. Now right here I’m making my seams nest to either side. So you make sure that this is snugged right up there. Now it’s not going to matter too much because the backgrounds are all white but you know do the best you can. But it’s not one of those blocks where it’s really going to show. But if your quarter inch seams are fairly consistent, you know, it should work out pretty good for you. Alrighty. So there we go. There’s our little four patch together. I’m going to bring it over here and press it really quick. And I press from the top to make sure it’s nice and flat. And then I’m going to roll it over and make my seams go the way that I want to. Alrighty. So there you have it right there.
That’s the block. And you’re going to make lots of blocks like this. And you’re going to put them together with a sashing row. So in between every row you’re going to put this little sashing. Your sashing is going to be the same width as your block. So you’ll cut your, your 1 ½ inch strips, that’s a 1 ½ inch sashing strip like this. And you’ll put your blocks down. So here’s, here’s how our row. Now we have one, two, three, four blocks across. And you can see, this is the block. You can see your sashing right in between them. And then you’re going to bring in a sashing row like this. Your sashing rows are all inch and a half. And your little cornerstones these little stones right here, those are also inch and a half stones. Now I took those out of the border yardage. So you’ll cut a 1 ½ inch strip and you’re going to get all of your little, your little cornerstones out of that one strip. And so it’s just real easy to do.
So what we’re going to do is we’re going to pretend we’ve sewn these together like this so it makes our little strip like that. And we’ll slide this one under here so you can see a little bit how this is going to look. Because when we bring in that next inch and a half strip with the cornerstones in them, it’s going to go right here. It’s just going to line up right underneath there just like that. And then again you’re going to have your next row with your little sashing strips already sewn together. And it’s going to go right here. I can bring these down here if it’s going to make more sense to you. So just like that. Do you see? See what I’m talking about here? And so you’re going to have four in a row and you’re going to have five down, five rows down. And it’s just going to make this awesome quilt. It brings it together, you know this is your block, but it brings it together so it looks like the block is right here. And I love it when that happens because it’s kind of like an illusion.
So this has been a really fun quilt to make. I love when we can do different things with our templates. Because if a template can do one thing that’s great. But if it does a lot of things then it becomes a valuable tool. And I do a lot of things with, with this periwinkle template. I really like it. When this all comes together it’s going to make a quilt that is 56 by 66. So it’s a great size quilt. And we hope you enjoyed this tutorial on the Butterfly Blossoms quilt from the MSQC.
& Progress on Social