


Crosswalk Quilt Tutorial
Jenny Doan
Crosswalk Quilt Tutorial
- 1 Roll x 2.5" Strips (Jelly Rolls) - Print
- 2 Packs x 5" Precut Fabric Squares (Charm Packs) - Background
- 3/4 Yard x Quilt Fabric for Inner Border
- 1 1/2 Yards x Quilt Fabric for Outer Border
Featured products Get the Supplies Featured in this Tutorial


Finish your masterpiece and let us give it the finishing touch it deserves.
Subscribe to MSQC on YouTube
Hundreds of FREE tutorials and a new one from Jenny launches every Friday.
video transcript
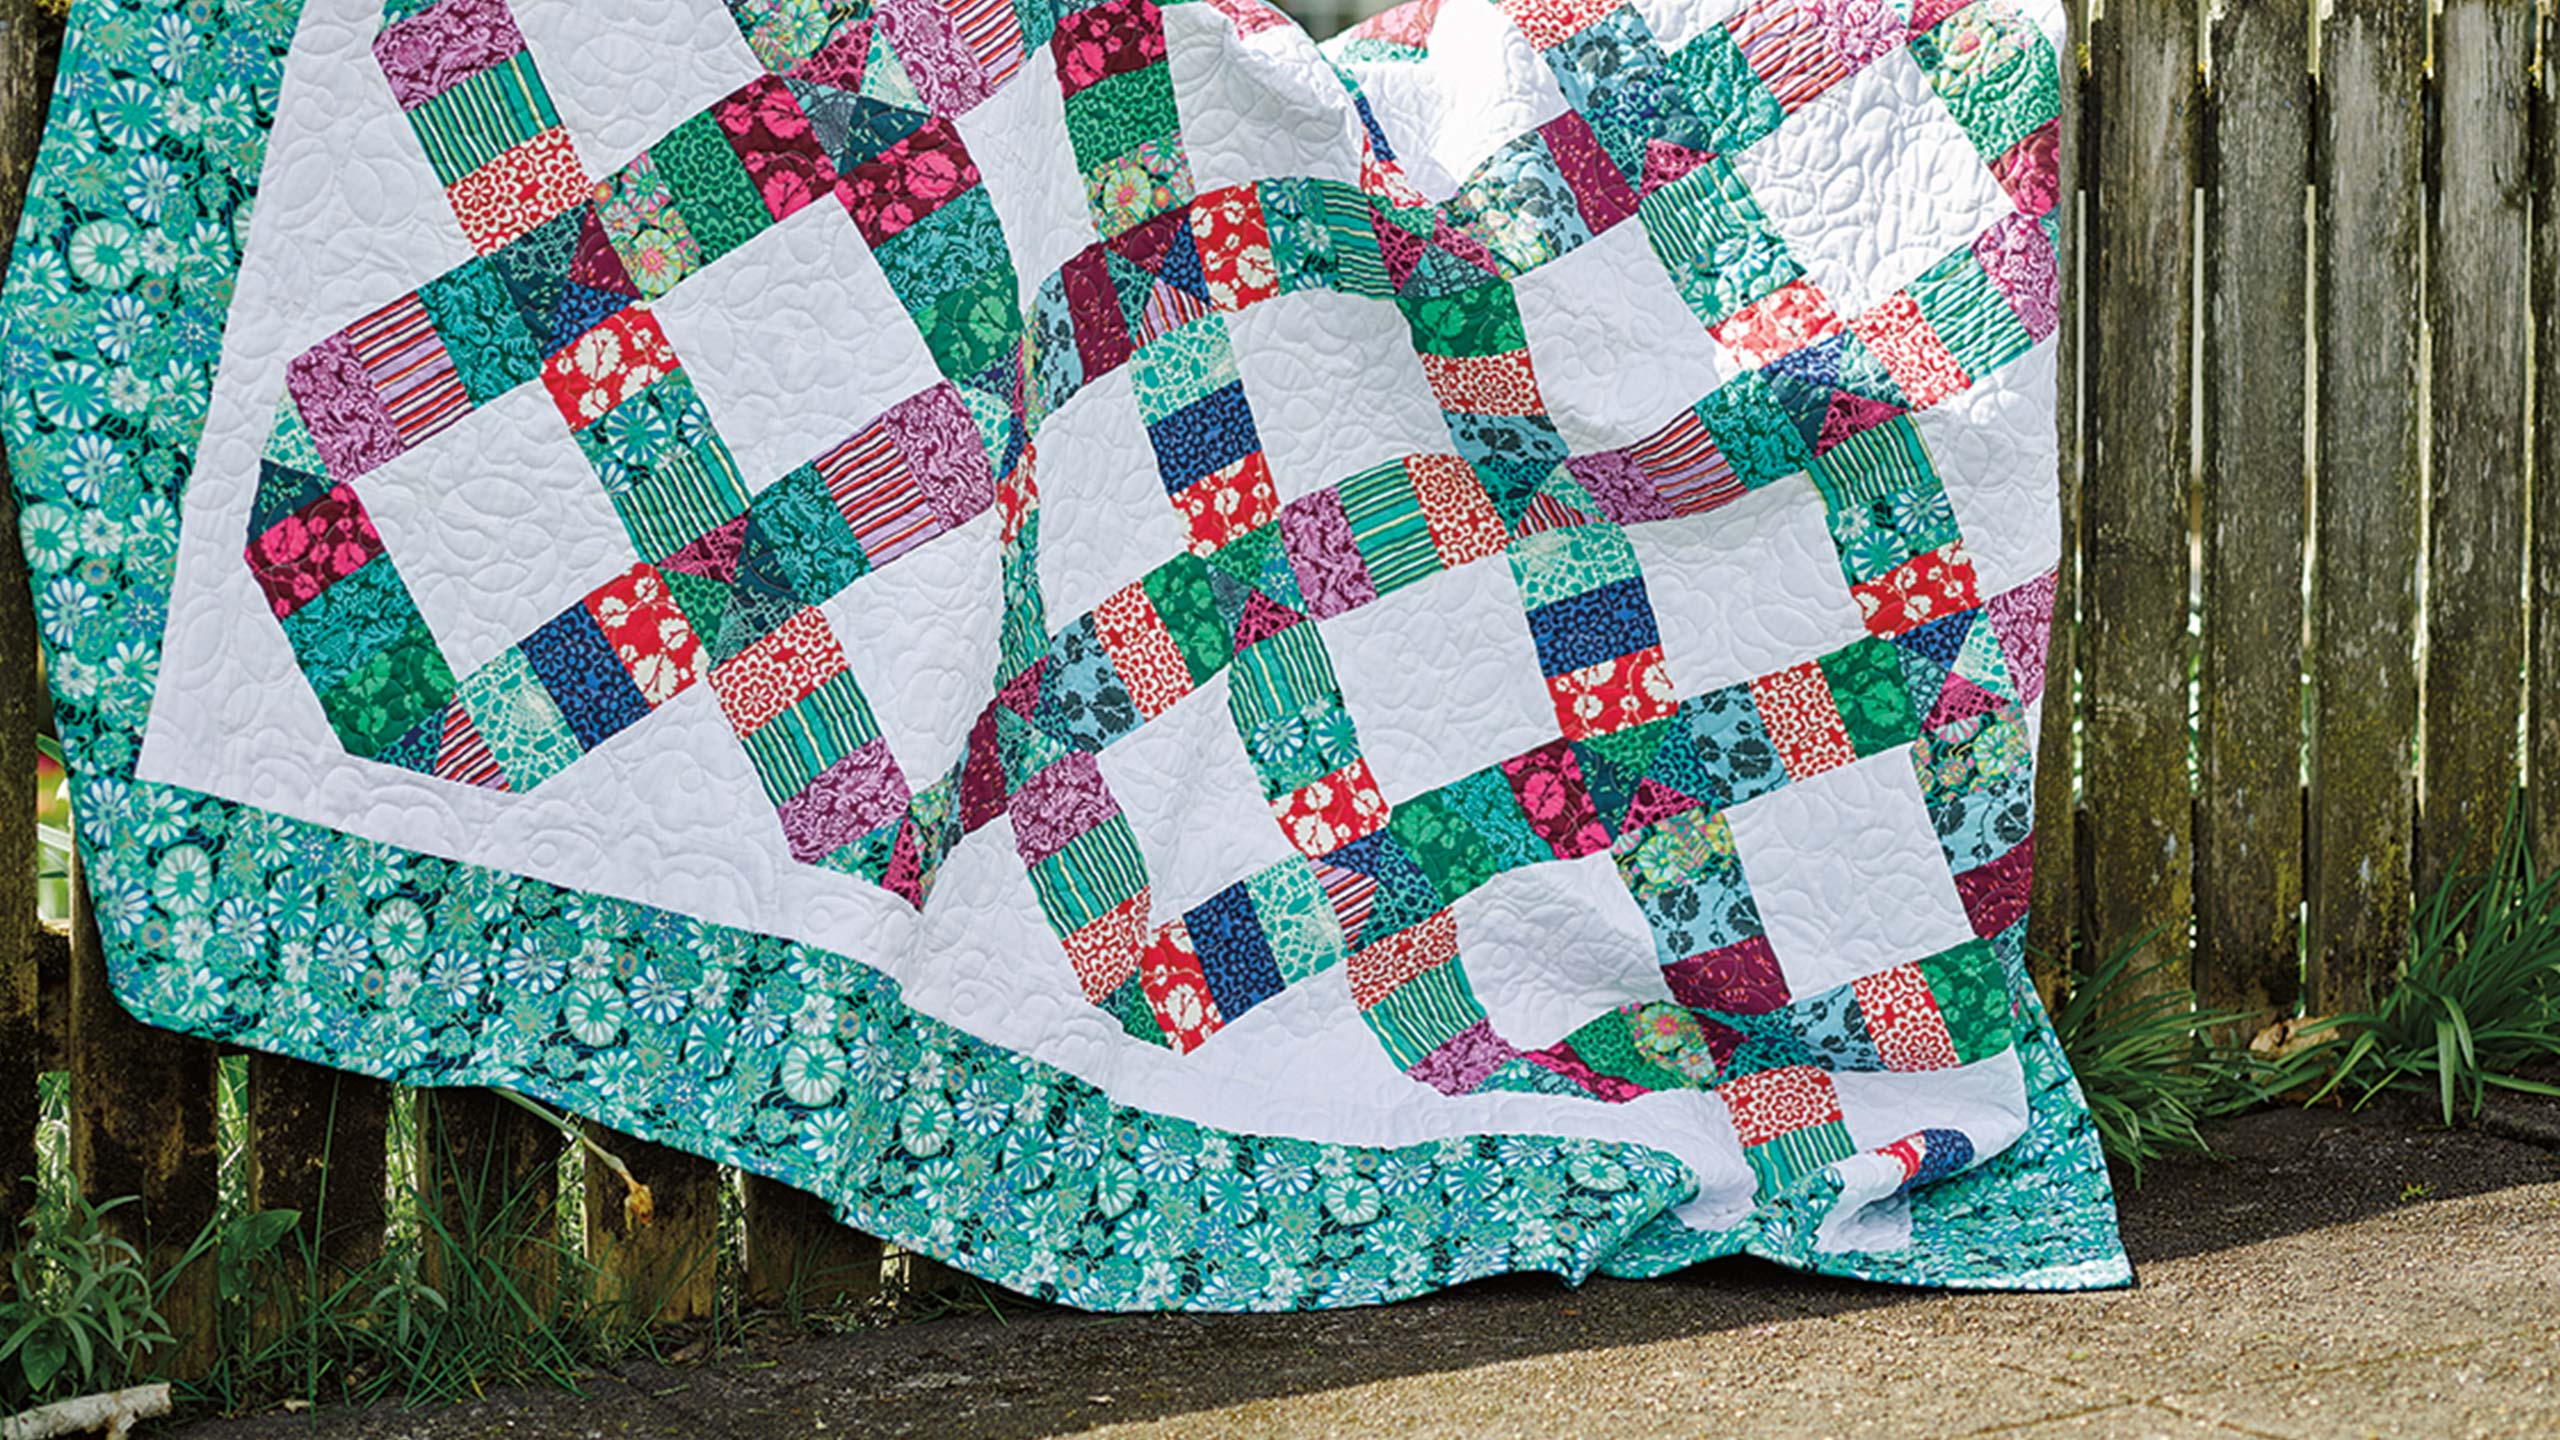
Hi everybody it’s Jenny from the MSQC. And I’ve got a great project for you. You know sometimes when you get a line of fabric, the name of the line itself inspires you to do something. Well this line of fabric that we’re using today is called Neighborhood. And it’s Alison Beaten for Windham. And it’s just such a cute little line. And when the line and the pattern and everything came together to me these look like little crosswalks so we’re calling this quilt Crosswalk. And I can’t wait to show you how to do it. It’s just really a fun easy project.
So to make this quilt, what you’re going to need is one packet of 2 ½ inch strips and that’s 40 of them. And this is just such a great line. Again it’s Neighborhood by Alison Beaten for Windham. And, I mean it’s just a cute, cute line. You’re also going to need two packs of 42 five inch squares and so 84. That’s my big math for the morning. You’re going to need ¾ of a yard for your inner border. And for that outer border, it’s a six inch border, you’ll need a yard and a half. And so let me show you how to make this because this is just so fun.
So what we’re going to do is we’re going to take strips and we’re going to sew them together. And we’re going to sew five strips together. Now when you sew your long strips together, if you sew them all going the same direction, I don’t know why this happens but they bow. They get like a bow in them. And so what you want to do is you want to sew two this way add another one, sew up this way, add another one, sew down that way, until you get five together. So here we have five right here all sewn together just like that. And this is what you’re looking for. You’re looking for a strip set that’s sewn like this. It doesn’t really matter which way you press the strips because that’s not going to play into our pattern at all.
So once you get your strip set together, of five strips, then we’re going to cut them into four inch pieces. Now when I do this, I like to fold my set in half. And so I’m going to match up my selvedges over here. And I’m just going to cut this in four inch pieces. So I’m going to line it up on my mat, make sure that I’m pretty straight. And then we’re just going to cut it in four inch segments. So let me, I’m just going to scoot some stuff over here so you can see better. We’re just going to cut off our selvedge edge right here. And we’re going to come over four inches, one, two, three, four. And we’re going to cut this whole strip. Because we’ve doubled it up like this we’re cutting twice as many it’s going to go twice as fast. And we’re just going to cut the whole thing. And you’re going to do this with all your strips. And you should get eight, you know you should have eight of these five inch strip sets with forty strips. Again that’s big math. There we go. Alright one more. We have this little piece left. And so now we have these little strips like this that are all set. So then we have to make them squares.
So what we’re going to do now is we’re going to take our five inch squares like this. And you can do a little stack of these. I probably have four or five in this stack. You’re going to put your ruler diagonally both directions like this. And you’re going to cut, you’re going to cut those squares in half diagonally just like that. Ok? Everybody with me so far? This is so, this is such a fun project. Alright so now we’re going to take one of these strips and I’m going to fold it right in half. And I’m going to make a crease mark on this side and a crease mark on this side. I’m finger pressing these and then. So now we have a little crease mark on there. And I’m going to do the same thing to two squares, so I’m going to take, or two triangles right here. I’m going to take this, fold it right in half and put a crease mark right in the center right there. Let me make sure you can see this right there. So we’ve got this, match up my points, pull it over and do a little finger press right there so it makes that little crease mark right there. Then we’re going to set these on top of our crease mark on the side of our block.
So once that’s set on there real nice like that, we’re going to take it over to the sewing machine and sew a quarter of an inch down the side and attach that to our strip set. So line up your presser foot along the edge of your fabric. Make sure your two little marks are still lined up and sew along that edge. Now we’re going to press this back. And we’re going to do the same thing to the other side. So this is how it’s supposed to look, just like that. And then we’re going to set this one over here on this side and do the same thing. Sew down it a quarter of an inch. And. Alrighty. Now we’re going to open this up and press it as well. And now we have to make this into a square. So this is kind of the fun part.
I use my five inch squares as my guide. So I’m going to line my ruler right up along the edge of that five inch square right there. And I’m just going to cut, not my block. I’m not cutting this white part, I’m just cutting right up here, this point. And then I’m going to turn it and I’m going to use my square again as my guide, trim. See how that’s coming just like that. One more time here. And over here, use that as a guide. And you’ve got a perfect little block.
So then as you start setting these together, you’re going to set them together color to color, white to white, just like this. So let’s look at the quilt behind me. So here we’ve got, see our row right here. We’ve got them color to color right here. White to white. Set those, set those, set those. You know you’re just going to put your row together. As you get your rows together it makes this great pattern out here in the center. And it just looks like crosswalks. I mean it’s like little roads going everywhere all over this neighborhood. So it just makes a really fun project. So we hope you enjoyed this tutorial on the Crosswalk Quilt from the MSQC.
Hey everybody, one more thing. This line Neighborhood also comes with this darling panel for this cute little neighborhood house. See we’ve decorated the windows with the mini palms and rick rack. It’s so cute. We took the panel itself and ironed it onto Bosal foam. It’s a stabilizer, gives it this great texture so it stands up by itself. Anyway, it’s so cute. I just couldn’t resist sharing it with you.
& Progress on Social