Square Knot Quilt Tutorial
Jenny Doan
Square Knot Quilt Tutorial
- 1 roll x 2.5" Strips (Jelly Rolls) - Print
- 1 roll x 2.5" Strips (Jelly Rolls) - Background
- 1/4 yard x Fabric for Inner Border (to match background jelly roll)
- 1-1/2 yards x Outer Border Fabric
- 3/4 yards x Quilt Fabric for Binding
- 4-1/2 yards x Quilt Backing Fabric


Finish your masterpiece and let us give it the finishing touch it deserves.
Subscribe to MSQC on YouTube
Hundreds of FREE tutorials and a new one from Jenny launches every Friday.
video transcript
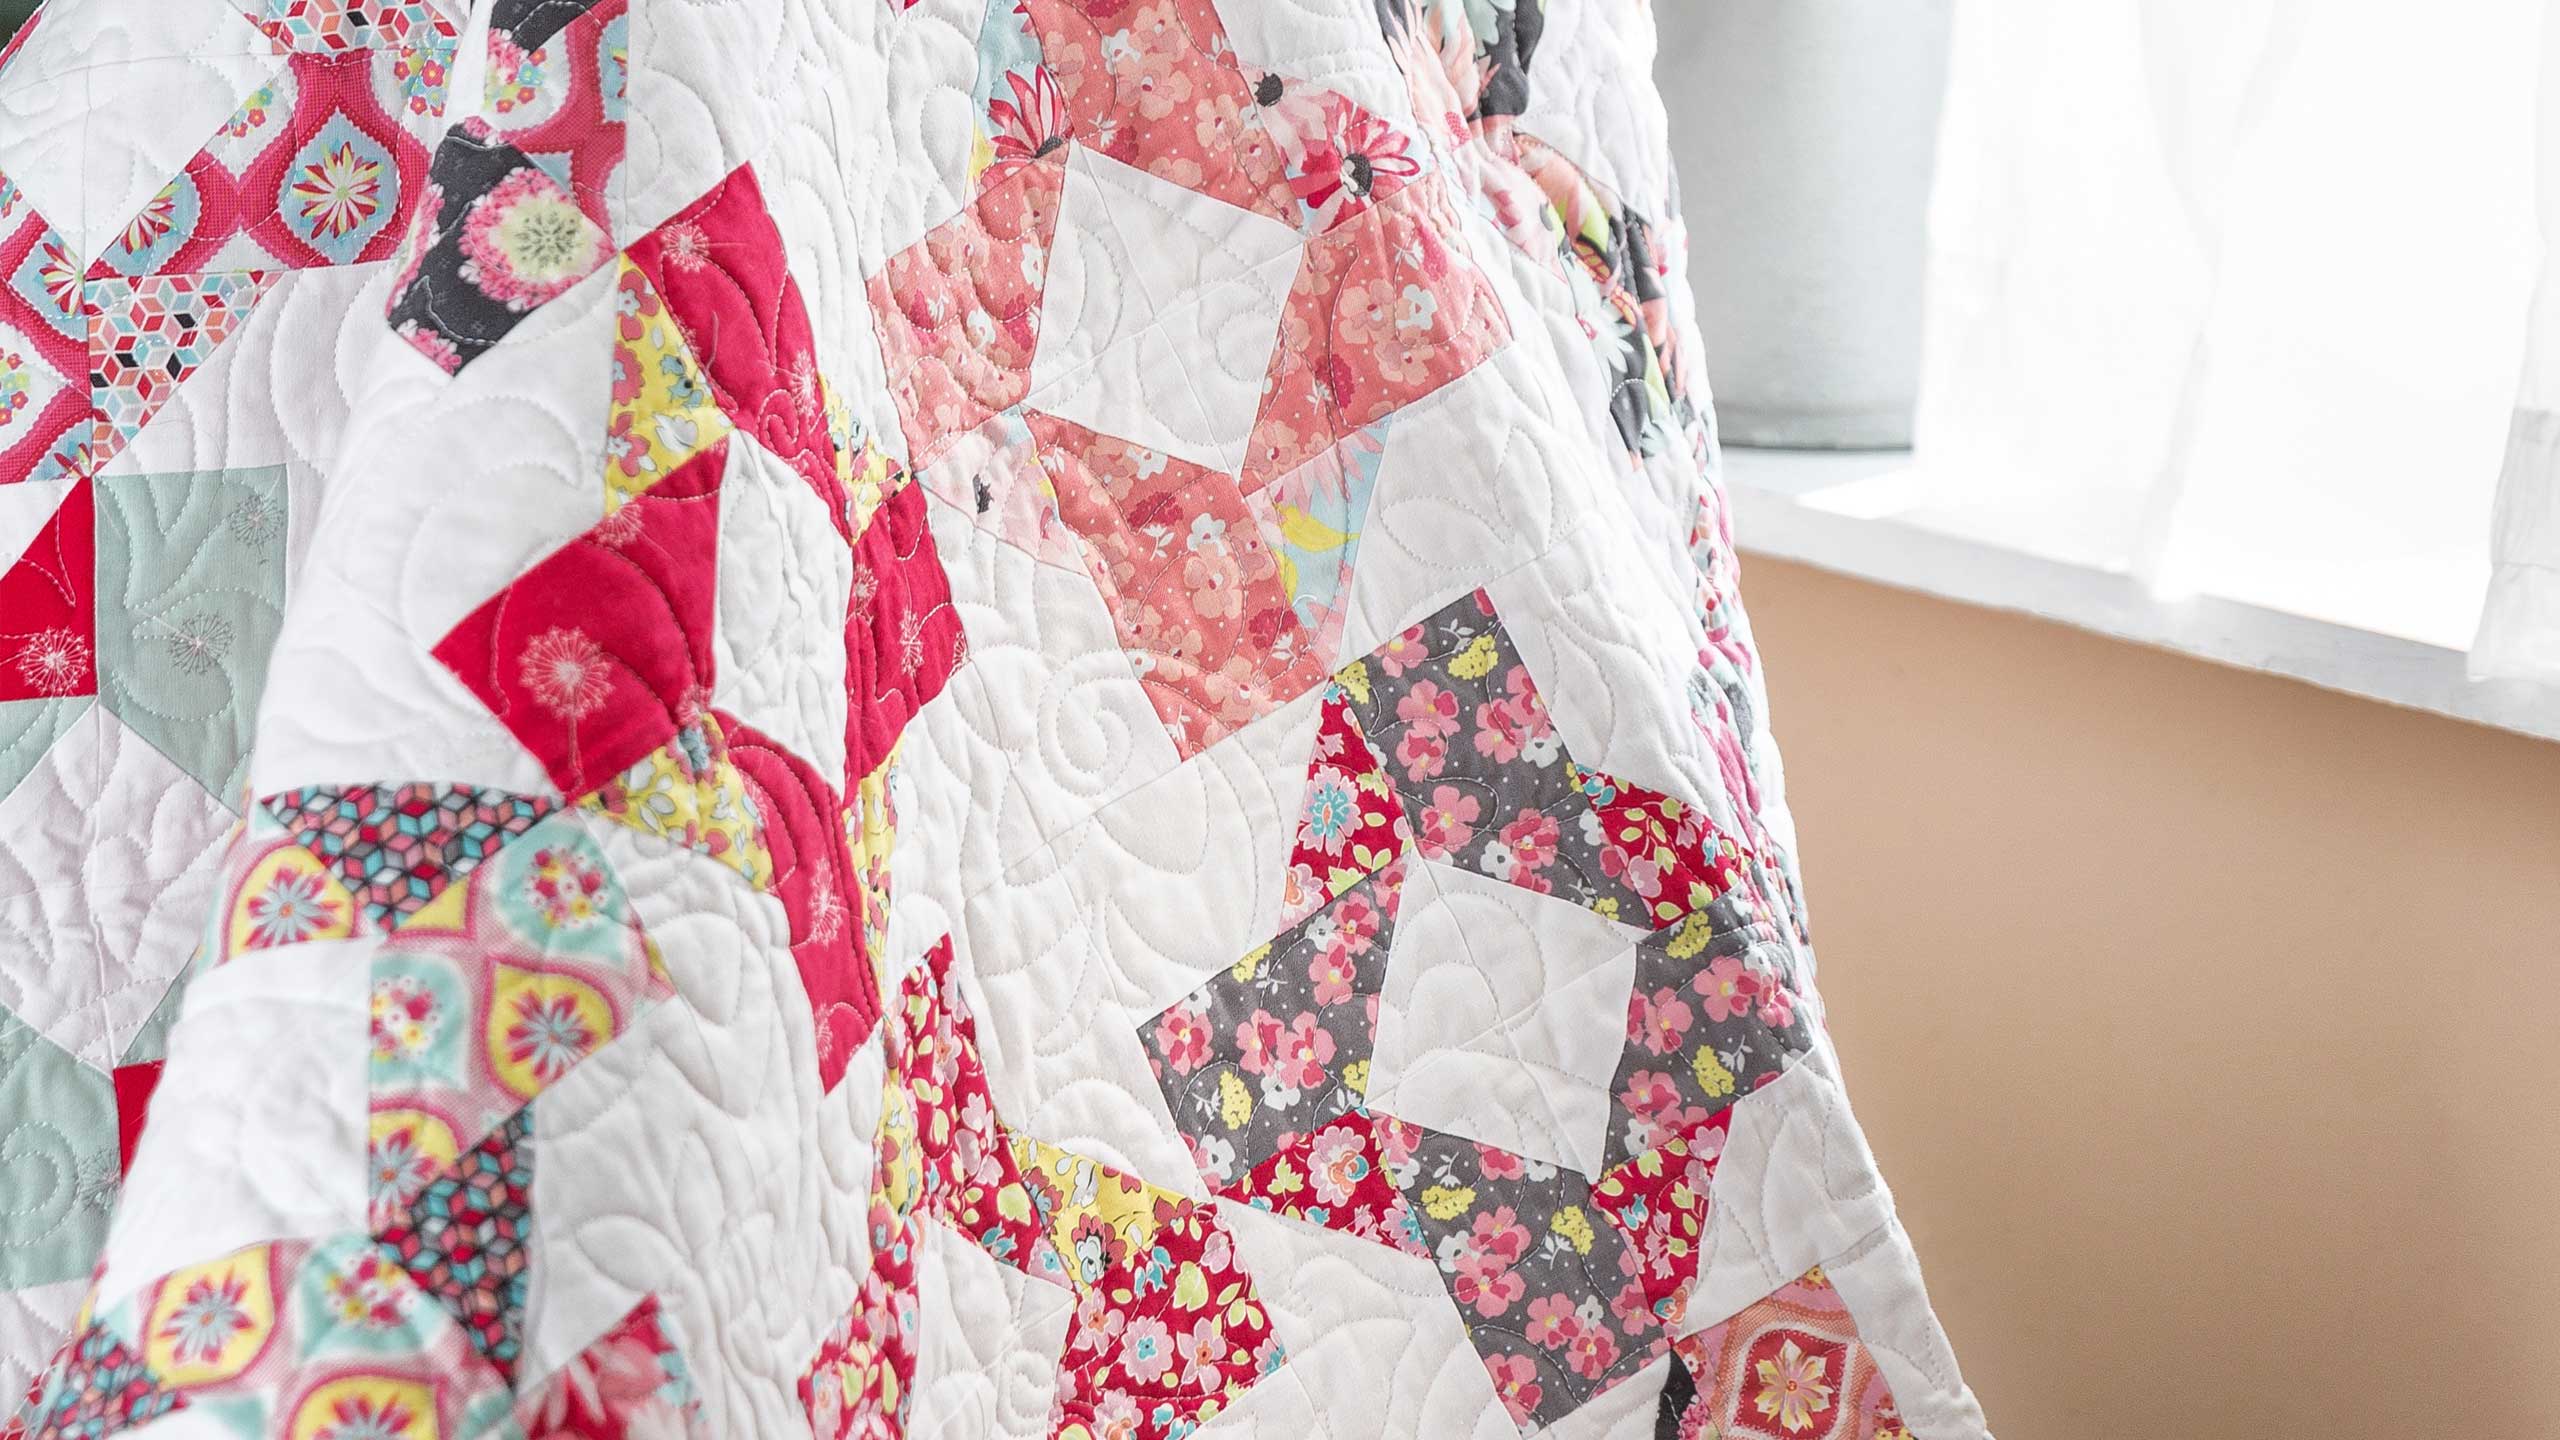
Hi everybody. It's Jenny from the Missouri Star Quilt Company, and I've got a fun project for you today. Take a look at this quilt behind me. Isn't this beautiful? Oh, I love this fabric line too. And this is the block we're talking about right here. We're calling it square knot, and it's going to make a quilt that is 72 by 72.
So to make this quilt, what you're going to need is one packet of two and a half inch strips, and we have used Sue Daley's line called Paper Daisies for Riley Blake, and you're also going to need one role of a solid. So one-on-one to match these up. And you're going to need an inner border right here, an extra quarter of a yard, to match your background strip. This outer border right here is a nice big six-inch border and you're going to need one and a half yards for that.
For our backing, we have used four and a quarter yards, and we've got this beautiful Daisy. Isn't that gorgeous? I love that gray, and I love the name Paper Daisies. That's such a cute name. And of course I love the designer. I love Sue.
So to make this quilt, what we're going to do is we're going to take two strips, and we are going to leave them folded in half and put a colored strip on top of a white strip. And we're going to cut enough for a block. And so what we're going to do with that is we're going to take this and trim our selvages off, right here. We're going to get rid of those. We're going to cut ... you need four two-and-a-half-inch squares to make each block. And so we're going to cut two and a half twice, one and two like this.
Then you're going to cut four and a half inch rectangles. And we also need four of those. Four of print and four of white. And I have mine all stacked up here. So I have two and two. I'm going to get this one right here. So once you get your fabrics cut for your blocks, you want to put them in piles. So I've got my colors here in the pile like this. I've got my whites. And I'm going to do the same thing. Keep those in piles. These little two and a half inch squares also need to go in piles. And you're going to do this to your strips, and you're going to do it to all of them, because what you want here now is we want a strip that is contrasting to this so that it pops when we put them together.
So what we're going to do to make our block is we're going to take our four and a half inch rectangles and our two and a half inch pieces that are contrasting and two and a half inch white squares. And we're going to sew a contrasting square onto the white. And we're going to sew white onto this print. So let's go ahead and sew our print squares on. We're going to chain piece these on the colored square. I'm going to take four of my white ones. And you can draw the lines side to side. You can fold it in half and crease the lines so that you have a line to follow on.
I'm going to line mine up in the corner like this, and I'm going to sew straight across from corner to corner of my square. Line up my needle. Now you want to make sure these are all going the same direction, so we're going to lay them in here. This is why you want a chain piece them, because you want to make sure they're all going the same direction. So we're going corner to corner and I just slide it in my other corner there.
So now I'm going to grab my other two white squares. I'm going to lay them on here. Keep them going the same direction. And you want to make sure that they go, your square goes on the top and you're sewing from the left hand side down to the right hand side. And you want to do the same thing on both your pieces. All right, so now let me sew this one across.
Now what I'm going to do is I'm going to pick up my white ones and I'm just going to keep sewing along the same thing because they go the same direction. So here's my little contrasting squares. I'm going to put them right sides together like this and just keep sewing down this side. I'm sewing corner to corner. I'm going to do this to all four of my white ones too.
And then this guy right here is going on the corner, and again, you sew from the top left to the bottom right, had to make sure my, I got my lefts and rights right. And one more here.
All right. And that's how I chain piece these blocks. They go so quickly together just that way. And you have this fun little chain like this. We're going to come in and cut them apart, just like this. And then we're going to go ahead and trim these off, just this edge right here. Now if you're not sure if you got it on the right side or not, then you want to just iron them back and lay them together to make sure they're going to match.
But I'm sure I got them on the right side, so I can go ahead and cut these like this. And my scissor wasn't wanting to cut right there. It looks like I need to get these to my husband, who does my sharpening. All right, getting all these trimmed up right here. For those of you who like tiny things, you could have actually sewn another little line and cut these apart and you would have had tiny little half square triangles. Lots of people do that and make tiny little things.
All right, what I'm going to do here is I'm going to go ahead and start with my white ones, and I'm just going to kind of stagger them here, set my seams. Then I'm just going to fold them back. You want your seam to be on in the dark part on this one. One more. And then on this one, just by the way it falls, it is going to fall into the light part, but we just can't help that for this one. All right, so one more here and then the last one. All right.
Now this is fun because this is like the whole block is right here. So what we're going to do is we're going to take this piece right here, and we are going to put this piece right up here next to it. It's going to make like a little jog of a leg. And we're going to sew those together just like that. So what I want you to do is I want you to lay them out just like this and put all of them together, because, again, we're going to chain piece these. So we've got this one and this one, and we're going to put them all together this way, and I'm just going to fold them in half like this and stack them up together. And that's going to make this go really fast.
All right, so let's pull these over here. So quarter of an inch right down the side. Make sure they're lined up nice and straight and sew a quarter of an inch. And then we're not even going to take that one out. We're just going to bring in this next one. And we know they're right because we laid them all out just right. We're going to trust our sewJo that it's going to work.
One more. And this is a way to avoid when you chain piece, you kind of avoid getting that fabric stuck down in there. The machine seems to like it better when you follow one after the other.
All right. Again, we have all four of these cut, and we're just going to clip them apart and press them open. This is going to go together like a four patch, so it's very fun.
Alrighty. So now let me show you how we put this together. The way I remember it is that our little white squares go to the center. So we're going to put this around so that the little white squares all come to the center like this, and it makes this cute knot. In the 70s I did a ton of macrame, and I know that's making a big comeback right now, but this just reminds me of a square knot. So that's why we called it that. And we're going to stack these on top of each other like this. Sew down the side and put it together just like a four patch. And it just makes this really clever little block.
Okay. Since this is Sue Daley's fabric, I probably should tell you how she says macrame. She says it macrame. That's how they say it in Australia. Macrame. I had to listen to her a couple times times to get what she was saying. Because I told her I was calling it square knot and she says, "Oh, just like macrame." And I'm like, "well, okay, maybe." I tease her a lot about that accent, but I love to listen to it. Don't you love an accent? I love an accent. Now people think we have an accent or I have an accent. I can't hear it in myself. And I guess they can't hear it in themselves either, but it's fun.
Oh, I guess I should tell you, I just put these two pieces together, sewing it like a four patch. I just kind of did that without thinking. All right, here we go. Here's one little block. Look how cute. I'm going to press it now.
Press it. Makes sure it lays nice and flat. Oh, this is so cute. Look how cute this is. All right, so now we're going to put it together, and we're just going to set these together just like this. They should go opposite. So let me trim this little thread off here. They should go opposite. So it should come together like this, with your big piece and your little piece. It should come right together. Let's look at the quilt behind me. How we have this.
All right, so we have one, two, three, four, five, six, seven by one, two, three, four, five, six, seven. So seven by seven, and that's 49 blocks that we're making out of this. And we're just sewing them together. And see how they come so that the big side of this piece is going to be opposites right here.
So let me show you how we sew these together, because I have a row of them right here, and we'll just show you how they go. So again, look at your fabrics to make sure you have different fabrics coming together. Look how cute this is. It's so darling. And you're going to sew seven of them all together.
So let me take you through sewing one of these blocks together. What you want to watch is this little seam right here. You want it to connect with no movement in between. You're going to lay it right sides on top of each other. Bring it to the sewing machine, make sure that your seams go in opposite directions. And we're just going to sew that down. So I'm going to come right here, and I'm going to match up my corner, put it on my quarter-inch line, start to sew. And then I'm going to stop a little bit and make sure that my two middle seams are going opposite directions.
And then I kind of keep my finger on that, sewed that point, and then I'm going to line up my ends to make sure they line up real nice. And you're just going to do this seven times. Oh, that's real nice. Let me iron that flat. I can even show off that one a little bit. That looks really pretty. So you're going to sow seven of these together. Seven rows. Put your little inner border around, attach your outer border, and your quilt is done. And we hope you enjoy this tutorial on the square knot quilt from the Missouri Star Quilt Company.
& Progress on Social